
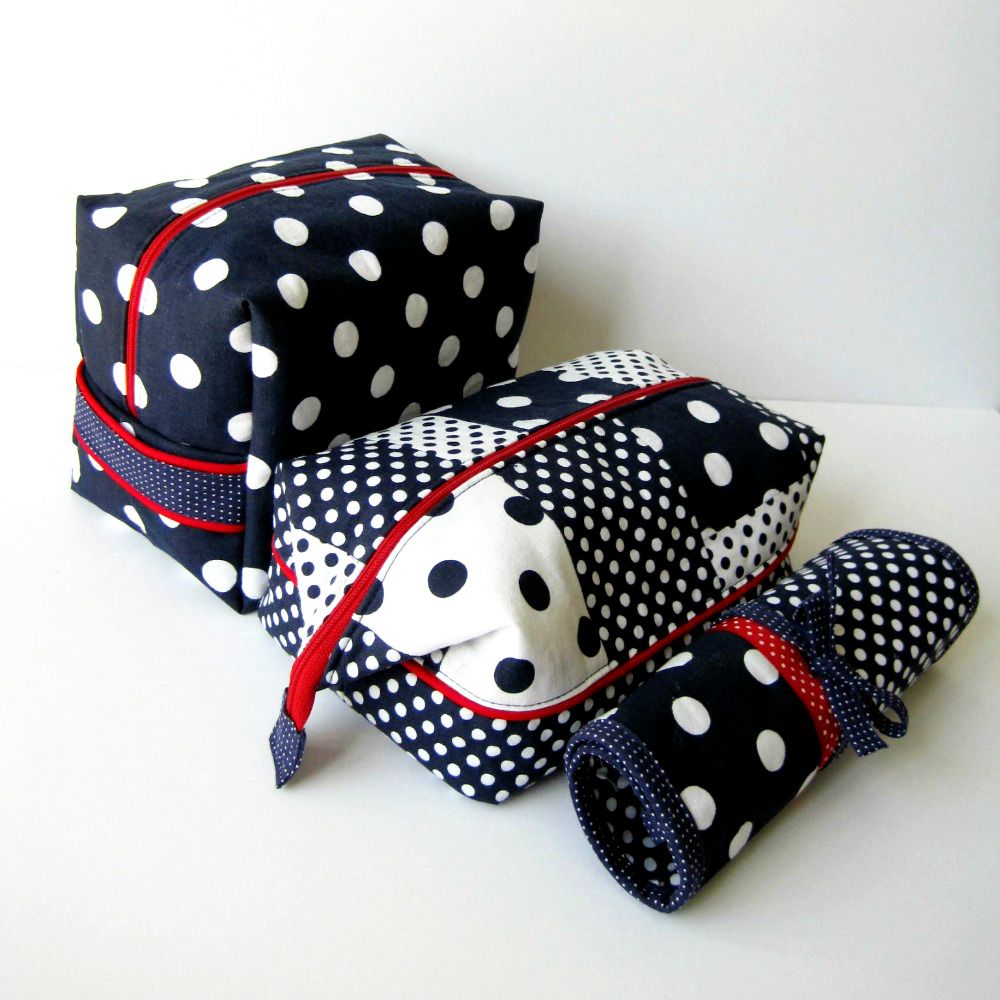
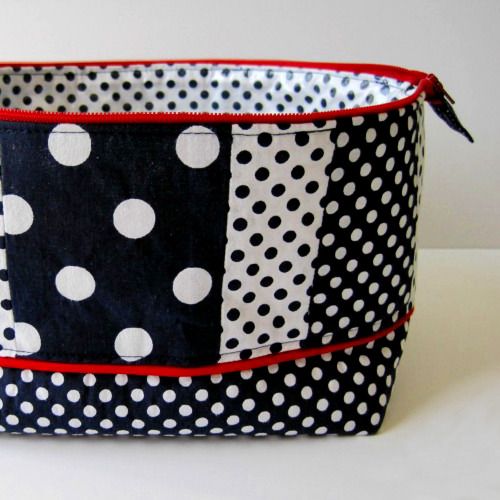
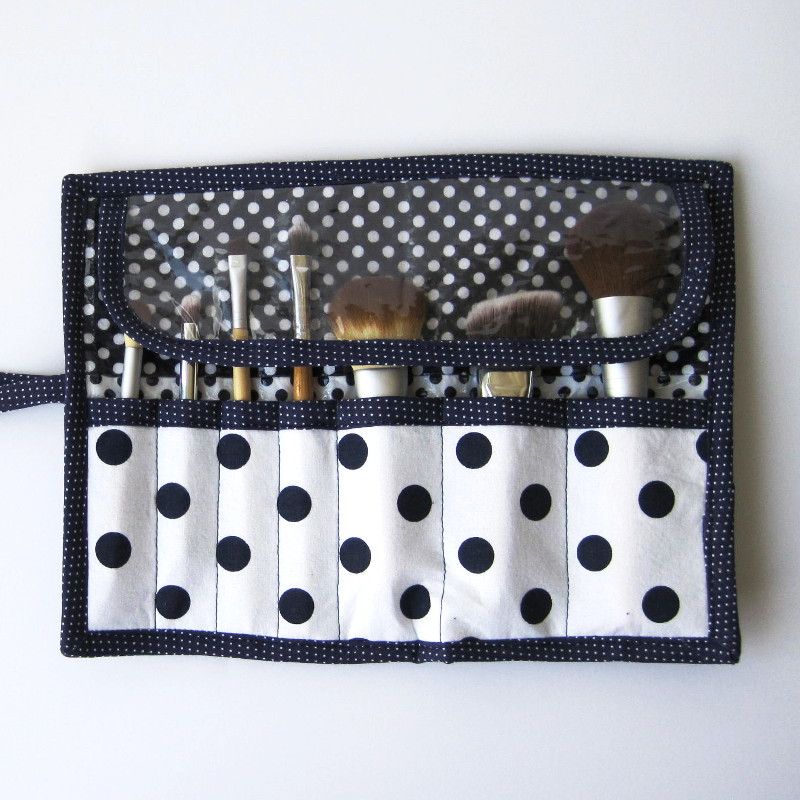
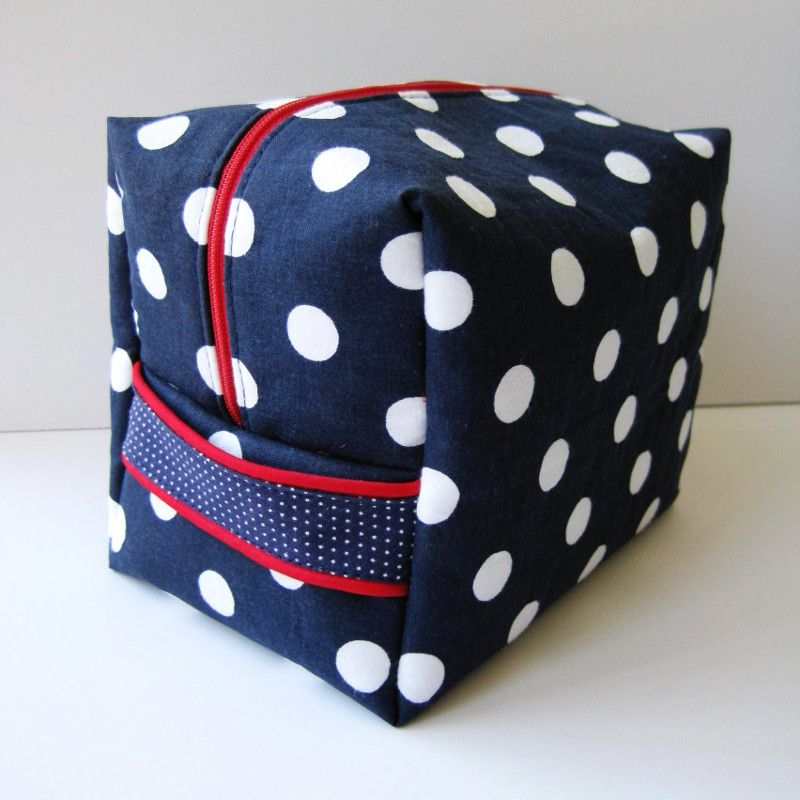
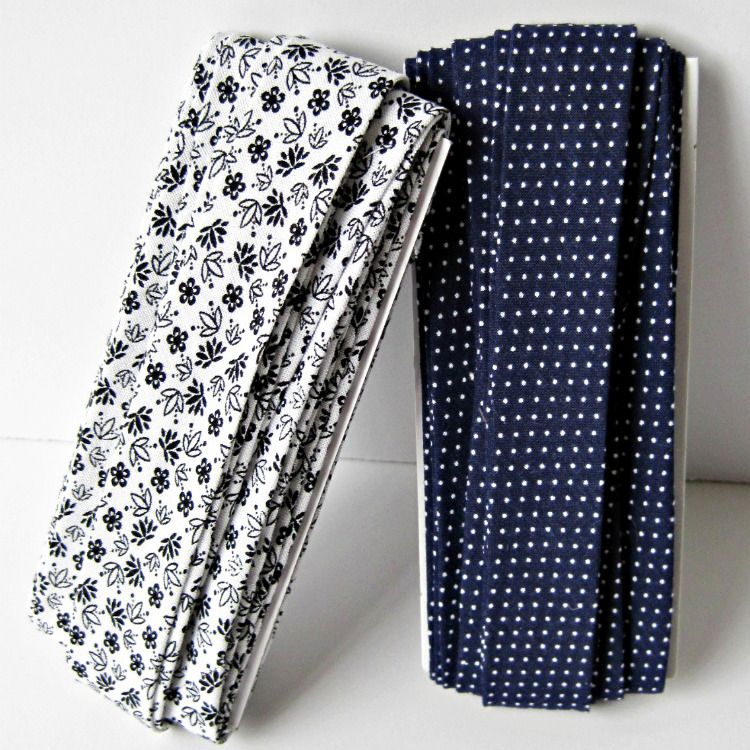
Last week I posted the last project of the Fat Quarter Series, so now you can sew a toiletry set out of just 5 fat quarters. I thought I'd wrap up the project by showing you the layout of how I cut each fat quarter for the projects. Plus, remember the paltry scraps we had left over from the project? Well, I used some of them to make one last project:
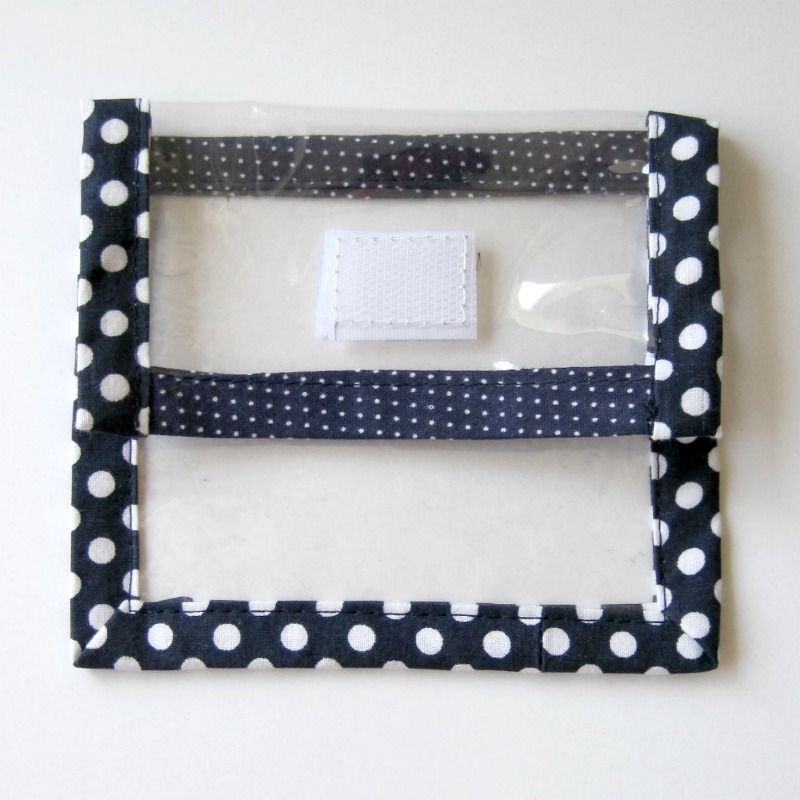
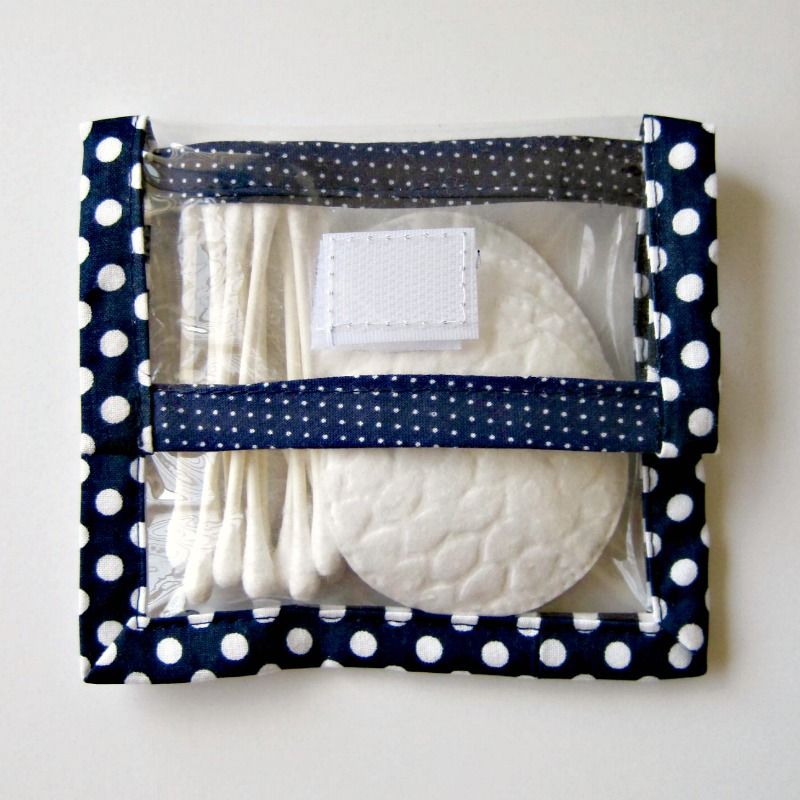
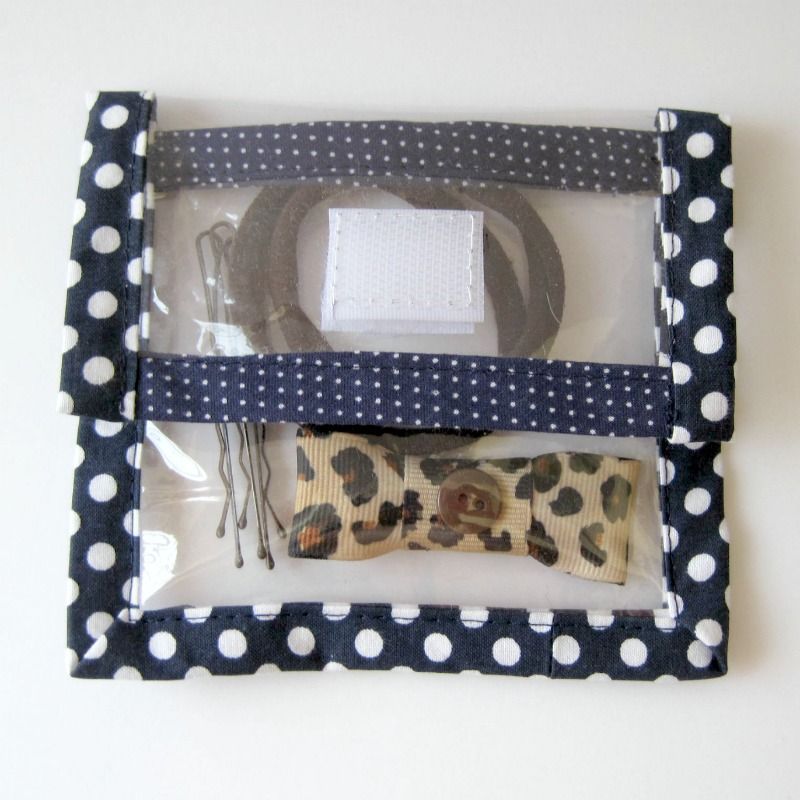
This little vinyl bag uses scraps leftover from the Fat Quarter Series. It's the perfect size for cotton swabs or hair accessories. The clear vinyl makes seeing what's inside easy and provides water resistance. I have the easy tutorial for you today.
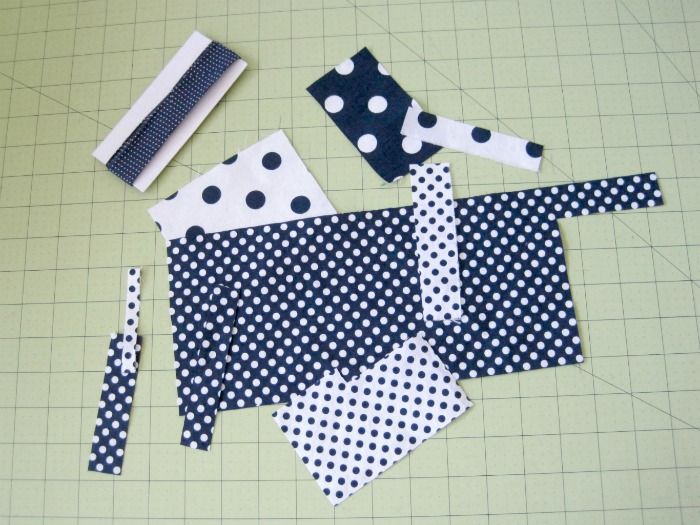
But first, here are the cutting layouts for the 4 fat quarters and the 3 projects:
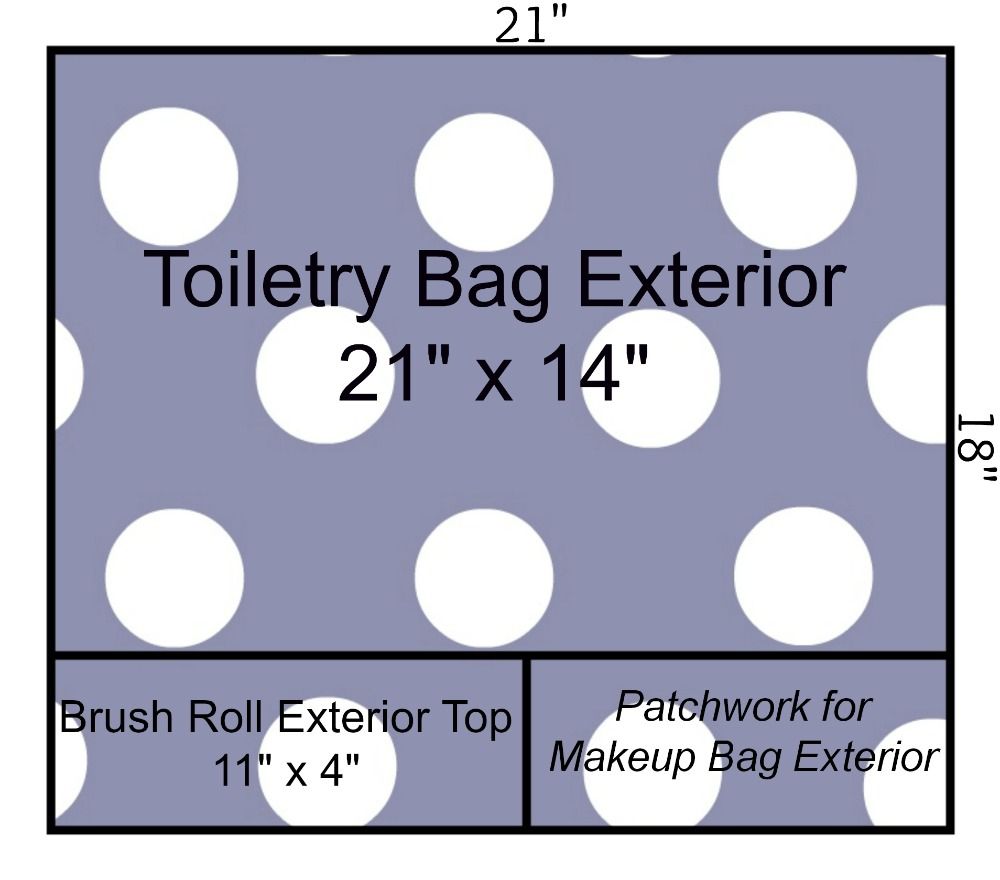

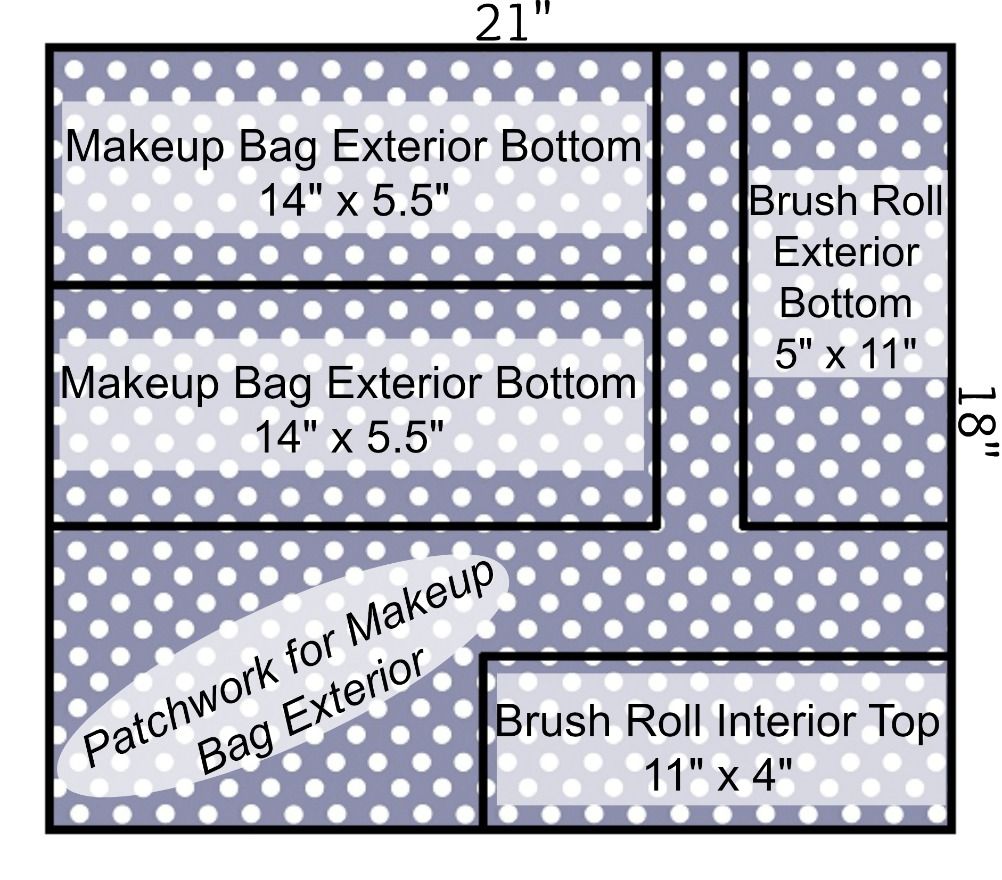
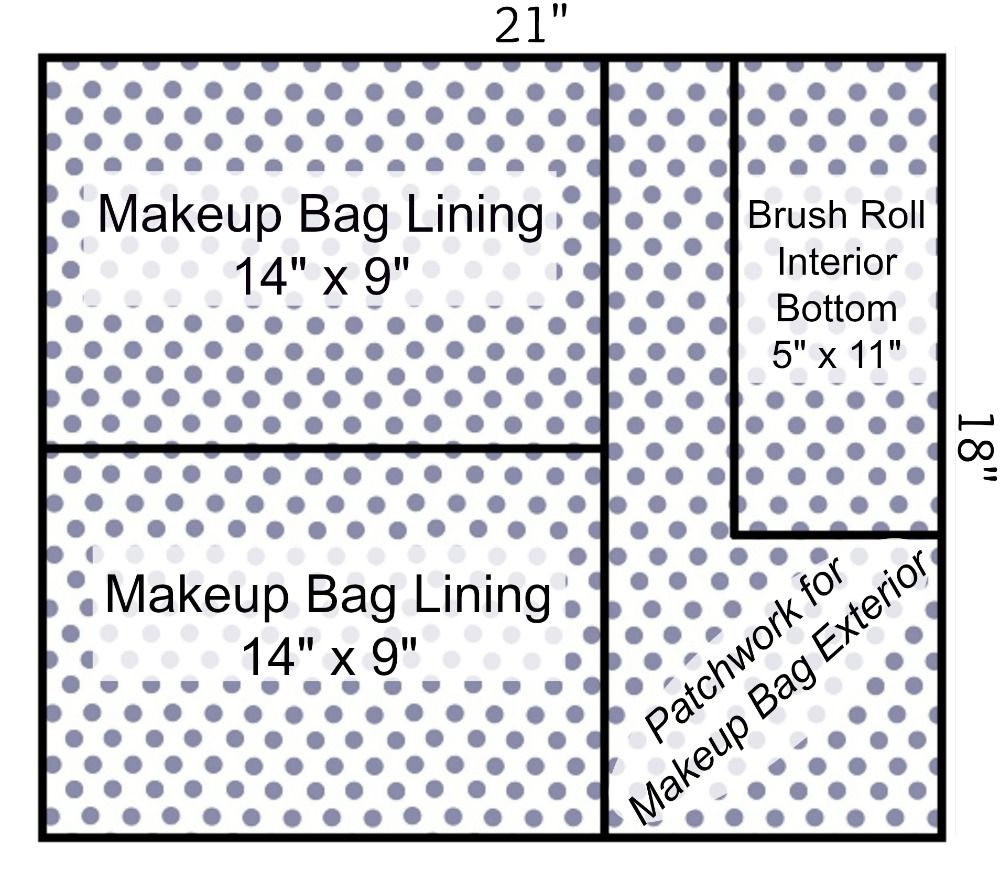
The fifth fat quarter was used to make bias tape for the projects:
Now here's the tutorial for the vinyl pouch. Find your scraps from the fat quarter project:
For this project you will need:
I didn't have enough bias binding left over to make this project, so I used some of the leftover scraps to make more binding. It is cut on grain, so there is no stretch, but you don't need it for this project.
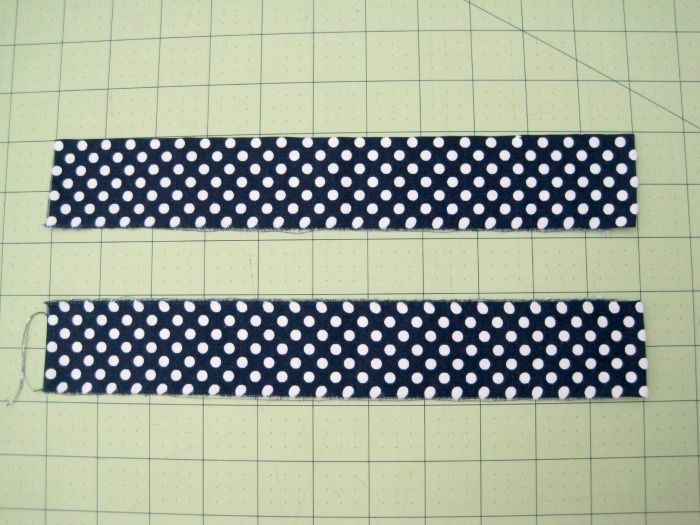
Cut strips that are 1 3/4" wide.
Sew strips together with a 1/4" seam. Press seam open.
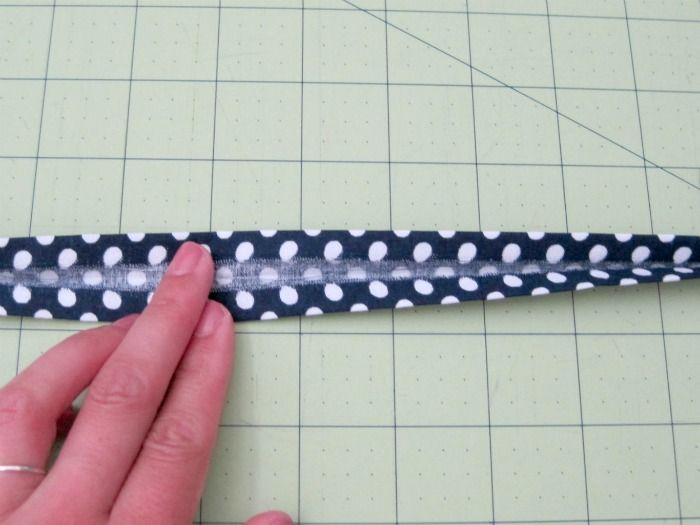
Fold and press sides in about 1/4", and then fold and press in half.
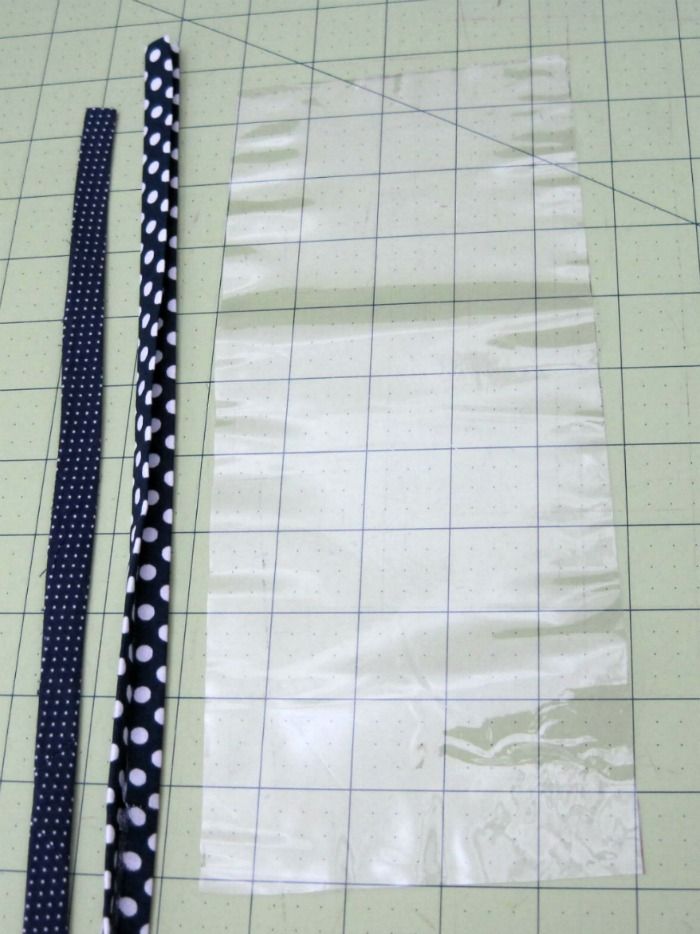
Cut a rectangle from the clear vinyl. Mine was about 4.5" x 11".
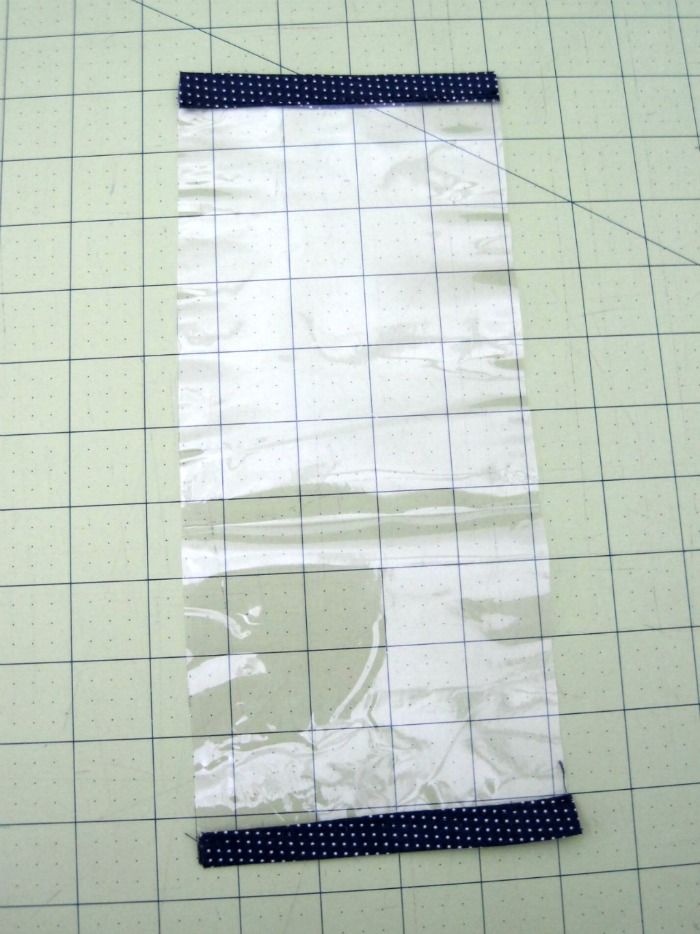
Sew strips of binding to both ends of the vinyl. Remember to use a longer stitch length to sew vinyl (I used 3.5mm).
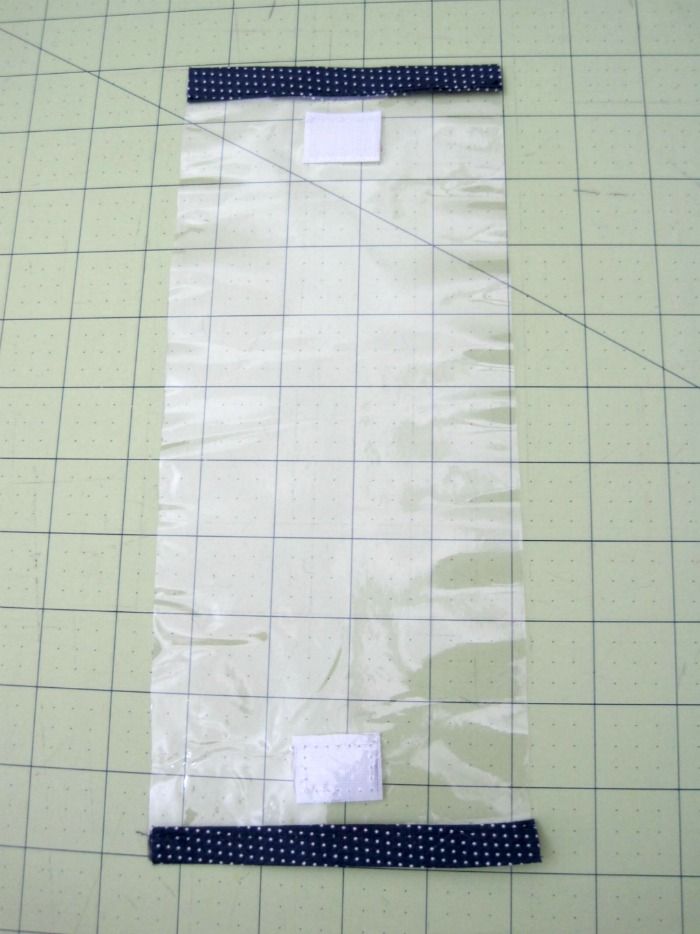
Center a piece of fastener on one end and sew into place. FLIP OVER and sew the other piece of fastener to the opposite end on the back.
Note: To sew on Velcro, use a heavy duty needle and stitch around all four edges
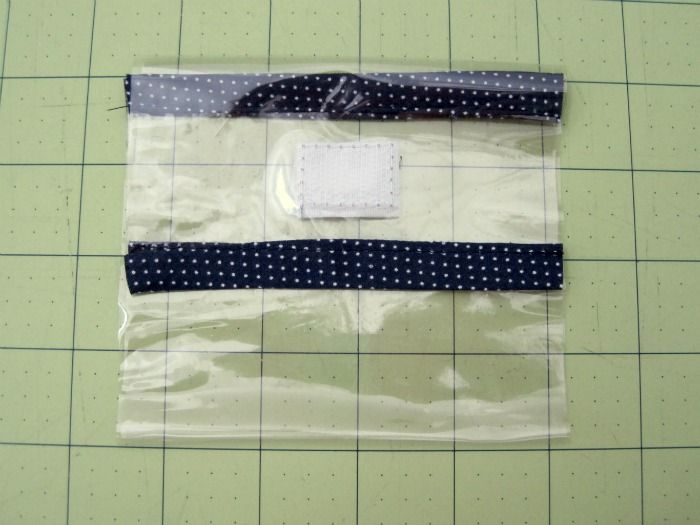
Fold your vinyl by fastening the closure. Finger press the bottom edge of the vinyl. Open the top flap, but keep the bottom edge of the pouch folded up.
Attach binding to the sides and bottom. At the top, fold the edge down and then in half.
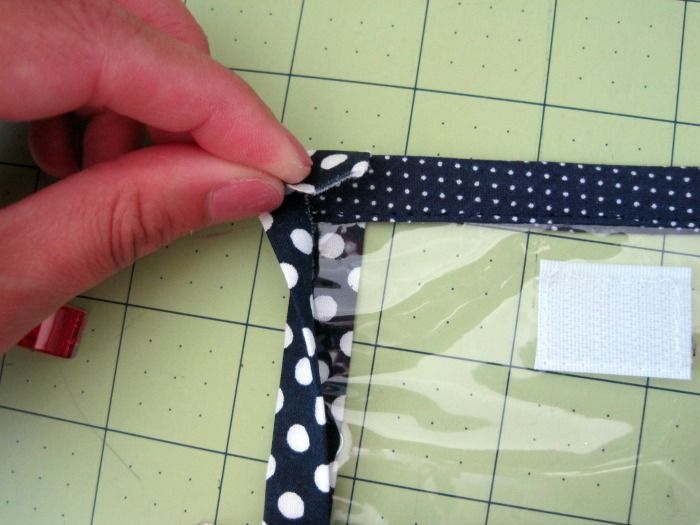
At the corners, I "fake" mitered my binding.
Note: If you'd prefer, you can only attach the binding to the sides so you don't have to bothers with the corners. Just fold the edge of the bias tape in at the bottom like you did at the top edges.
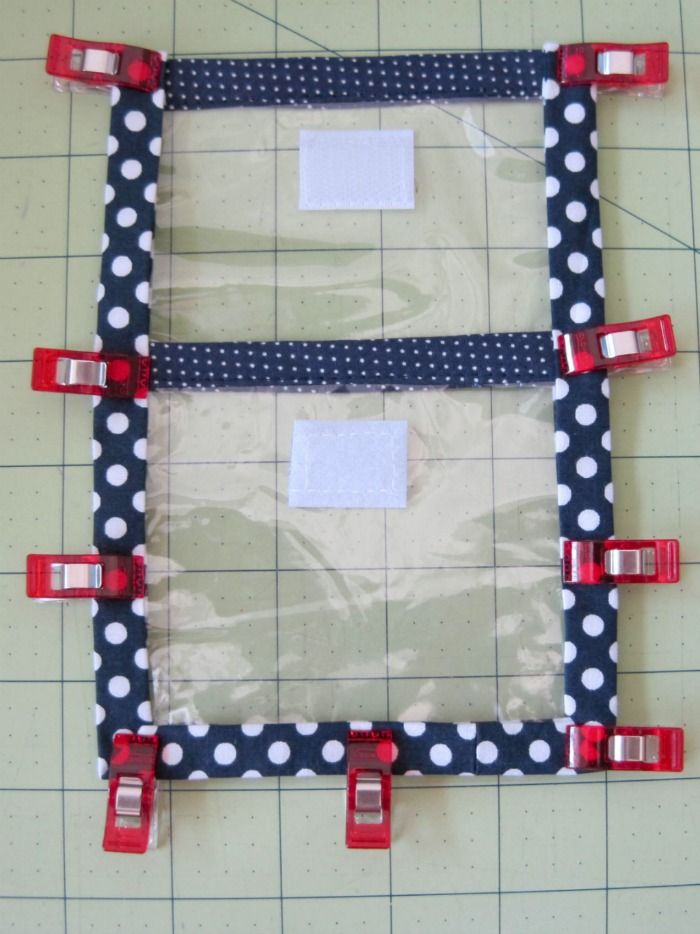
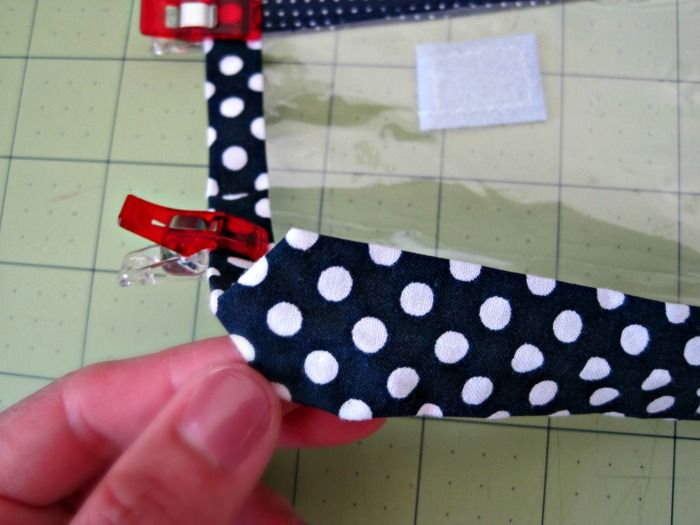
Clip binding into place.
I treated myself to these awesome Clover Wonder ClipsI was a little embarrassed about have to show you that I used binder clips, even though they work just fine. The truth was I had only 3 binder clips, so I had to keep taking them off and clipping them back during sewing. I took close up pictures so you had no idea ;). That's why I love these little Clover clips and highly recommend them.
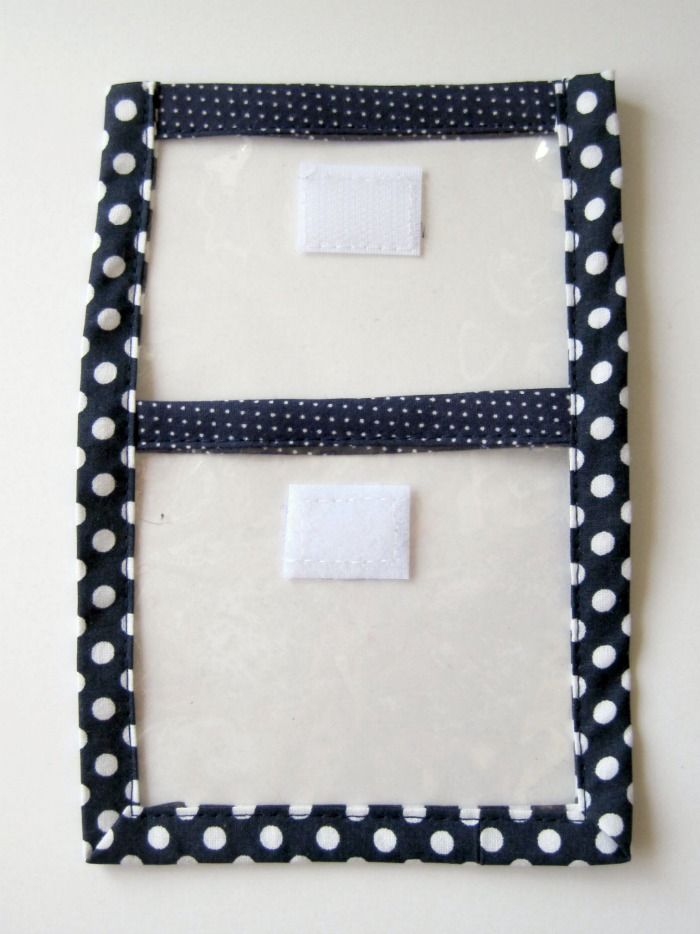
Now just sew on the binding and you're done!
I hope you enjoyed the Fat Quarter Series as much as I liked making it! Remember, if you make any of my projects I'd love to see them. Leave a link in the comments, or post it to my Facebook or Twitter.

* This post contains Amazon Associate links. Please see my disclosure policy *
Thank you. Love the colours and accent piping.
ReplyDelete