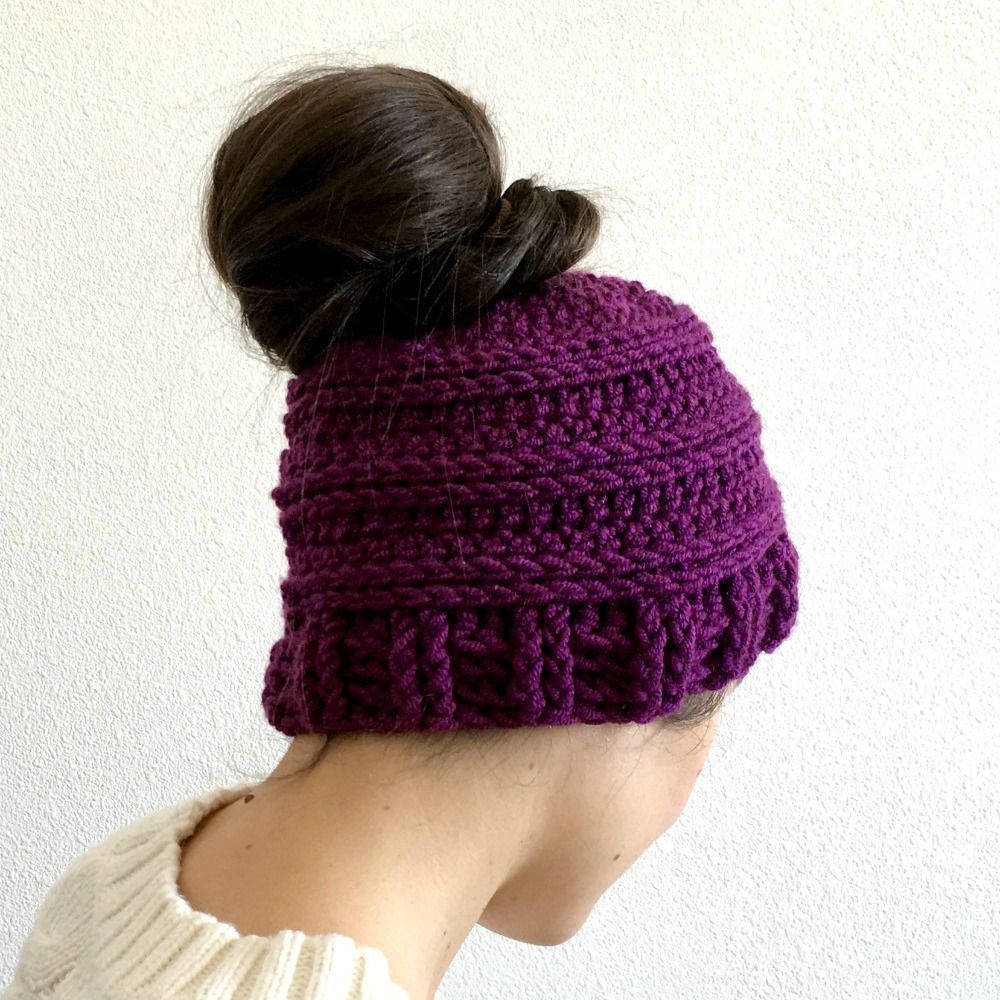
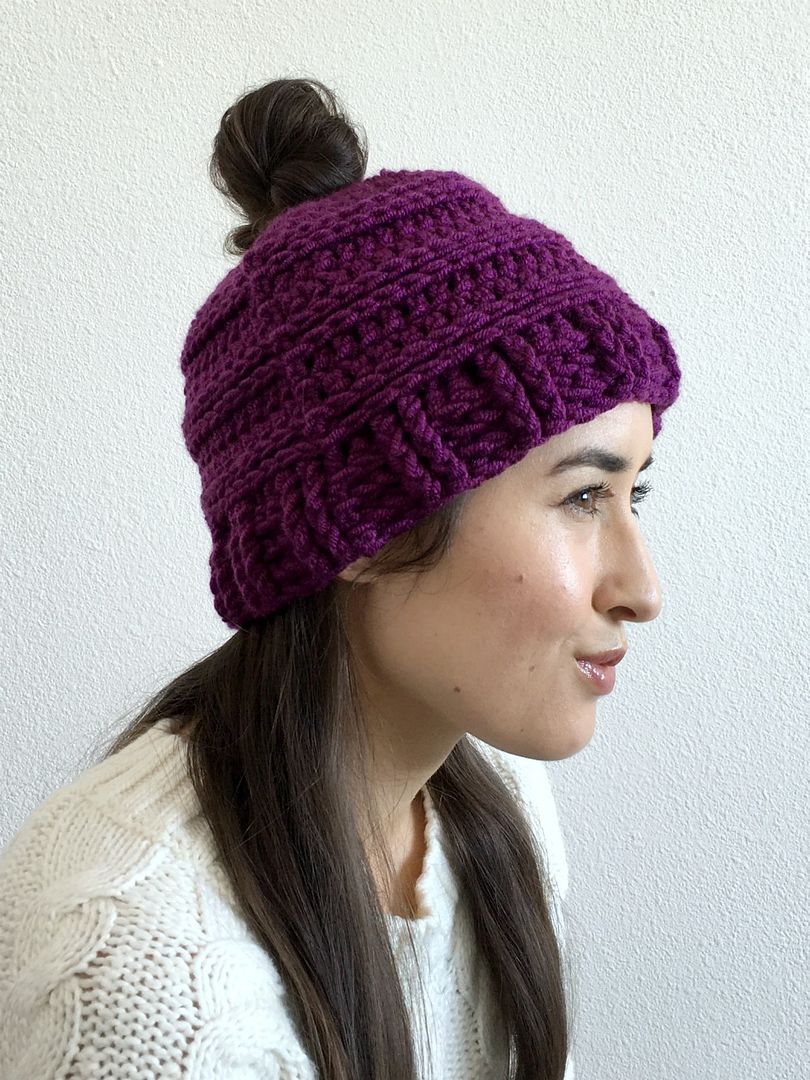
I'm probably a bit late on posting this since the frenzy around these hats seems to have died down a bit. The Messy Bun Hat, a.k.a. The Ponytail Beanie, a.k.a. The Mom Bun Hat, a.k.a.... well, I think that's it. Anyway, I felt like I saw those hats all over the web in December. I even got a special request to make one for Christmas. So I looked at a couple free patterns out there and then ended up making my own version.
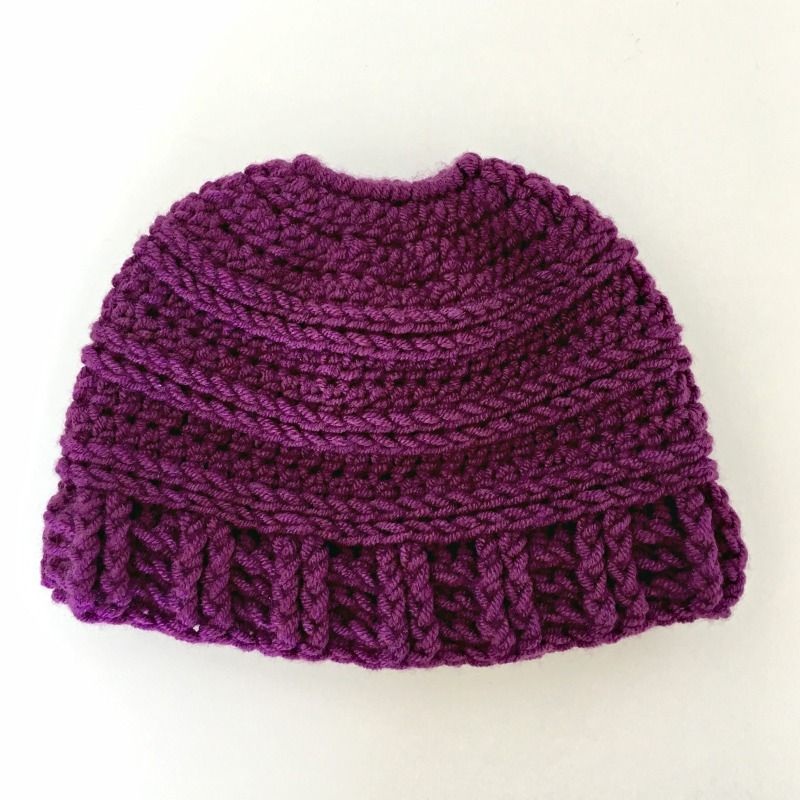
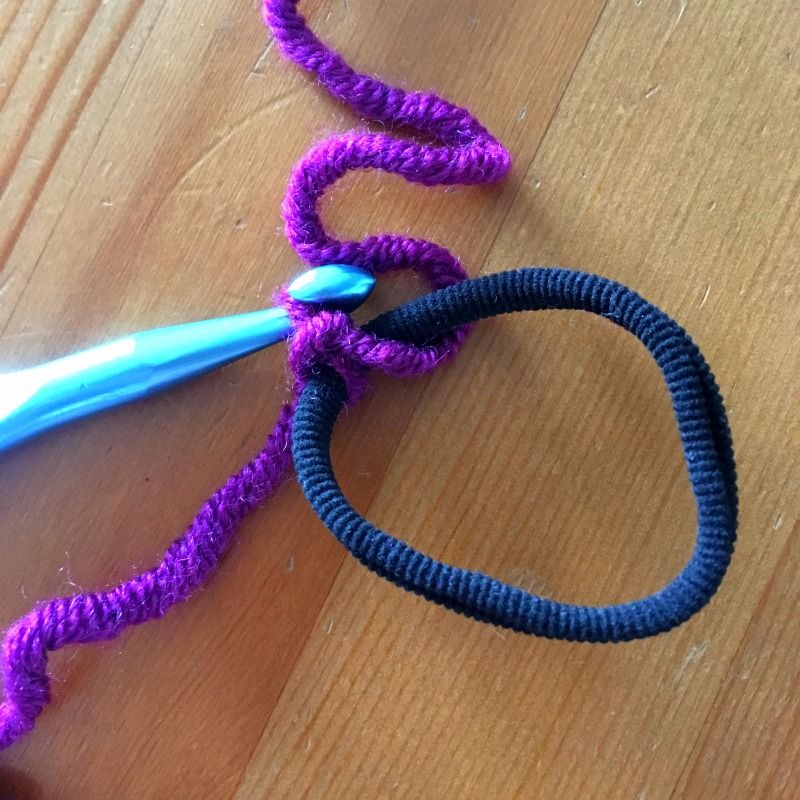
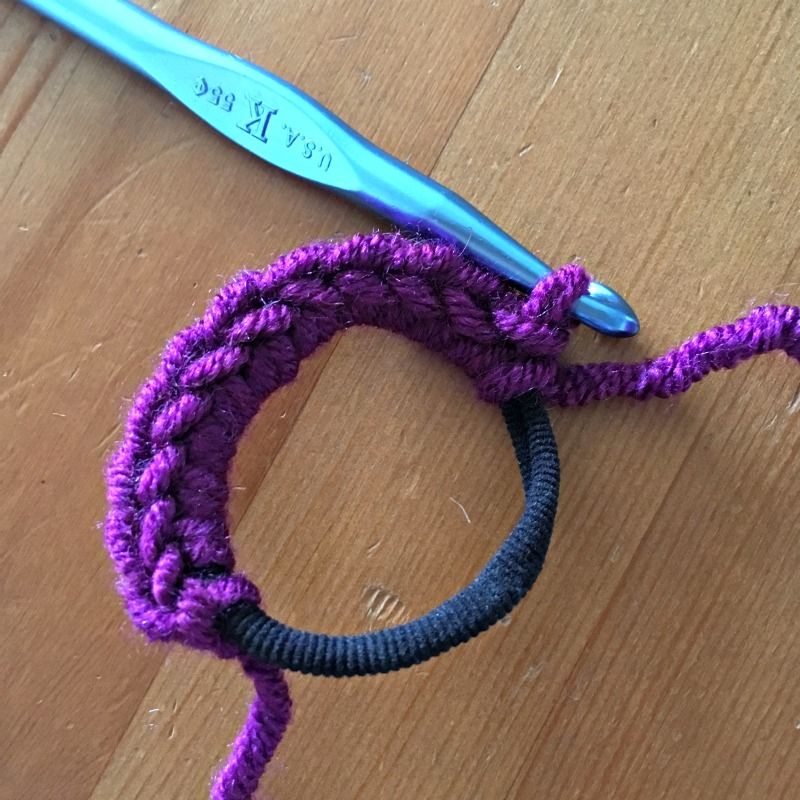
This hat's starting row is crocheted around an elastic hair band. I like that the hair band helps to stretch the beanie to fit over the bun without having to have a huge gap. The hat is worked up with bulky yarn so it's a fairly quick project. I also decided to publish this pattern because it gave me an excuse to make my own! I think these are perfect for bad/lazy/dirty hair days in the winter. It also perfect for preventing hat head. You can just put your hair up in a loose bun, put on the hat, and stay warm outside. Then when you're inside, you can just take off the hat and undo the bun and you have lots of volume in your hair. I'm still working on perfecting my messy bun, though, to give the hat maximum hair pompom effect.
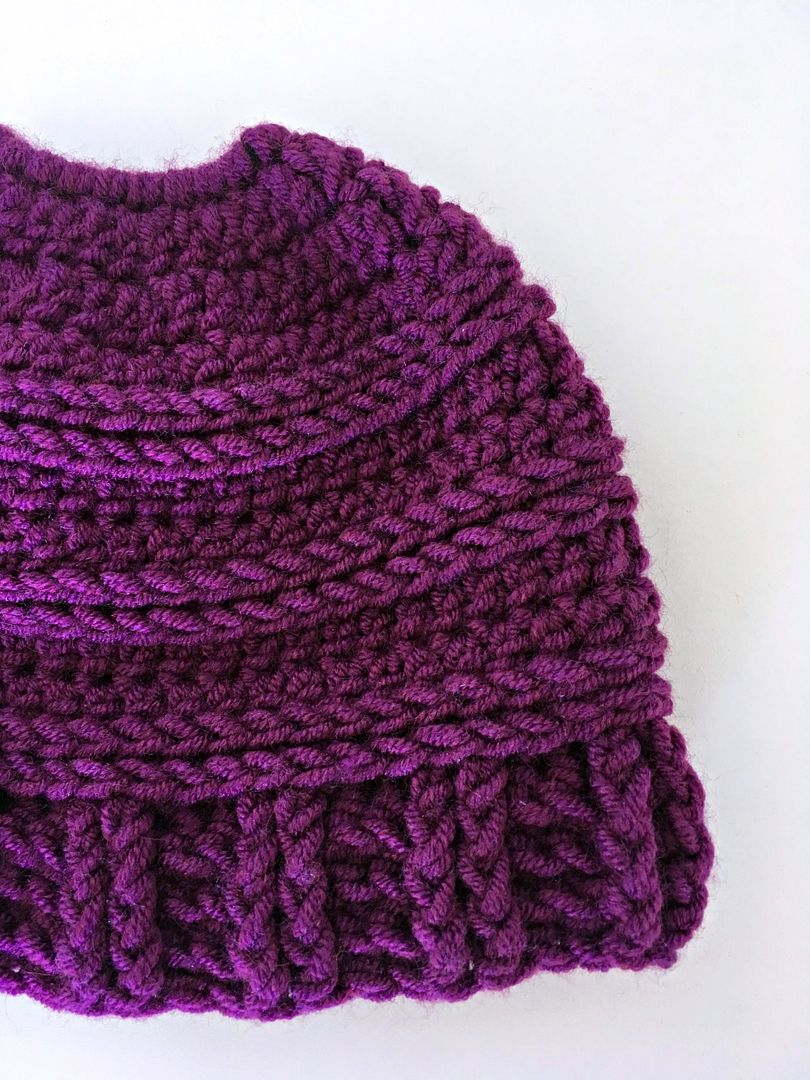
This hat uses a special stitch that I first used when making the Triple Luxe Cowl from All About Ami. You can see my version here. If you crochet and haven't made these scarf, I highly recommend it! The special stitch is just a half-double (or double in this pattern) crochet stitch worked into a loop behind the front & back loops you'd normally work a stitch into. It gives it a knit-like stitch or a braided effect in the body of the hat. I also used front-post and back-post double crochet stitches to also give the brim a knit-like ribbing effect. (Can you see a pattern? I might just be easier if I learn how to knit already!)
If you need a detailed tutorial of how to crochet in the third loop, check out the Triple Luxe Cowl pattern for pictures and detailed instructions.
You will also need knowledge of front post and back post double crochet stitches.
I don't have a gauge listed because I already tried on the hat several times and it wouldn't be an accurate measurement. Plus, I noticed my gauge was a lot looser this time around than I first time I made it (oops). The yarn I used for this project though it very stretchy and forgiving.
Materials Needed
Stitch Glossary (In US Crochet Terms)
UPDATE 2/6/2017: There was an error in row 2 of the pattern. It's been corrected now. [Thanks, Angela, for bringing it to my attention!]
Crochet Pattern
*You can add an extra row of brim if desired. The first time I made the hat, my gauge was a bit tighter and I needed an extra row of length. This time 3 rows of brim was perfect.
Finish off and weave in ends.
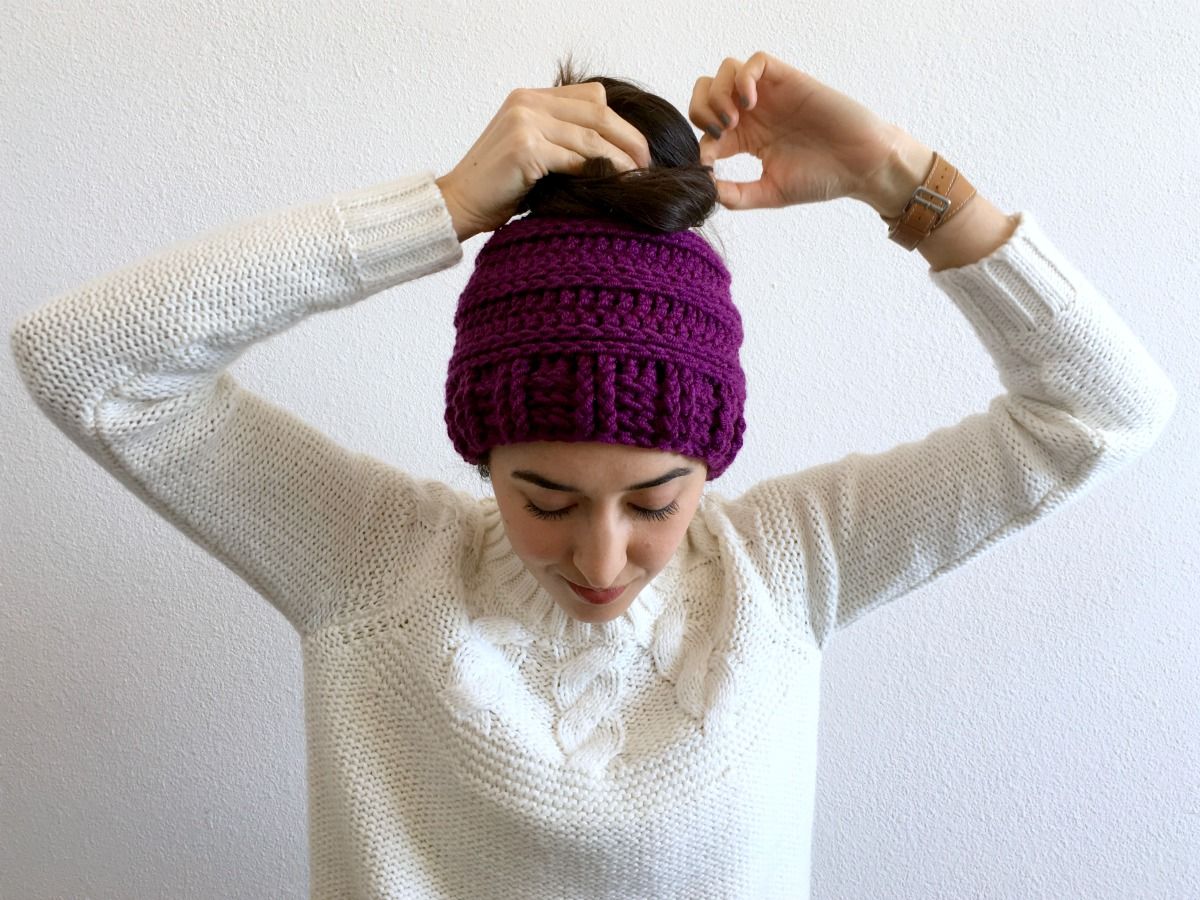
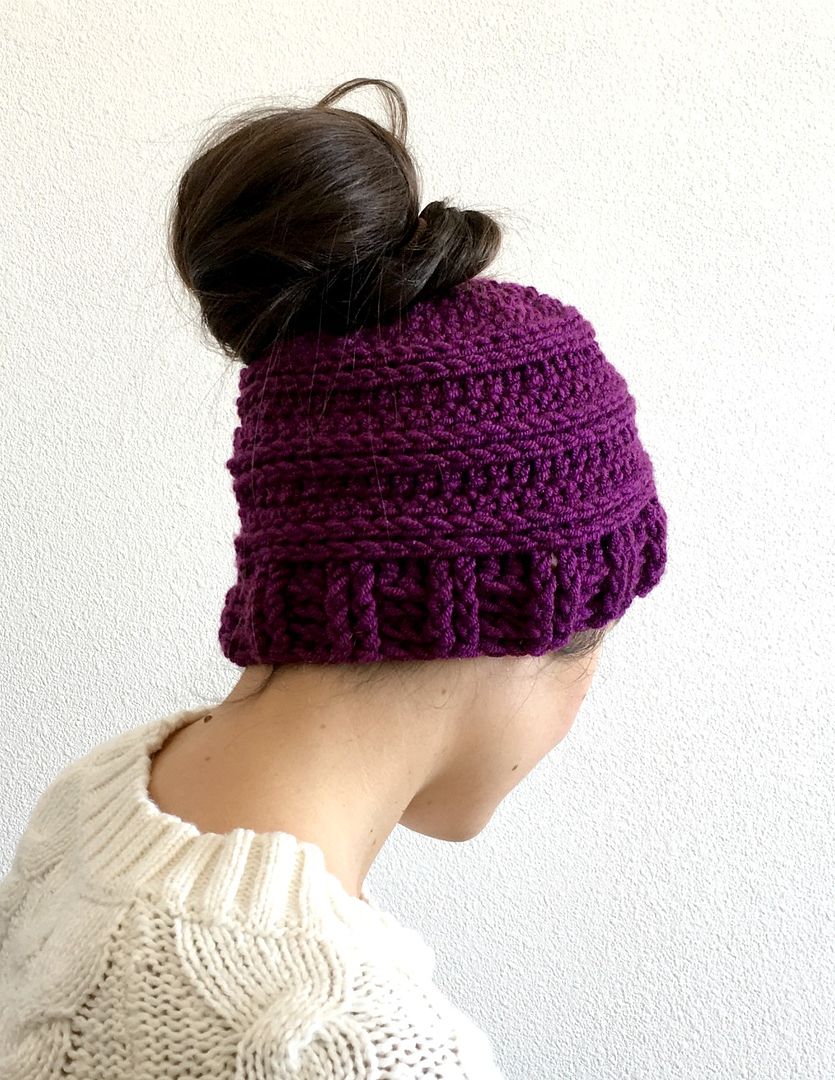
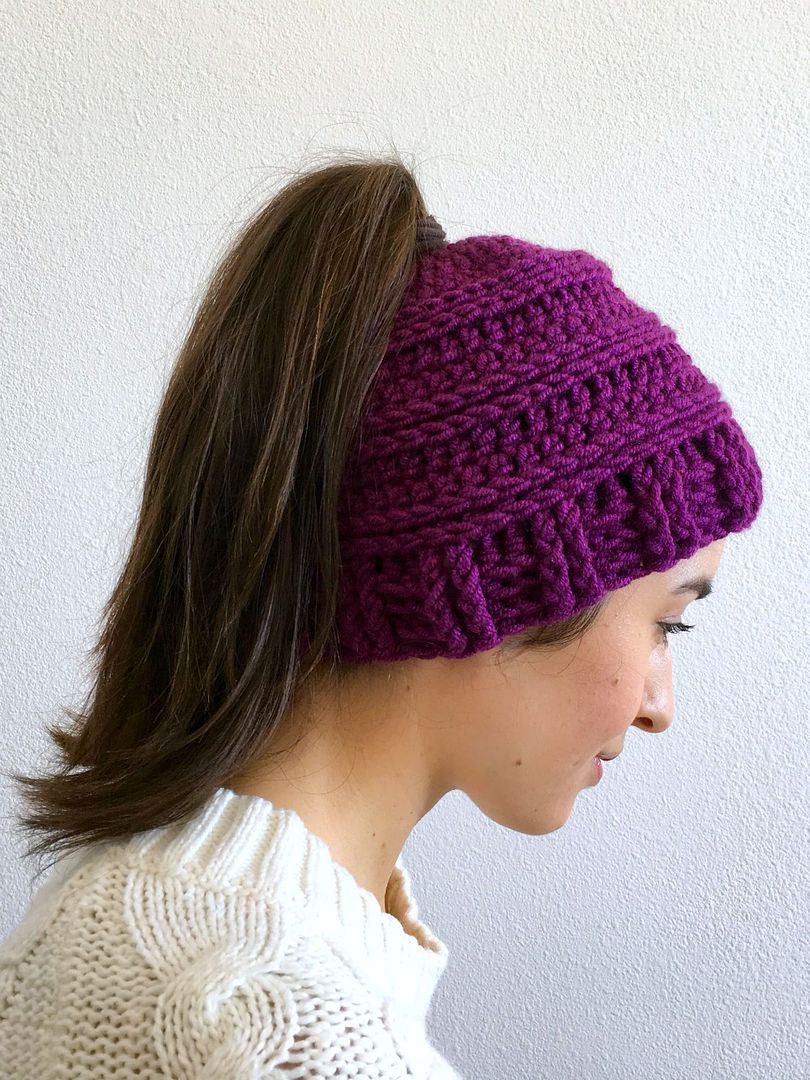
I had fun trying out different hair styles with this beanie. Which one is your favorite?
I hope you enjoyed this crochet pattern. If you make your own beanie, be sure to post a photo and tag me on social media so I can see your creation!
Happy Crocheting!

This post contains affliate links


Can you clarify row 5? The way it is written seems like it's decreasing, but the stitch count does not change.
ReplyDeleteRow 5 is that supposed to read Ch 2?
ReplyDeleteThis comment has been removed by the author.
ReplyDeleteHeya, could you please clarify the term "inc" in the following instruction:
ReplyDeleteRow 2: Ch 2 (doesn't count as first dc). *Dc in next st, inc in next* repeat around. Sl st to first dc. (33)
TIA
I think it means Increase? so DC in the next stitch, inc (2dc) in the next?
Delete