
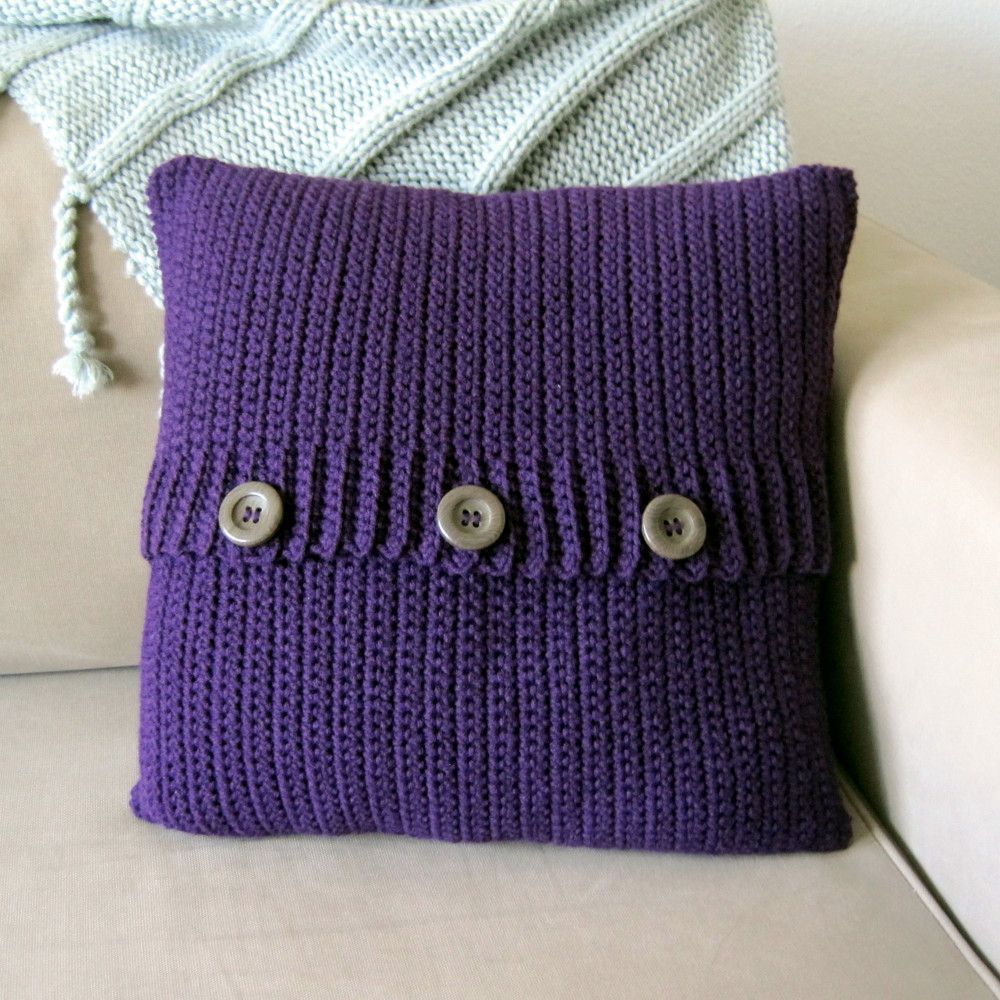
I have been working on this crochet project on and off for a couple months. I am excited to finally have it finished! The funny thing is this looks more like a fall-winter decoration and I finished it in the spring. I think playing around with the buttons and yarn color though could give it a lighter and more summery look. I really do like how it turned out. It looks like my pillow is wearing a cardigan sweater.
The pillow itself it a pretty basic pattern worked up in single crochet. It's the kind of pattern you don't have to think too much about and can do in front of the tv (my favorite kind of crochet pattern!). It is worked in three pieces, the back and two front panels, and then slip stitched together.
This could easily be adjusted to fit a bigger or smaller pillow, just increase or decrease the rows by multiples of 4 and add width as needed. For the buttonhole piece, take off or add a row before, in between, and after the buttonholes. I recommended crocheting the back piece first to get an idea of the final size of the pillow.
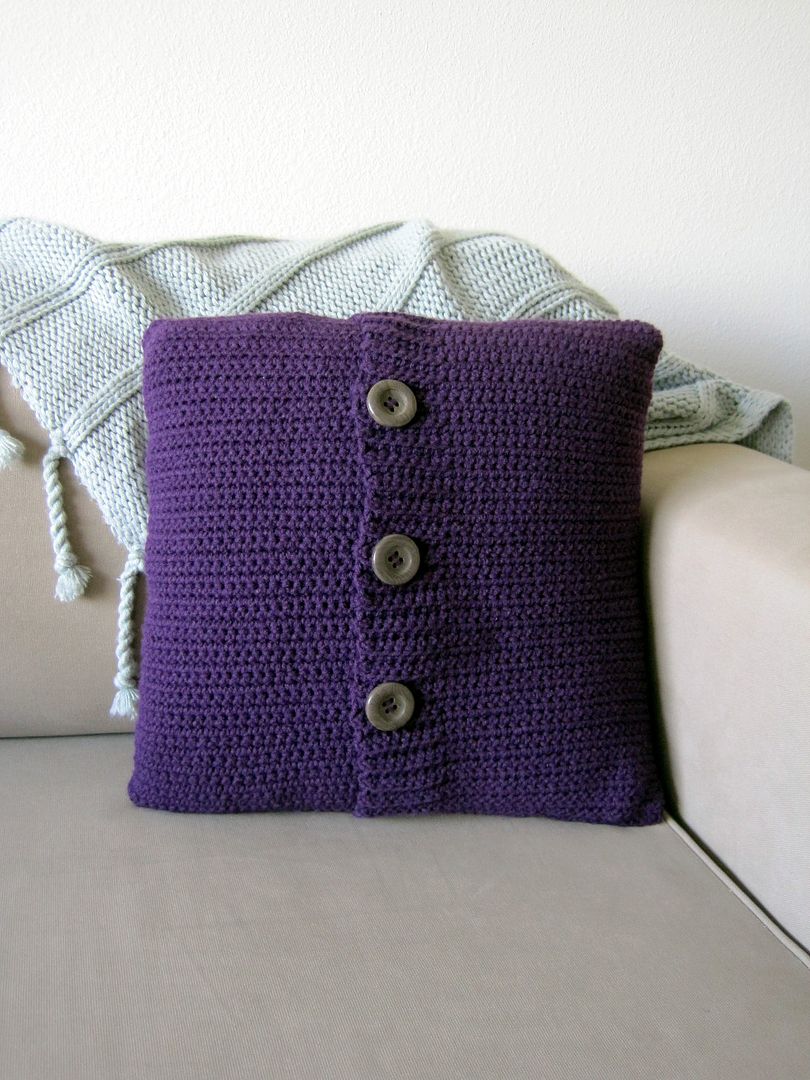
The pillow cover measures approx. 15" x 15" (unblocked). It could easily fit a 16"x16" pillow form for a looser fit, or a larger pillow form for a tighter, overstuffed looking fit. I have mine in a 18"x18" because that's the only pillow form size I have handy, but I might make a 16"x16" for this cover.
Materials Needed
* I am not sure exactly how much yarn this project requires. I used about half of the skein.
† Associate Link
Gauge: 4" square is 17 rows and 14 stitches in sc
U.S. Crochet Terms
blo = back loop only
ch = chain
fsc = foundation single crochet
sc = single
st = stitch
Crochet Pattern

Back Panel
Row 1: fsc 53 [or ch 54, sc in second st from hook, sc across]. (53 sc)
Row 2: ch 1, turn, sc across. (53 sc)
Row 3-61: repeat row 2.
Fasten off. Weave in ends.
Front Panel #1
Row 1: fsc 32 [or ch 33, sc in second st from hook, sc across]. (32 sc)
Row 2: ch 1, turn, sc across. (32 sc)
Row 3-61: repeat row 2.
Fasten off. Weave in ends.
Front Panel #2 (with buttonholes)
Row 1: fsc 32 [or ch 33, sc in second st from hook, sc across]. (32 sc)
Row 2: ch 1, turn, 24 sc, 8 sc blo. (32 sc)
Row 3: ch 1, turn, 8 sc blo, 24 sc. (32 sc)
Row 4-14: repeat rows 2-3 (ending with a row 2).
Row 15: ch 1, turn, 3 sc blo, ch 3 skip 3, 2 sc blo, 24 sc. (32)
Row 16-30: repeat rows 2-3 (ending with a row 2).
Row 31: ch 1, turn, 3 sc blo, ch 3 skip 3, 2 sc blo, 24 sc. (32)
Row 32-46: repeat rows 2-3 (ending with a row 2).
Row 47: ch 1, turn, 3 sc blo, ch 3 skip 3, 2 sc blo, 24 sc. (32)
Row 48-61: repeat rows 2-3 (ending with a row 3).
Fasten off. Weave in ends.
Assembling the pillow
Lay the pillow back piece right side up. Lay the front buttonhole panel wrong side up, aligning it on one side. Lay the other front panel on top wrong side up, aligning it along the opposite side. I placed a few pins to hold the pieces together, especially where the 3 pieces met up. Slip stitch or sew around all four sides. Turn right side out. Determine button placement and sew on buttons.
Insert your pillow form and button it closed. Enjoy your new crochet pillow!
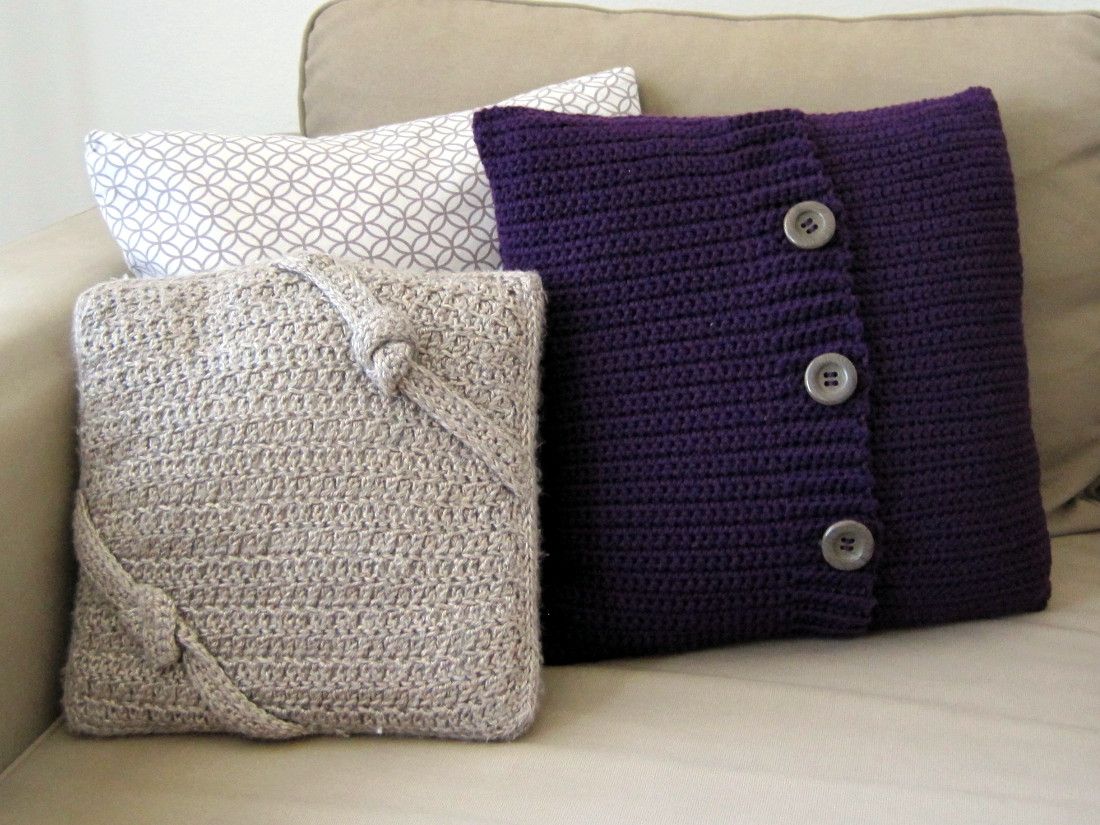
Happy Crocheting!

These are awesome!! Thank you. I have been wanting to add some color to my living room and this will work great.
ReplyDeleteThat is cute and perfect for two pillows I need to cover.
ReplyDeleteNice article!
ReplyDelete