

This time I decide to be smarter and more frugal and purchase fiberfill. Purchasing a pillow form last time did have another benefit though. The pillow form I bought has a zipper. This means I can take out the polyfill and wash the pillow form cover, and replace or add to the polyfill when it inevitably goes flat. I really liked this idea of being able to wash and re-use the pillow insert with ease. I decided to incorporate this into my own pillow form I was sewing.
The first thing you need is some fiberfill. I went to the store intent on just buying the cheap stuff (I'm making it with a zipper after all and can just replace it later). However, I unintentionally picked up a bag 5% silk blend first. After touching the bag of poly/silk fiberfill, feeling the bag of 100% polyester just felt gross. So I 'splurged' on the silk blend. But really, a 12 oz bag of the silk blend was $6.99 at Jo-Ann's was just a dollar more than the 100% polyester. Plus, I used a 50% off coupon, so it was just $3.50.
Let's get started. Here's what you need:
First, you need to determine the size of your pillow. I am making a 12" x 12" pillow. Next, add the seam allowances. You will need a 1/2" seam allowance for the zipper. The other 3 sides can just be 1/4", or whatever you prefer. I made all my seam allowances 1/2" for simplicity.
(height of pillow) + (1/2" + seam allowance) = height of fabric to cut
So for my pillow, I need to cut my fabric to 13" x 13". Let's begin...
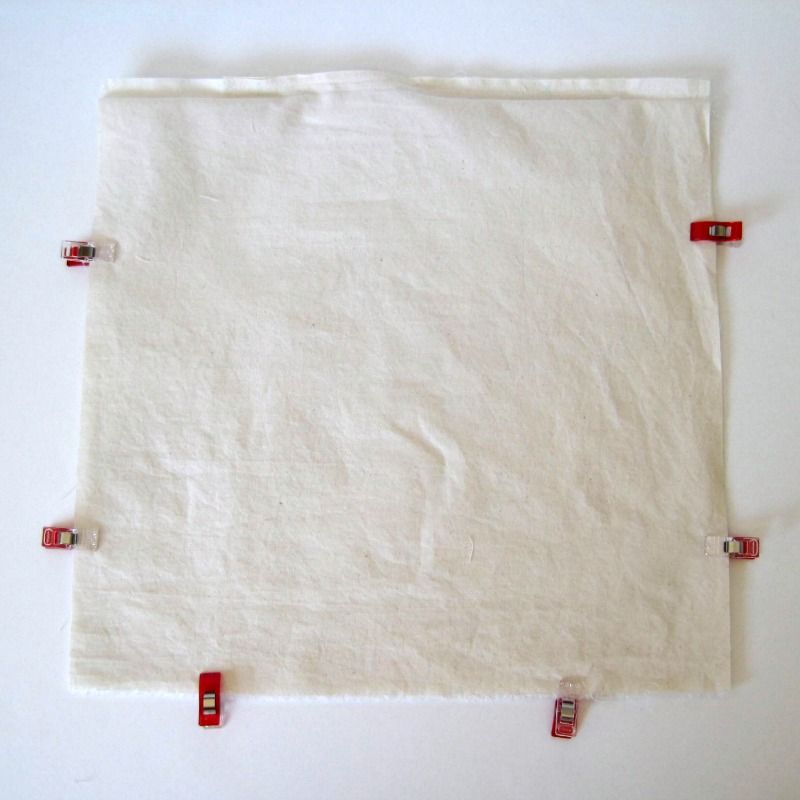
- Cut 2 pieces of your fabric to the size you determined above.
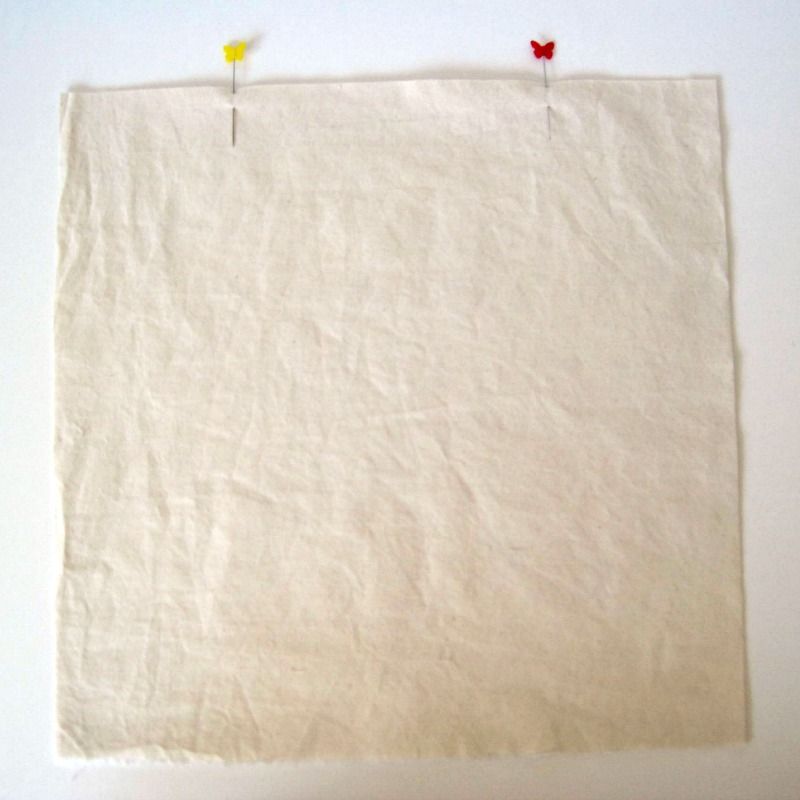
- Put your 2 fabric pieces right sides together. On one side along the width of your pillow form, make 2 marks with tailor chalk or pins that are 6" apart. On that edge, sew with a 1/2" seam allowance until you reach the first mark. Back stitch a couple times to secure your stitches. With your needle still down, increase you stitch width and loosen your tension. Sew until you reach the second mark. With your needle still down, decrease your stitches and tighten your tension. Sew a few stitches, then back stitch to lock your stitches. Sew the rest of the side.
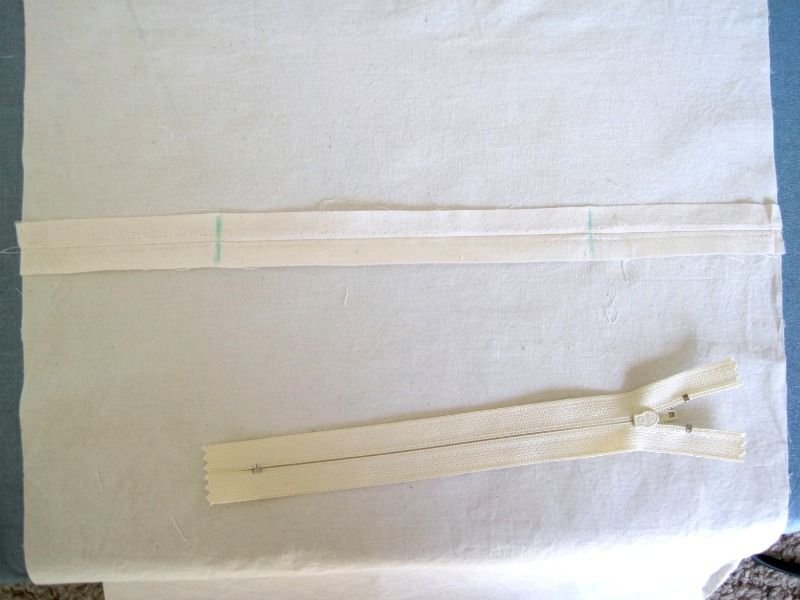
- Press seam open. Mark the 6" on the open seam. This will become your zipper opening.
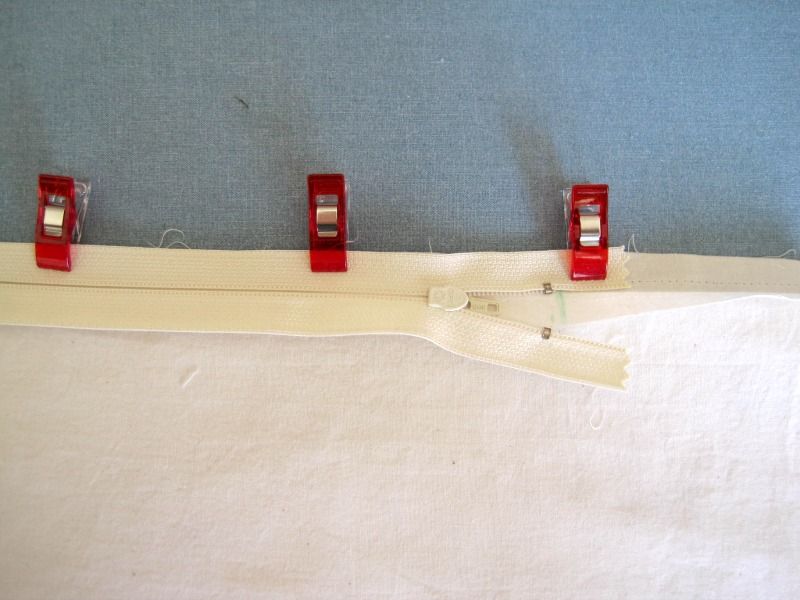
- Fold back your fabric so that just the top seam is up. Unzip your zipper slightly. With your zipper face down, line up the metal stoppers of the opening just inside the marked line. Pin the top edge of the zipper tape along the edge of the seam. Using your zipper foot, sew on the zipper with a 1/4" seam allowance, stopping to move the zipper pull if necessary.
- Fold you fabric so that the seam on other side is facing up. Pin the other side of your zipper tape to the seam and sew into place.
Note: If your zipper is longer than 6", make sure your zipper pull stays in the middle of the 6" zipper opening. After sewing the zipper into place, stitch back and forth at the 6" mark (at the zipper end) to secure the zipper teeth. Cut excess zipper teeth off.
- Open your fabric so that the right side is up. Topstitch 1/4" away from the seam along both sides of the zipper, turning and sewing along the zipper ends. If you look at the pictures, I didn't do this step. Call it laziness, or not caring because it's just a pillow form, but I skipped it. I highly recommend that you do it. I had to go back and secure my ends by hand because I didn't.
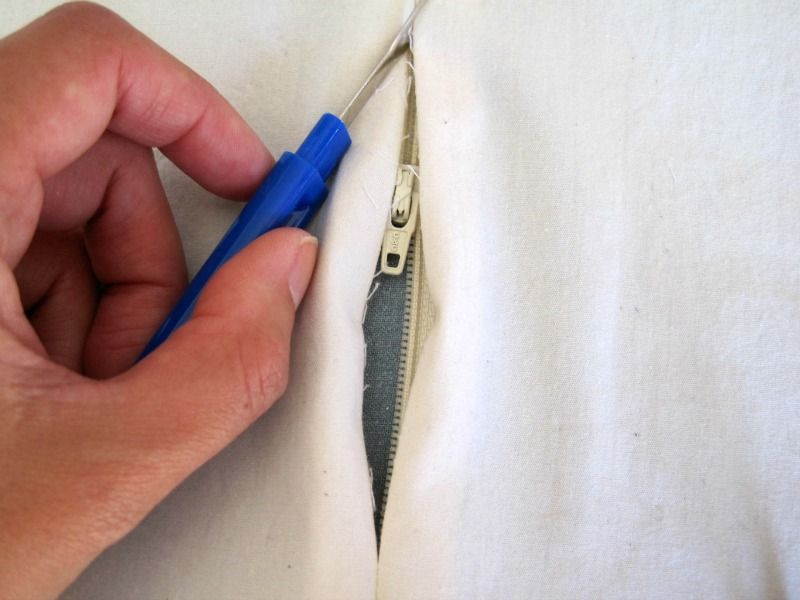
- Using a seam ripper, carefully unpick your stitches along the 6" zipper opening. Use caution to not pick the securing sittches.
- Unzip your zipper. Pin your fabric right sides together and sew along the remaining 3 sides.
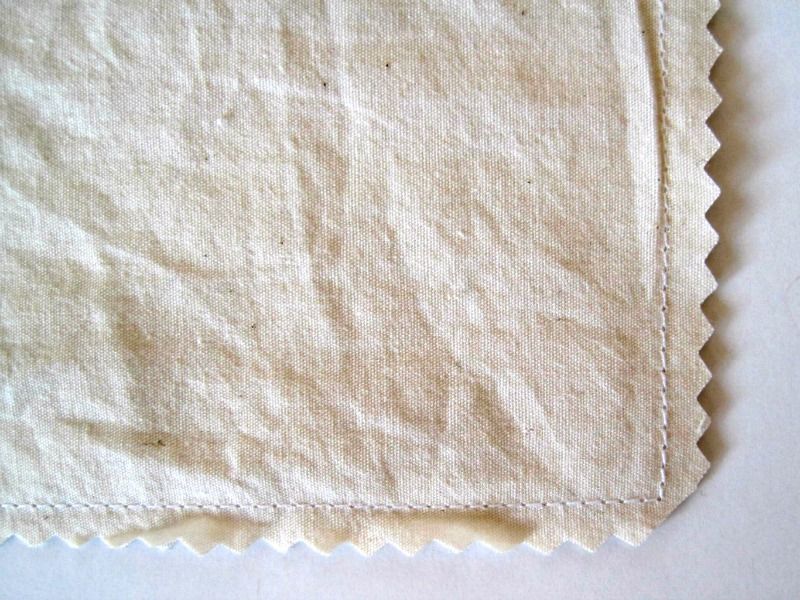
- Clip your corners. I pinked my edges to reduce fraying.
- Turn your pillow form right side out. Poke out corners. Now you're ready to stuff!
-
Tips for Stuffing
- Working with small amount of fiberfill at a time, pull and fluff sections a few times. This helps eliminate any lumps.
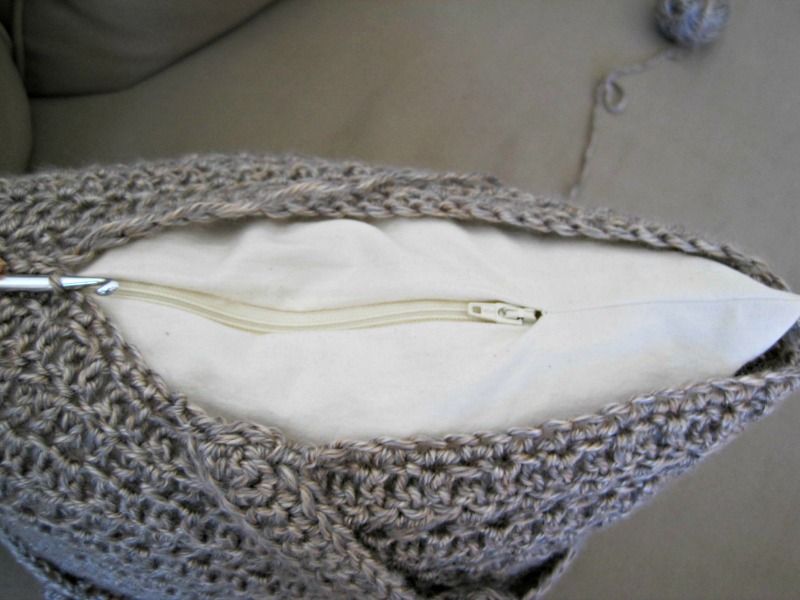
- Start filling the furthest away corners first. You can using a stuffing tool or a chopstick, knitting or crochet hook, etc. to help fill corners.
- Next, fill the the sides with the fiberfill, working your way up to the top corners.
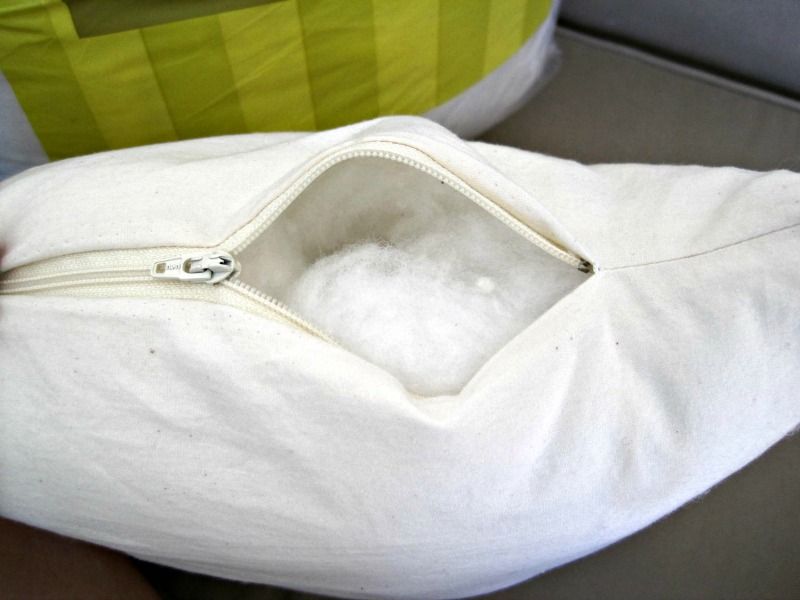
- Now you can fill the center. Look at the how your pillow form looks from the outside. Fill any dimples, and adjust any lumps.
- When you think your finished, zip up your pillow form and test it out. This way you now whether you need to add any more (or take any out).
- When you are satisfied, zip it up and slip on your pillow cover. The best part about the zipper is that you can always adjust your fiberfill later is needed.
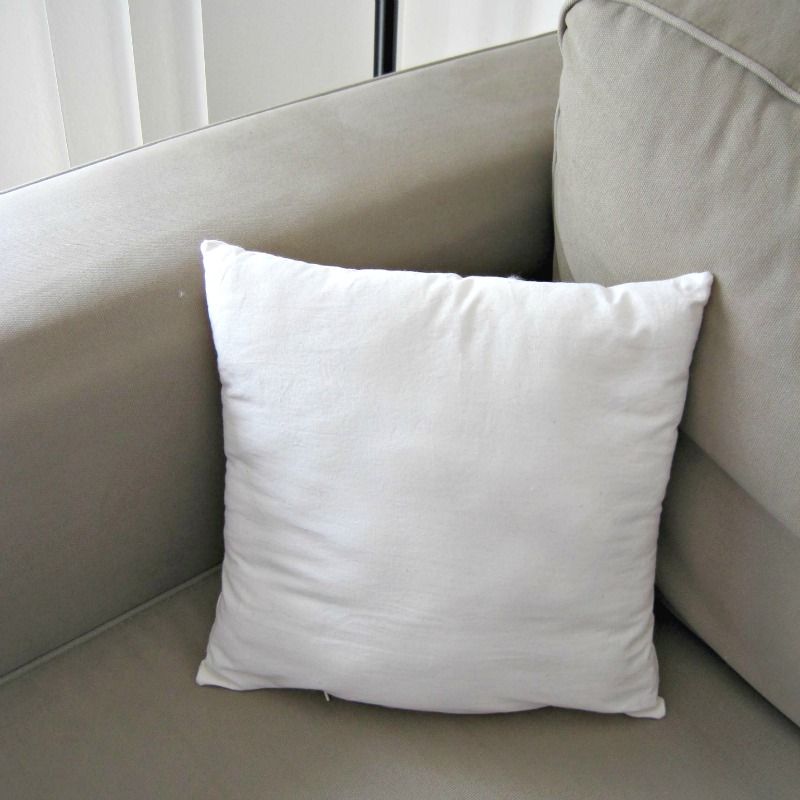
This is my finished pillow form. Stay tuned tomorrow to see my finished pillow.
Here's a sneak peek...

No comments:
Post a Comment