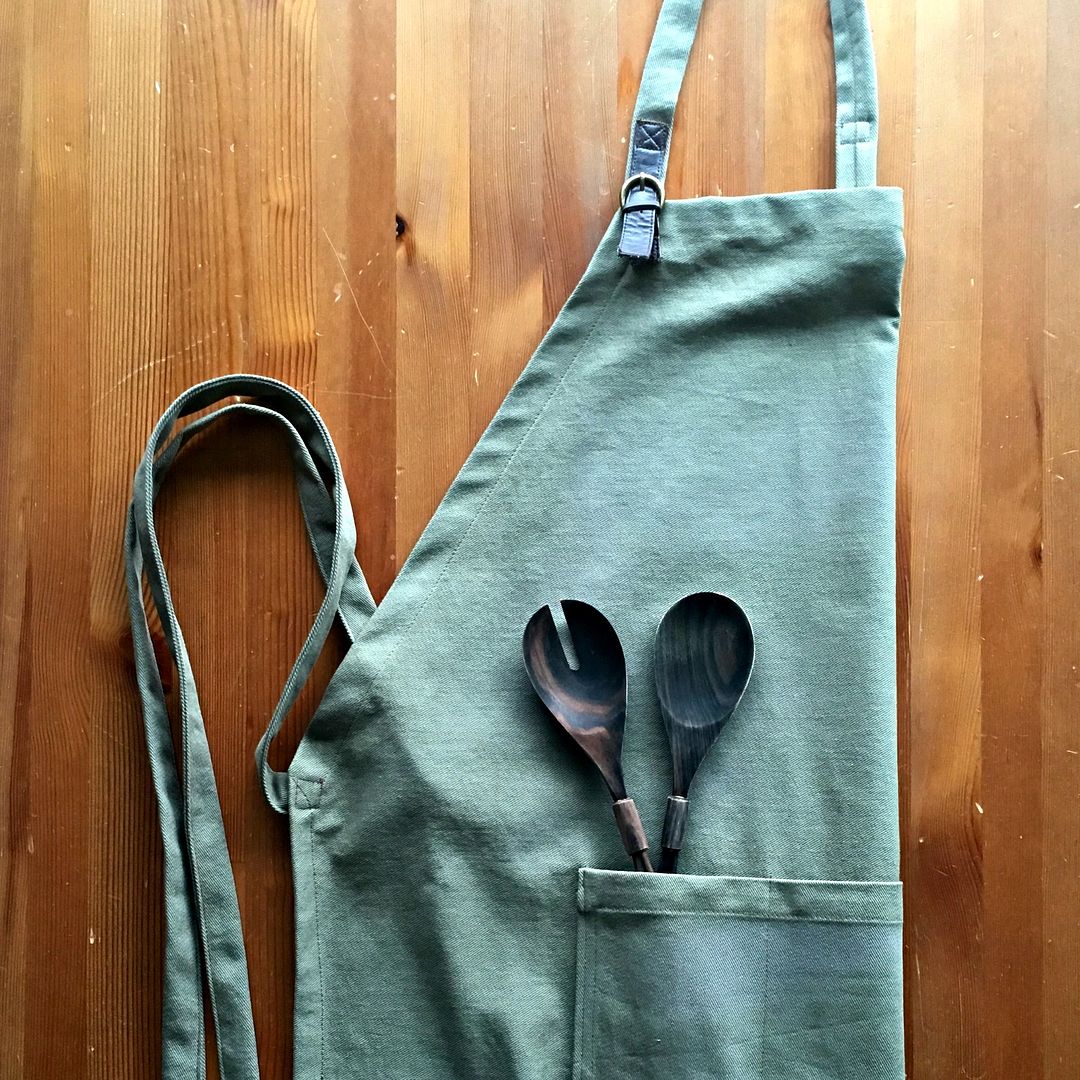
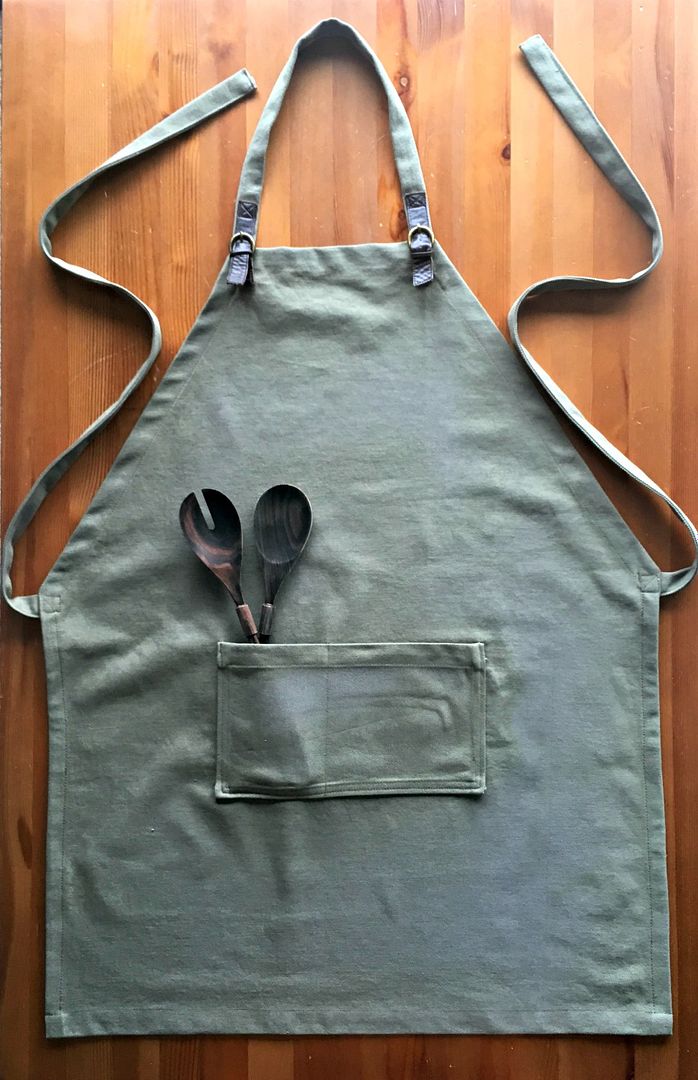
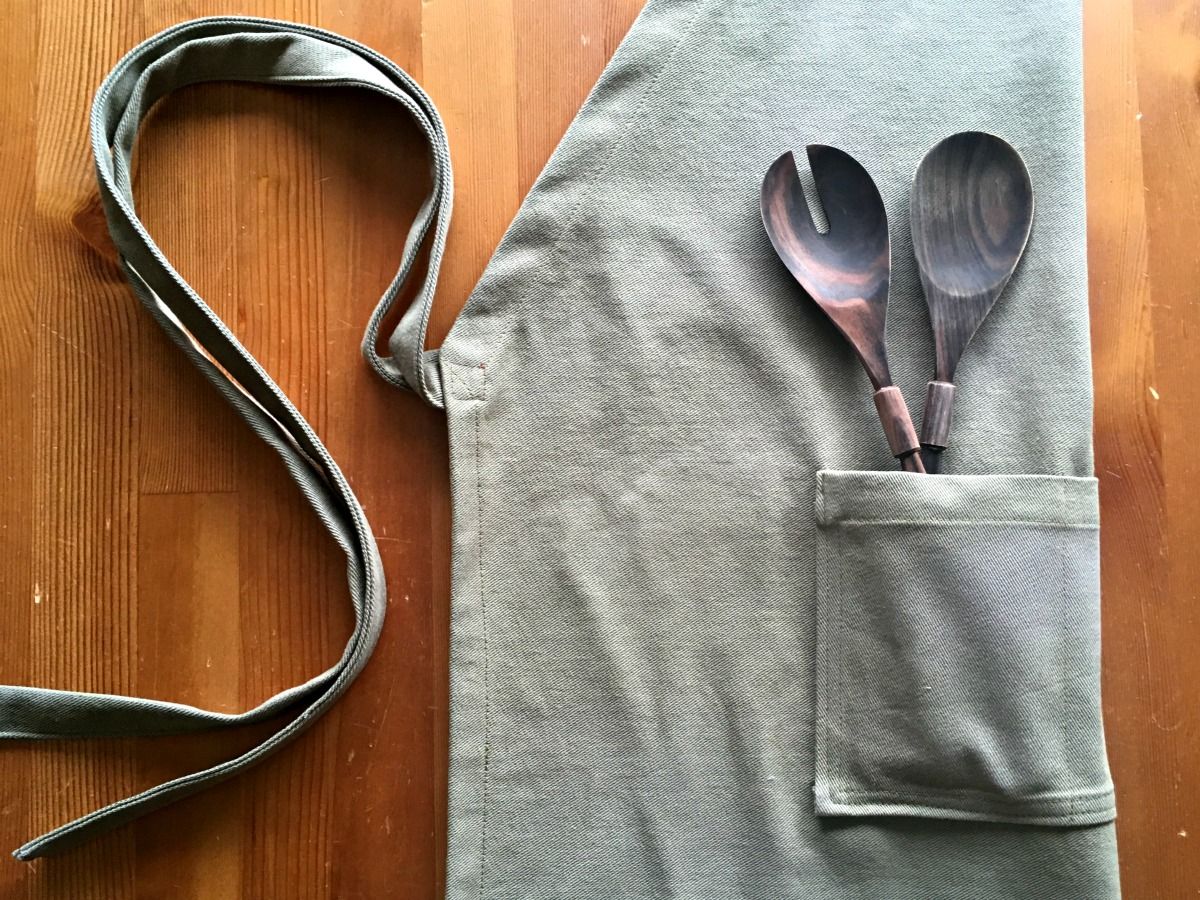
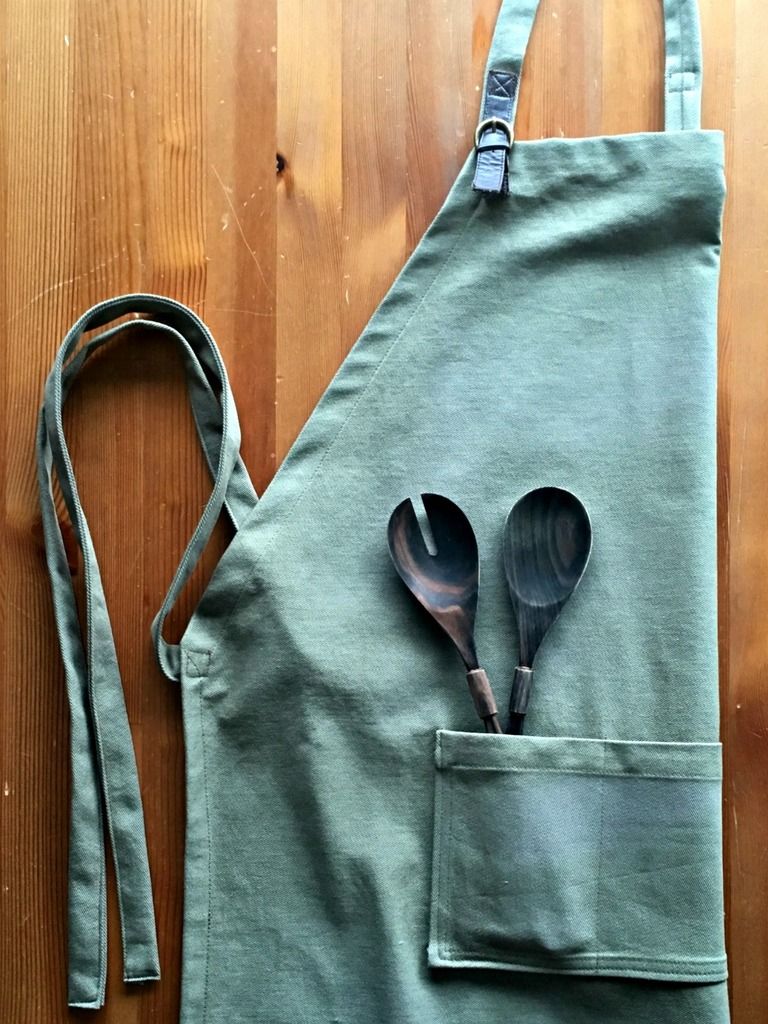
Need a gift for a guy in your life? Aprons are great for aspiring chefs (or just the at-home gourmet), BBQ aficionados, or as a utility apron for someone who works with their hands. This is an easy and fairly quick sewing tutorial that just requires a yard of fabric. The faux leather closures add a touch of ruggedness that any guy would appreciate.
Aprons were some of my first sewing projects. It taught me a lot about using a sewing machine as well as various sewing skills and terminology. However, all the aprons I made were for myself or other women with ruffles, bows, and floral prints. I had never actually sewed an apron for a guy before. To be honest, it seemed a bit boring and simple of a project. However, I had a lot of green canvas fabric and wanted to put it to good use. I also had a pair of faux leather closure straps I salvaged from a pair of boots I threw out. I thought they would be the perfect touch for a men's apron (just don't tell him it was from women's shoes!).
I sized this apron for an average height and slender sized male. If your recipient is a bit on the bigger or smaller side, you can adjust the width of the apron and the length of the ties and neck straps a bit. Also, the decorative straps made this apron not machine washable. It needs to be spot cleaned or carefully hand washed as needed. If you want the apron to be machine washable, simply leave off the decorative straps.
Materials Needed
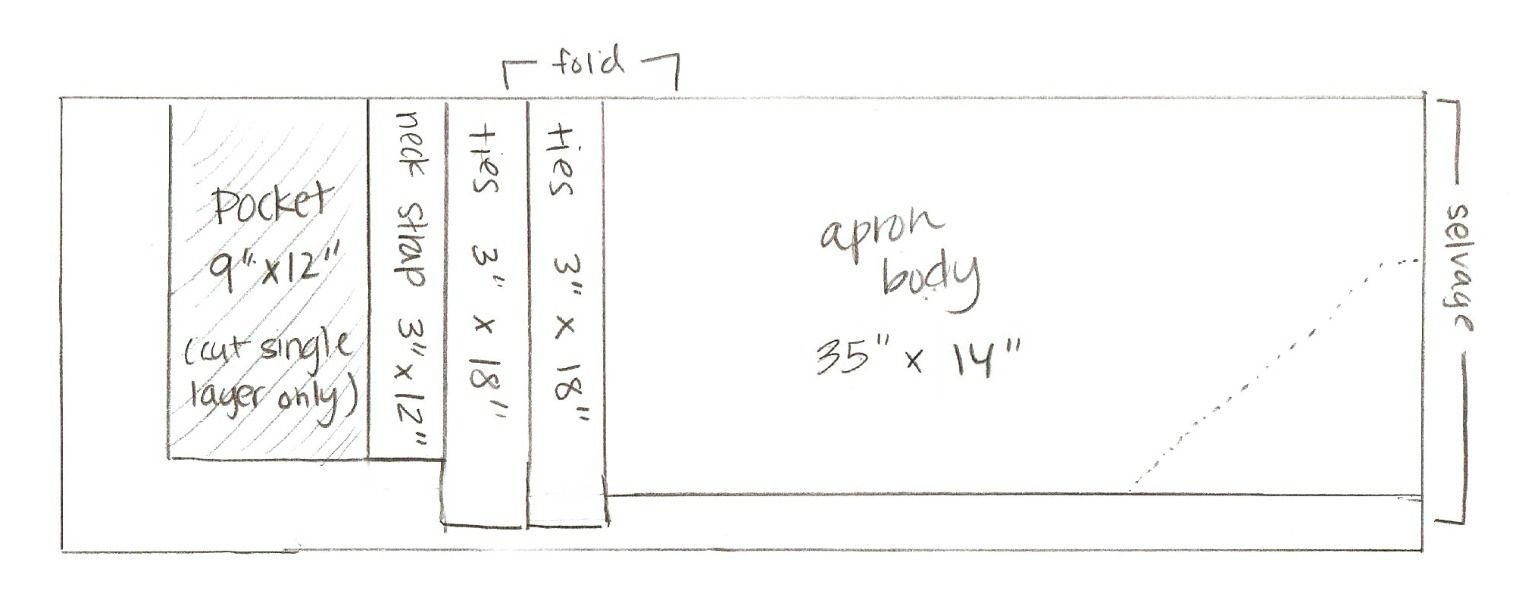
Cut your fabric
Mark & cut apron
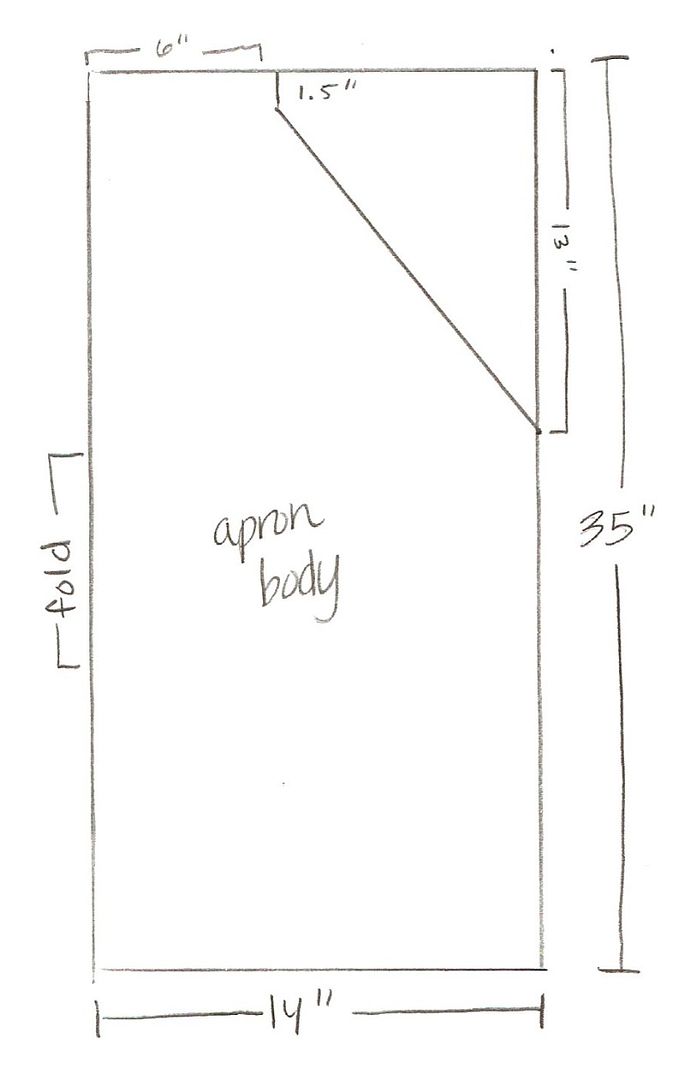
- Fold apron rectangle (28" x 35" piece) right sides together
- Along top, mark a line 6" from the center fold 1 1/2" down.
- Along open side, mark a point 13" down.
- Draw a line connecting the top line to the mark.
- Cut along lines.
Hem Apron
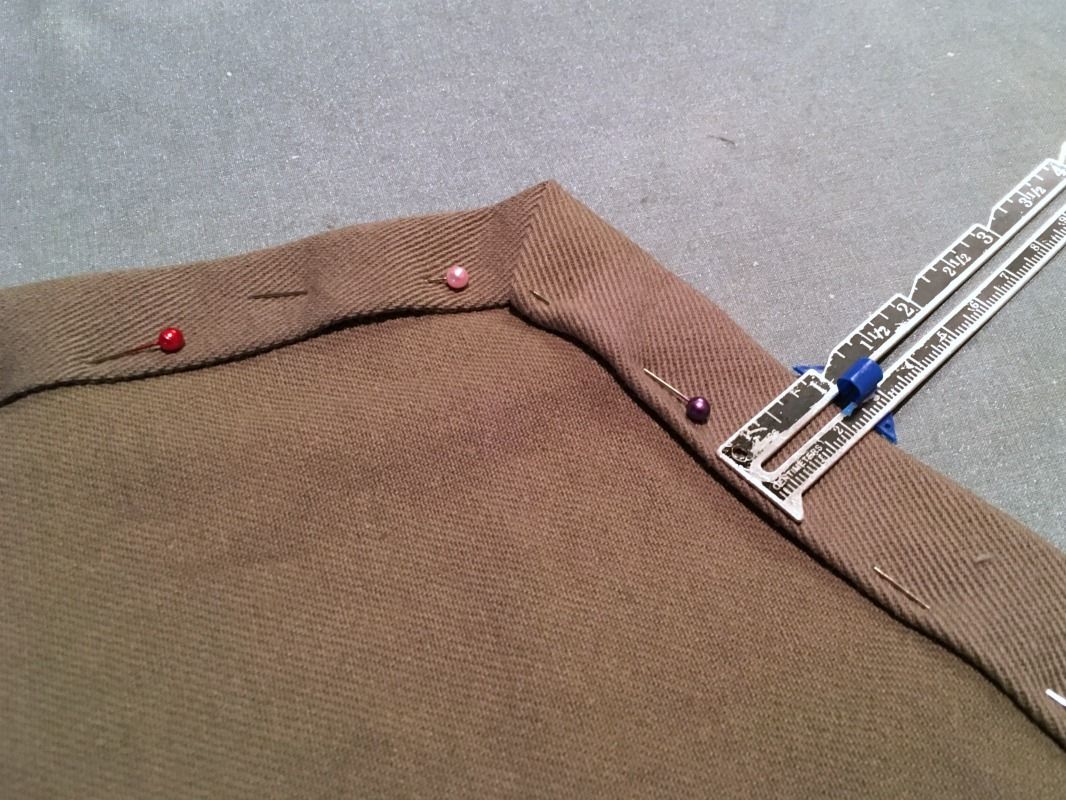
- Fold and press the angled side of the bib, the top, and the bottom hem under 1/2", then 1".
- Fold and press the sides of the apron skirt under 1/2", then 3/4".
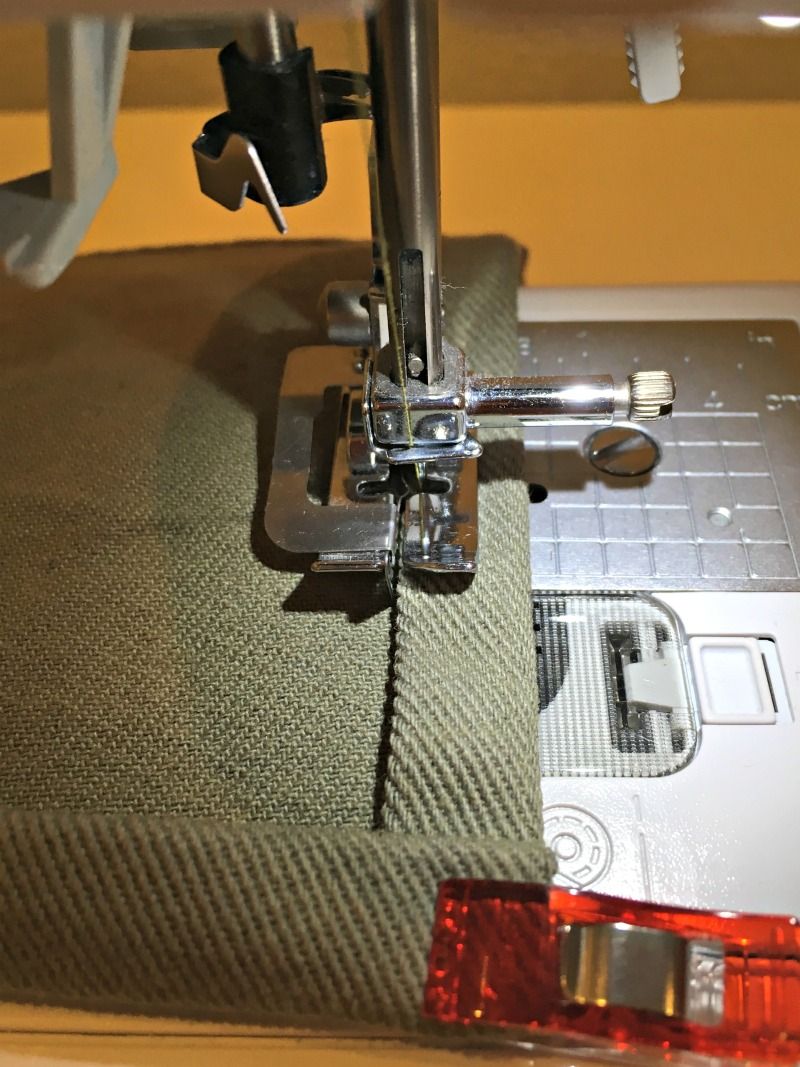
- Sew hem all the way around the apron.
Sew the Pocket
- Fold and press the sides and bottom of the pocket down 1/2", then 1/2".
- Fold and press the top down 1/2", then 1".
- Sew the top of the pocket. Sew the sides and bottom if desired.
- Pin pocket to apron, centering it and place it 2 1/2" down from the end of the angled bib.
- Sew on pocket 1/4" away from the edge down the sides and across the bottom. Stitch back and forth a few times at the top for security.
- To sew the pocket divider, mark a line 4" away from the left side of the pocket. Sew, stitching back and forth few times at the top for security.
Sew the straps
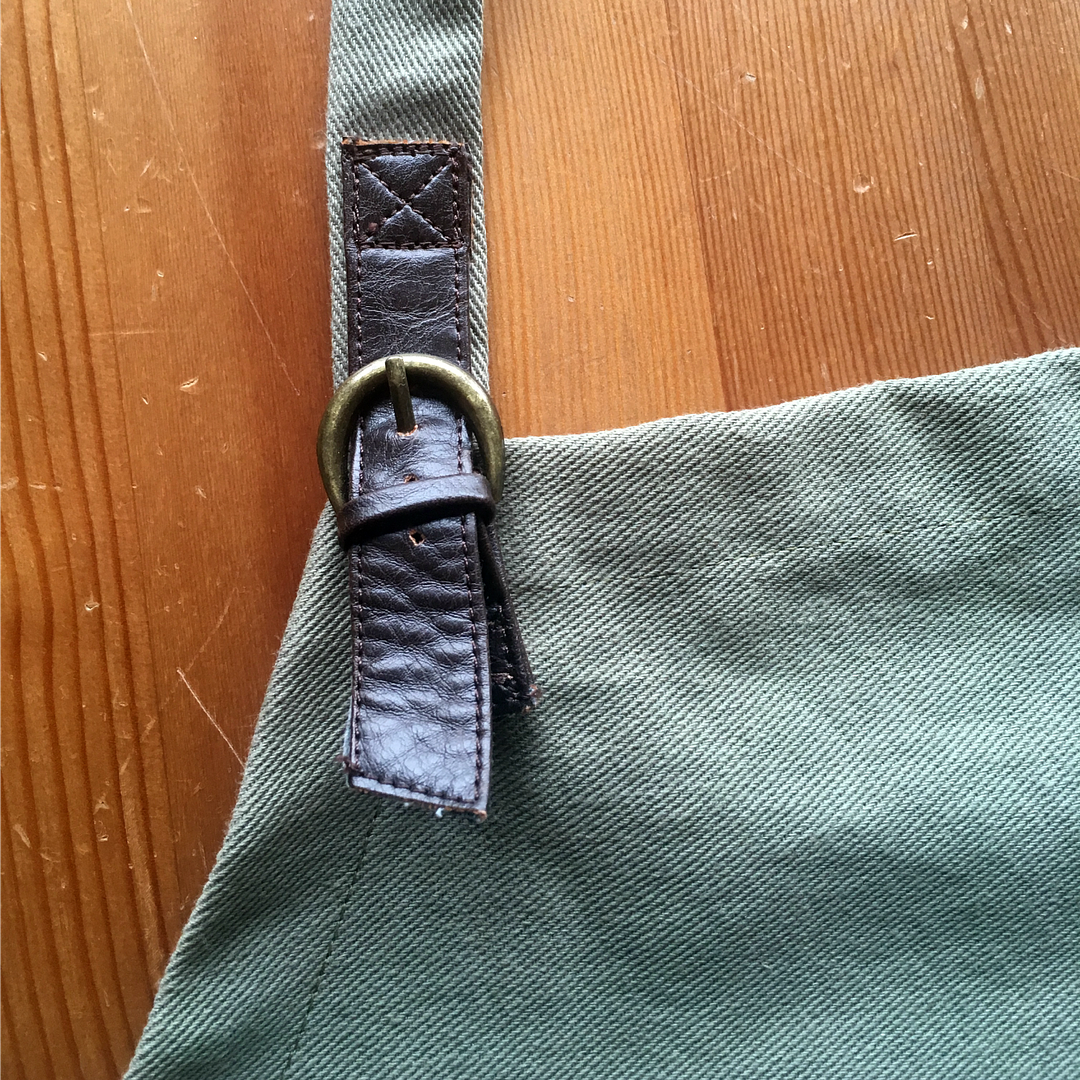
Note: I used my closure as a decoration since it would be too difficult to use it as an actual buckle. If you want to make your buckle functional, skip step 3 below. Then shorten your neck strap a couple inches and sew on one end of the buckles to the ends of the neck strap, then sew the other end of the buckles to the top of the bib.
- Press the short ends of your neck strap under 1/2". Fold the neck strap in half right sides together. Sew with a 1/2" seam allowance. Turn and press seam in the center. (Alternatively, if your fabric is thick, press all ends under 1/2", then fold in half wrong sides together and topstitch).
- Press the edges of your waist straps under 1/2". Fold in half wrong sides together and topstitch across the short end and down the length.
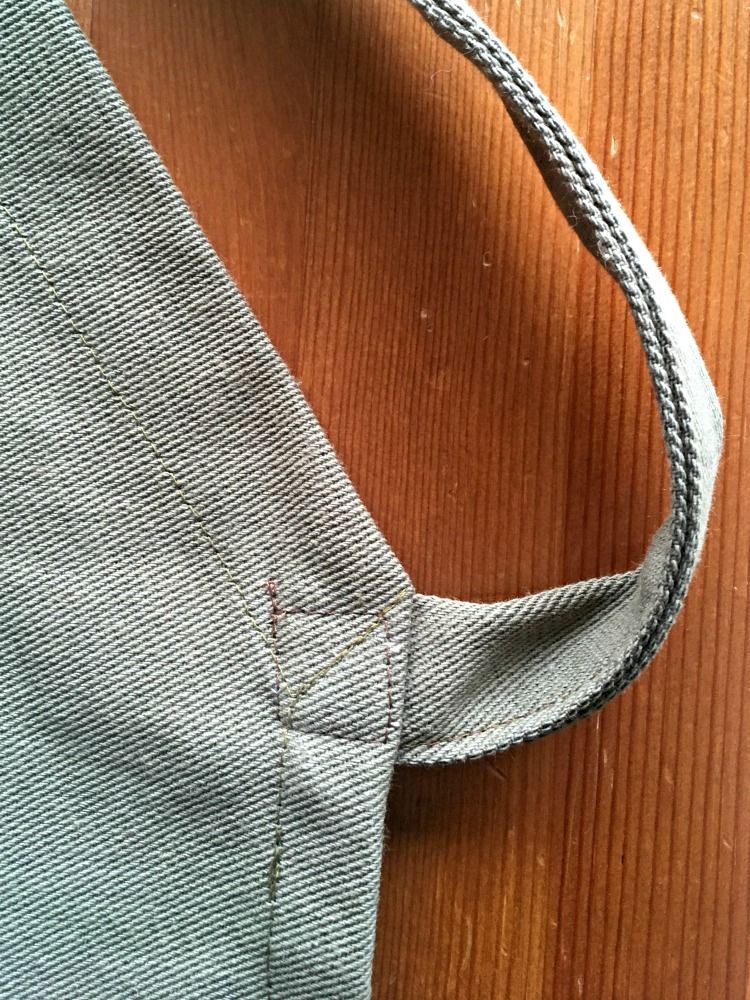
- Pin the neck strap to the back top of your apron, overlapping an inch. Sew into place by sewing a square.
- Pin the waist straps to the top of the straight sides, overlapping an inch. Sew into place by sewing a square.
Sew on the decorative straps
Sew on the straps where the neck strap meets the apron. Use a heavy needle in your sewing machine or attach it by hand.
I hope you enjoyed this sewing tutorial. If you make your own apron, I'd love to see pictures! You can tag me in social media (links in sidebar). And make sure to follow my blog to keep up to date with my latest posts.
Happy Sewing!


No comments:
Post a Comment