

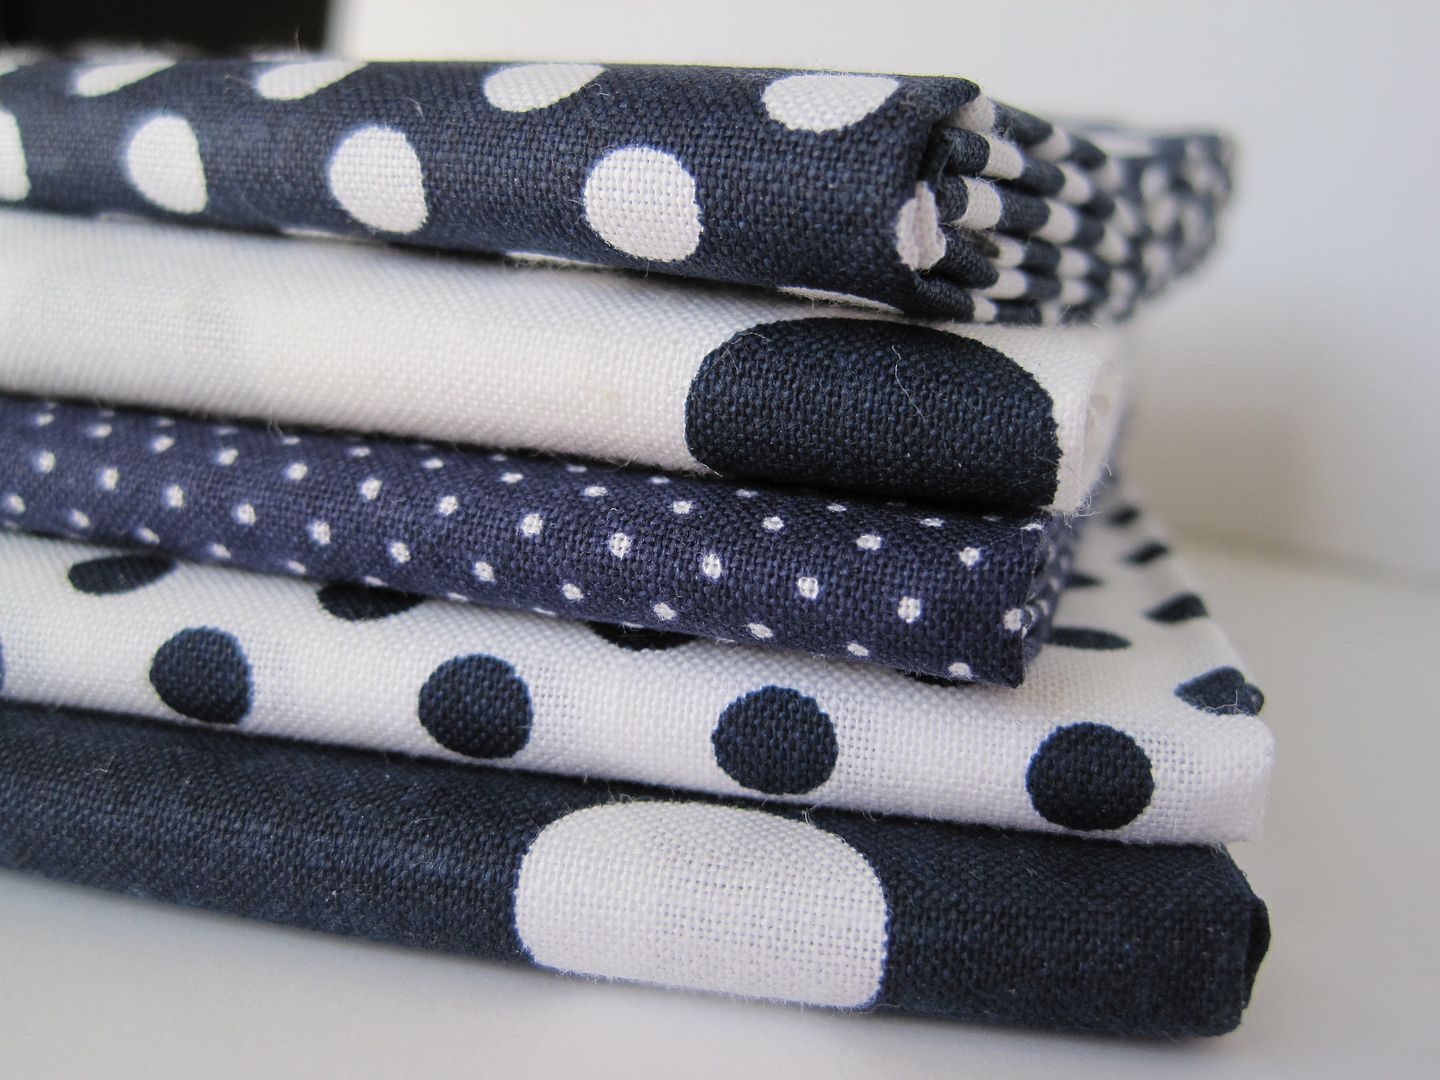
The first project I am going to make is bias tape to use in the other projects in the series. I fell in love with making my own bias tape. It's cheaper than the store bought kind and you can make it in cute little prints and colors. You can also make it out of 100% cotton (no more polyester!). The first tutorial I used to make bias tape was using a fat quarter. It is a very manageable size of fabric and only costs about a $1.
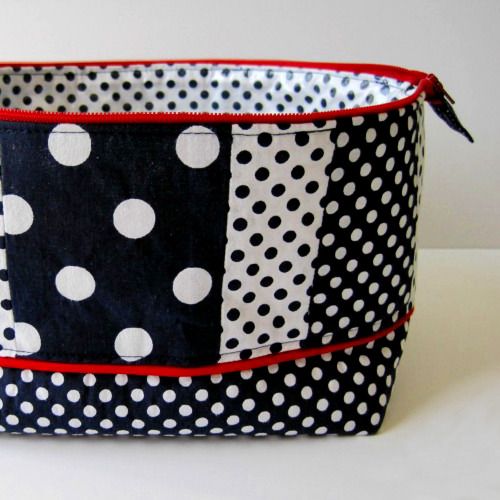
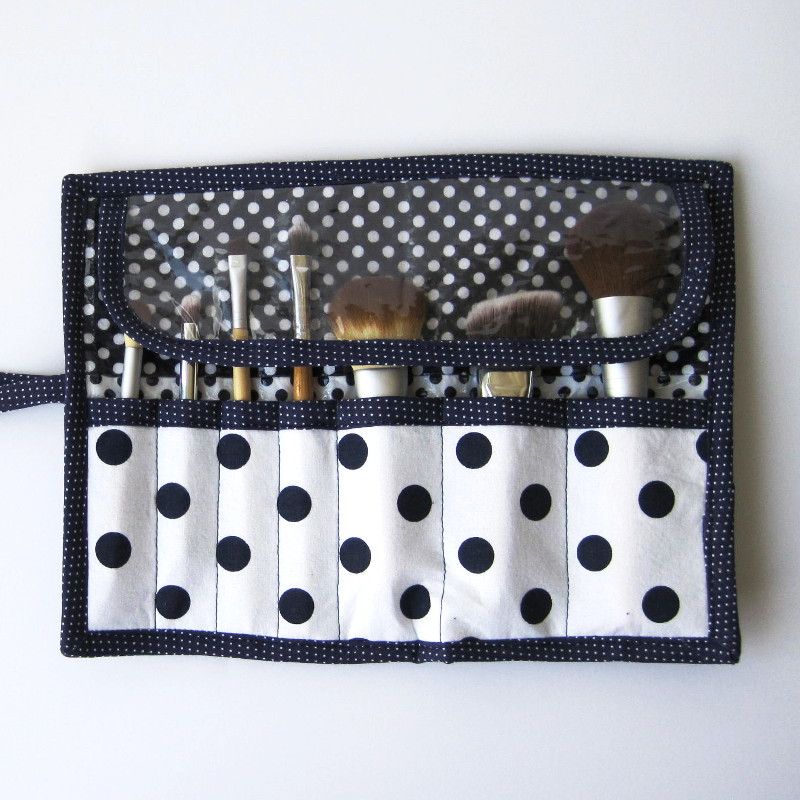
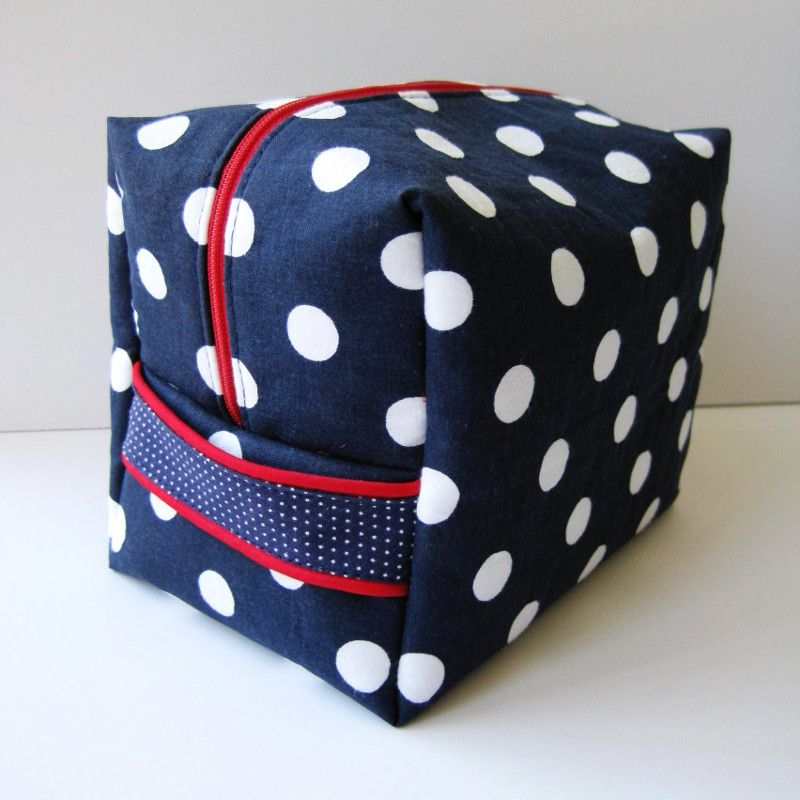
UPDATE: You can see how I used the bias tape and all the projects in the fat quarter series HERE.
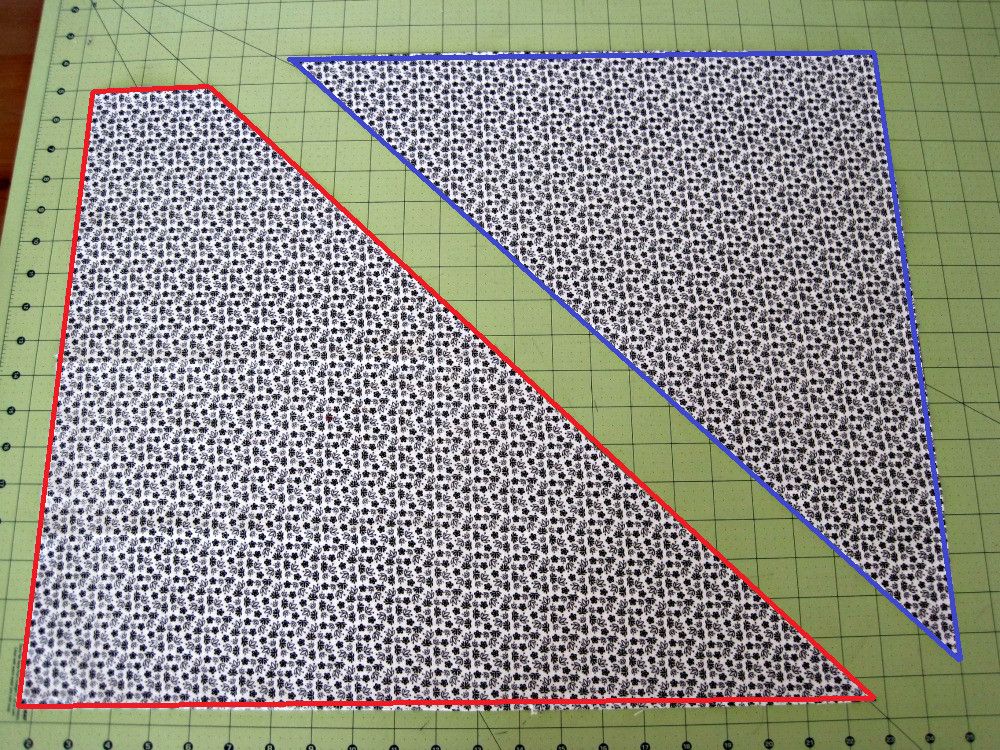
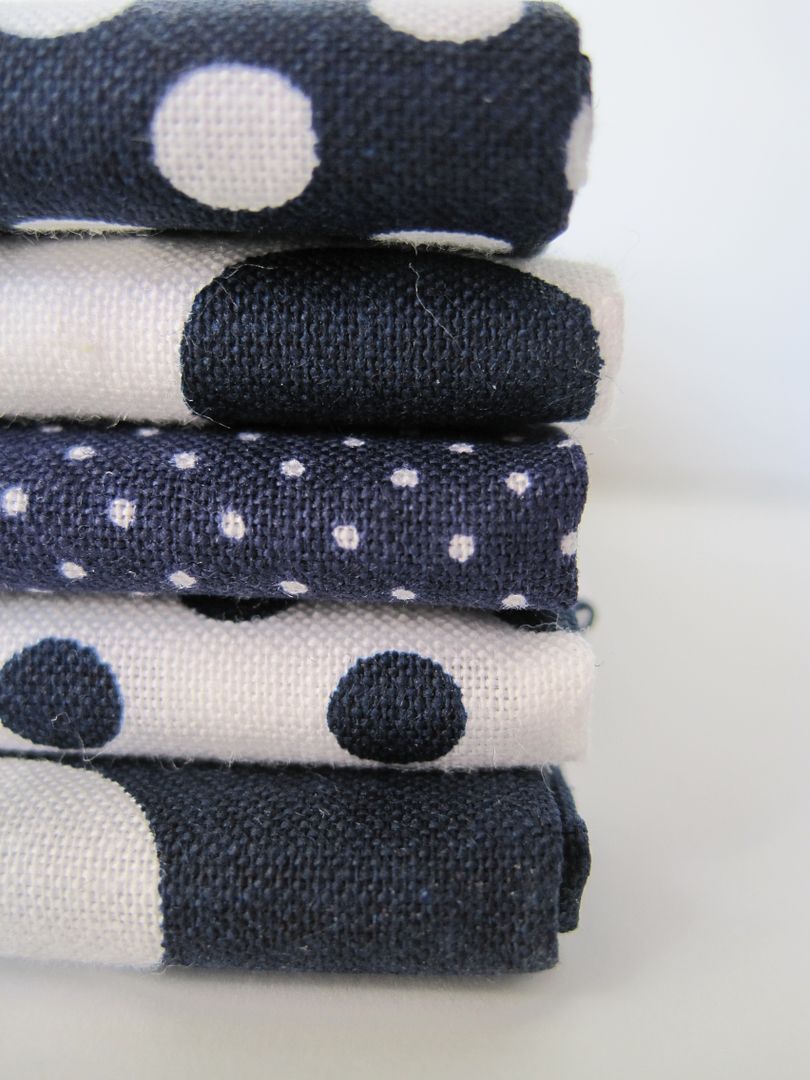
Today I am going to show you two methods of making bias tape using the entire fat quarter, with little to no waste! I picked the navy print with the tiny dots to make my bias tape. Small prints work best for bias tape since only about a 1/2" wide section of it shows up on your project.
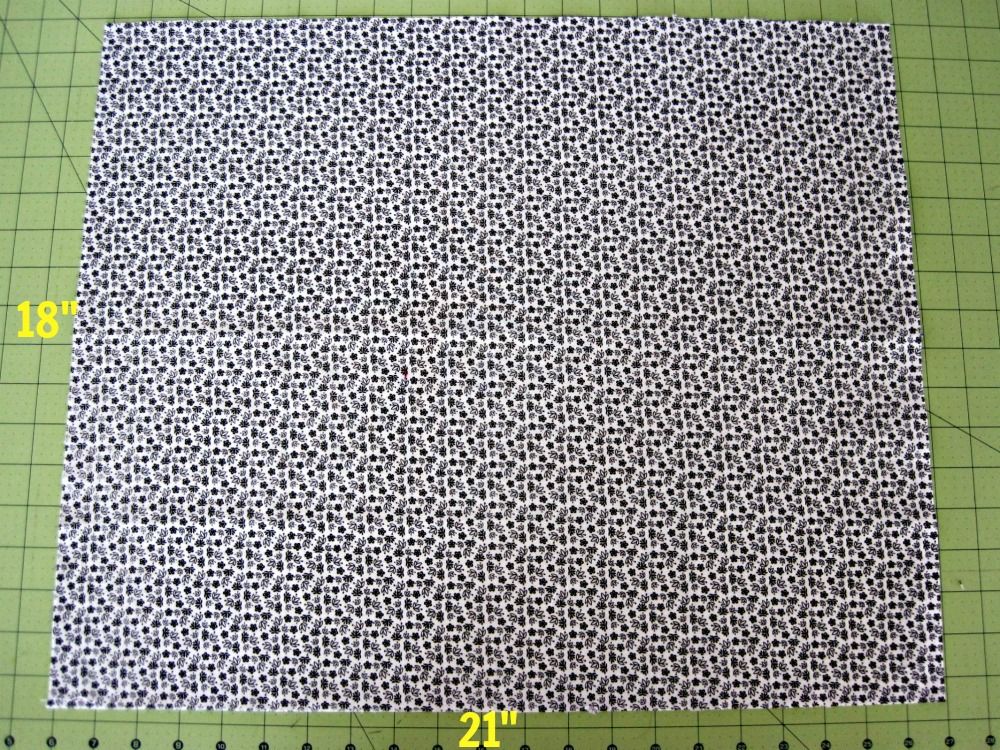
- Step 1: [I will show most of the steps with this white fabric because it photographs better than the navy] Make sure the edges of your fat quarter are squared off.
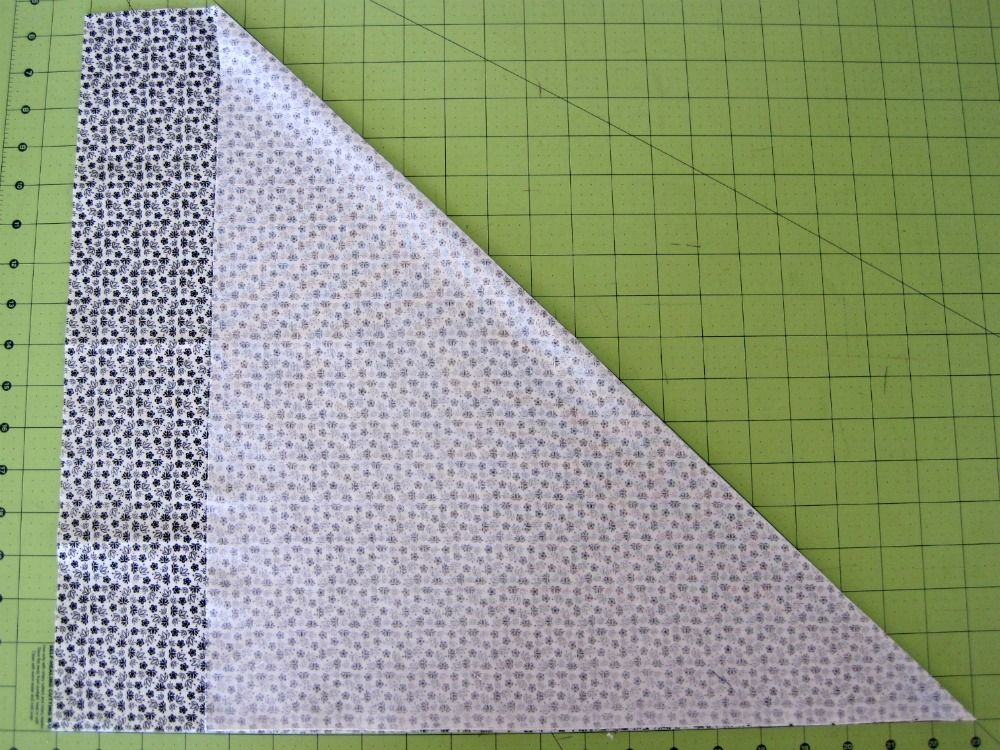
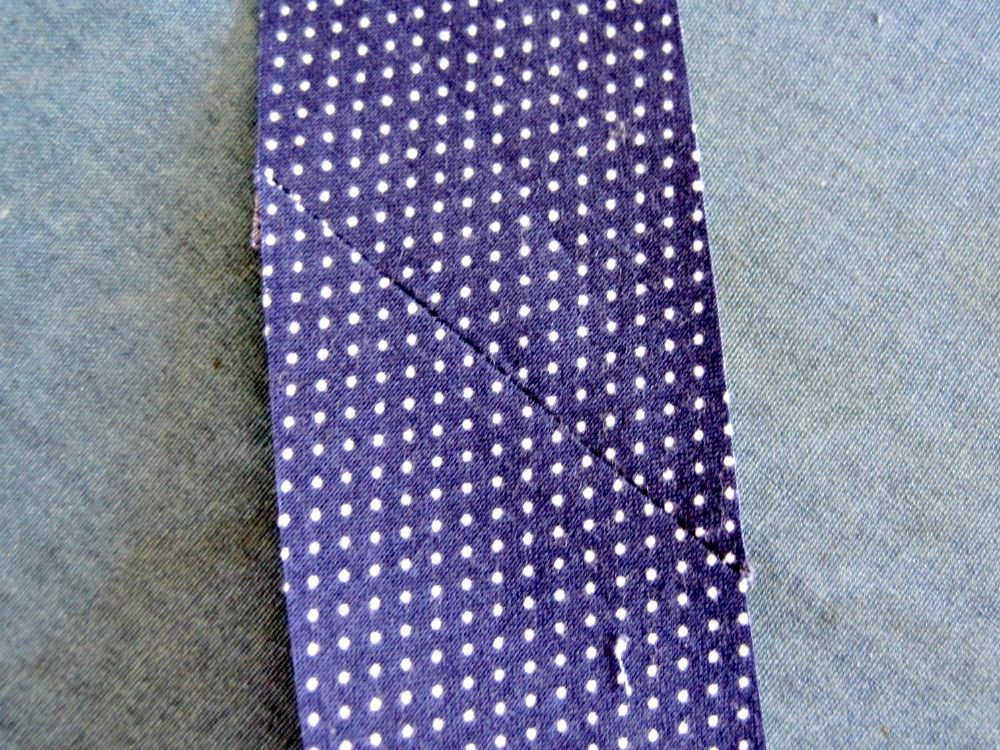
- Step 2: Fold down the top right corner as pictured. Finger crease the fold.
- Step 3: Cut along the crease using a rotary cutter or scissors
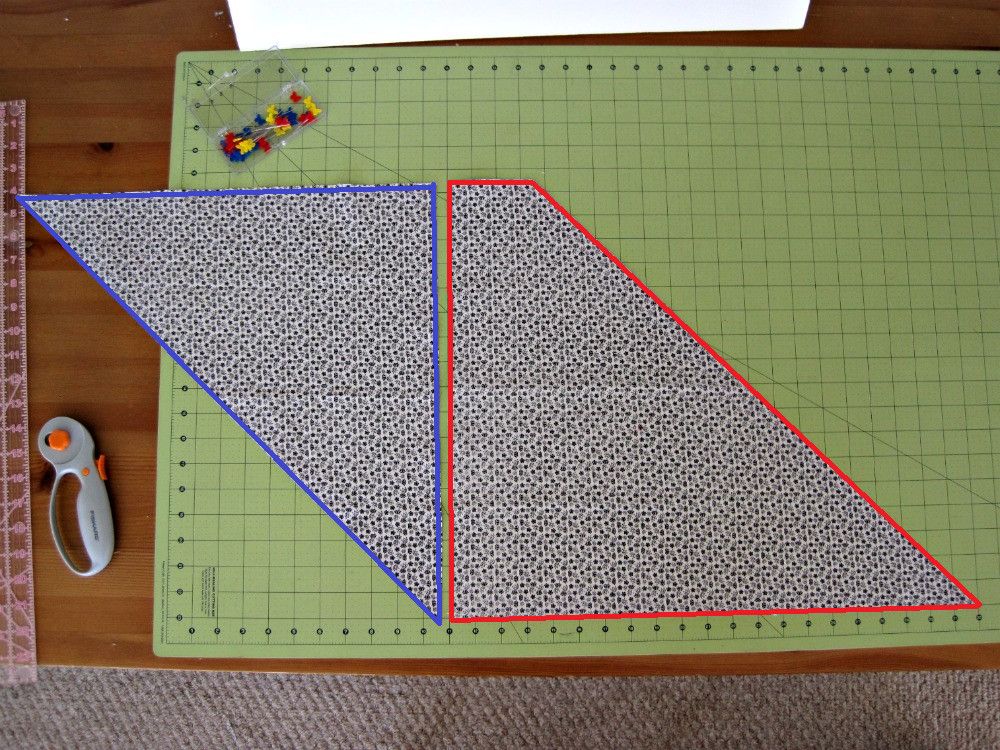
- Step 4: Move the piece you cut on the right side over to the left side as pictured.
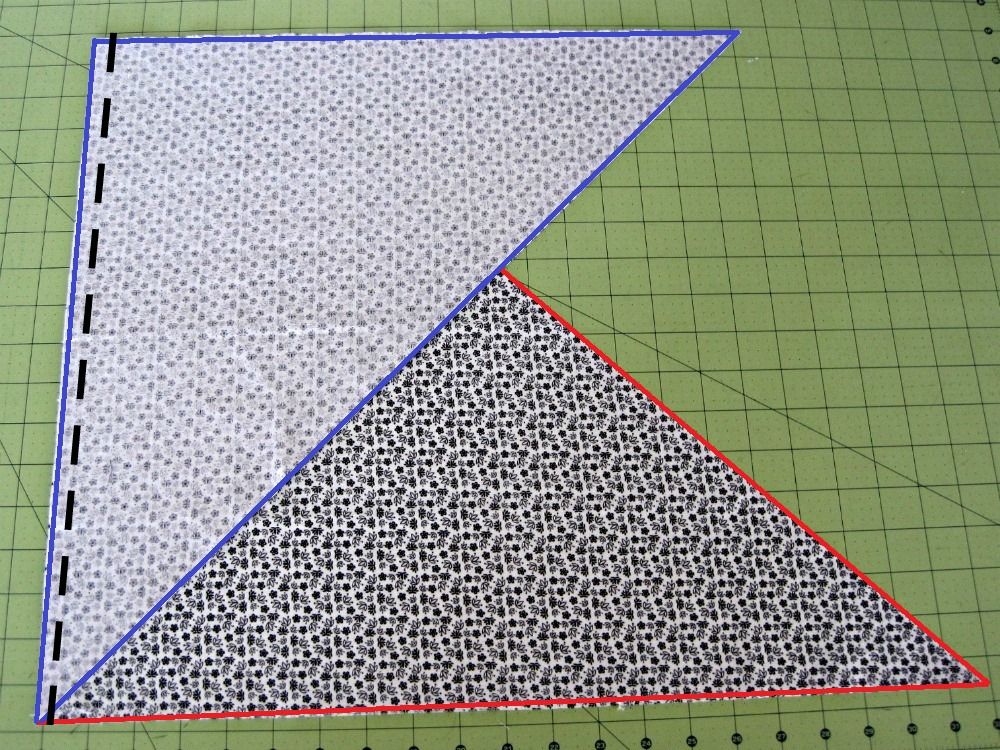
- Step 5: Fold the pieces right side together and sew along the edge with a 1/4" seam allowance with a tiny stitch length (you will be cutting through the stitches, so you want the seam to stay intact). I used 1.8mm stitch length.
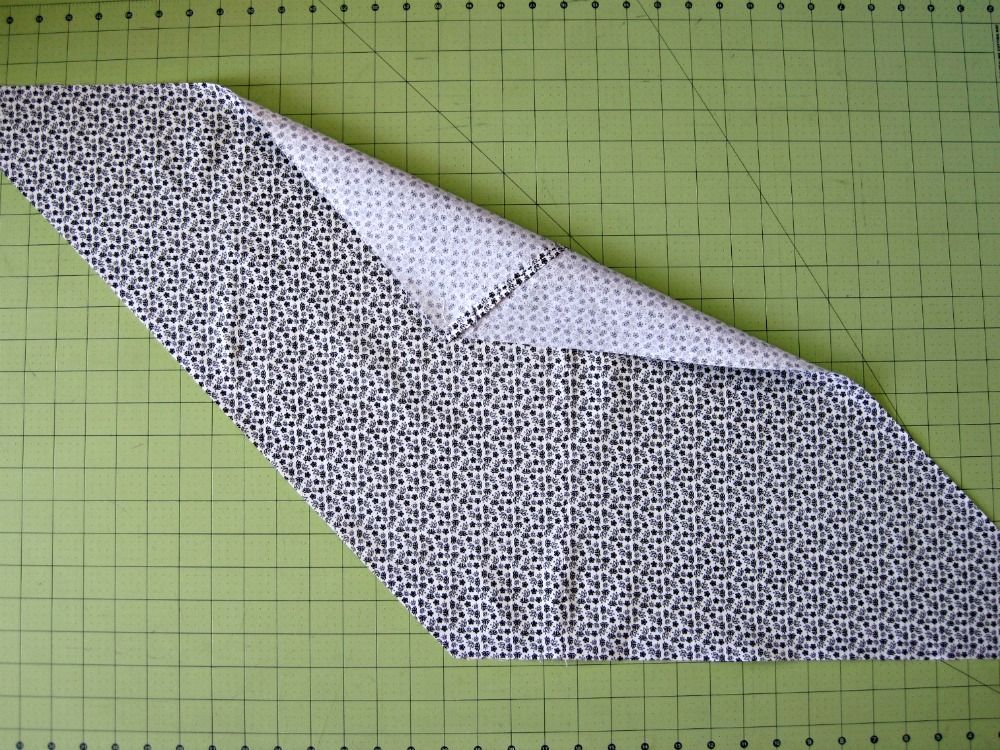
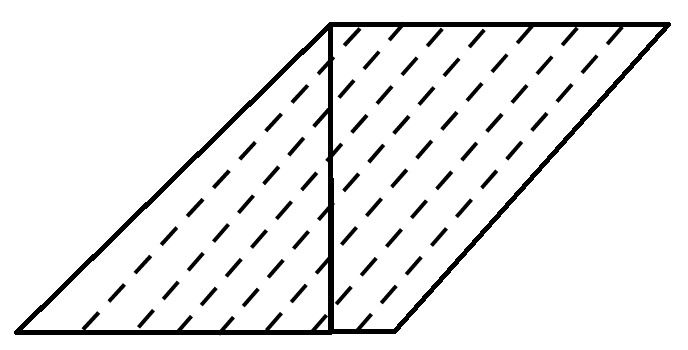
- Step 6: Press seam open. You now should have a parallelogram!
Method 1
This method requires marking the bias strips, sewing up one more seam, and then using scissors to cut a continuous strip of bias tape. Because you have to mark the seams, it works best on lighter fabrics. If you have a darker fabric that is difficult to mark, skip ahead to Method 2.
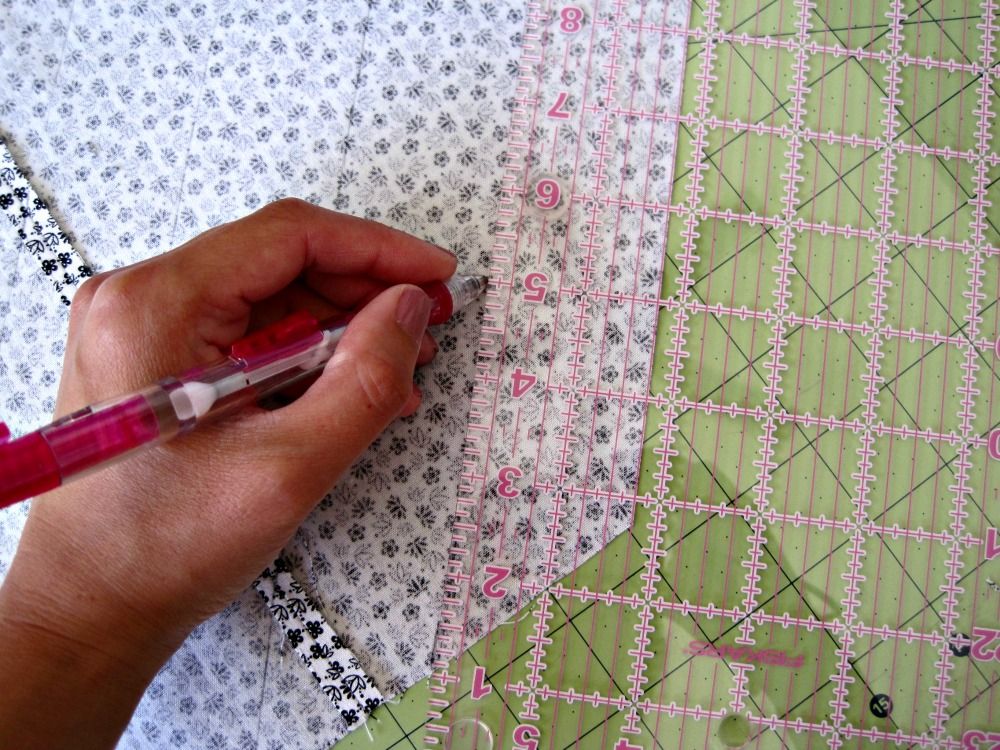
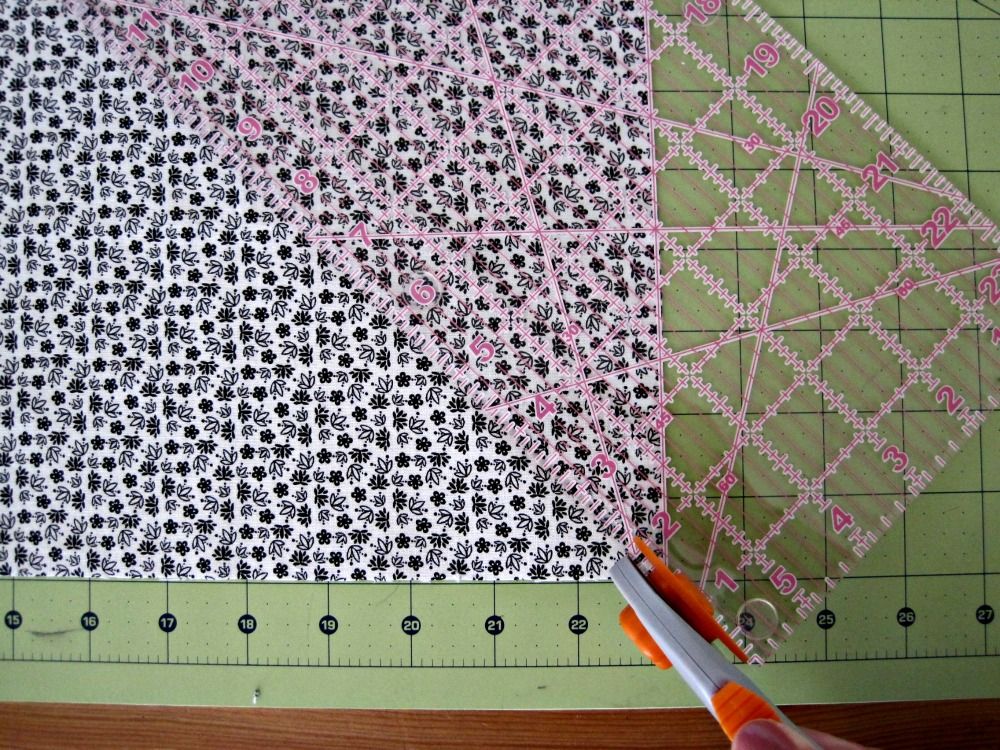
- Step 7a: Using a clear ruler, draw lines on your fabric that are 1 3/4" apart. (This will make 1" single fold or 1/2" double fold bias tape).
- Step 8a: If you have a piece on the end that's too narrow, cut it off.
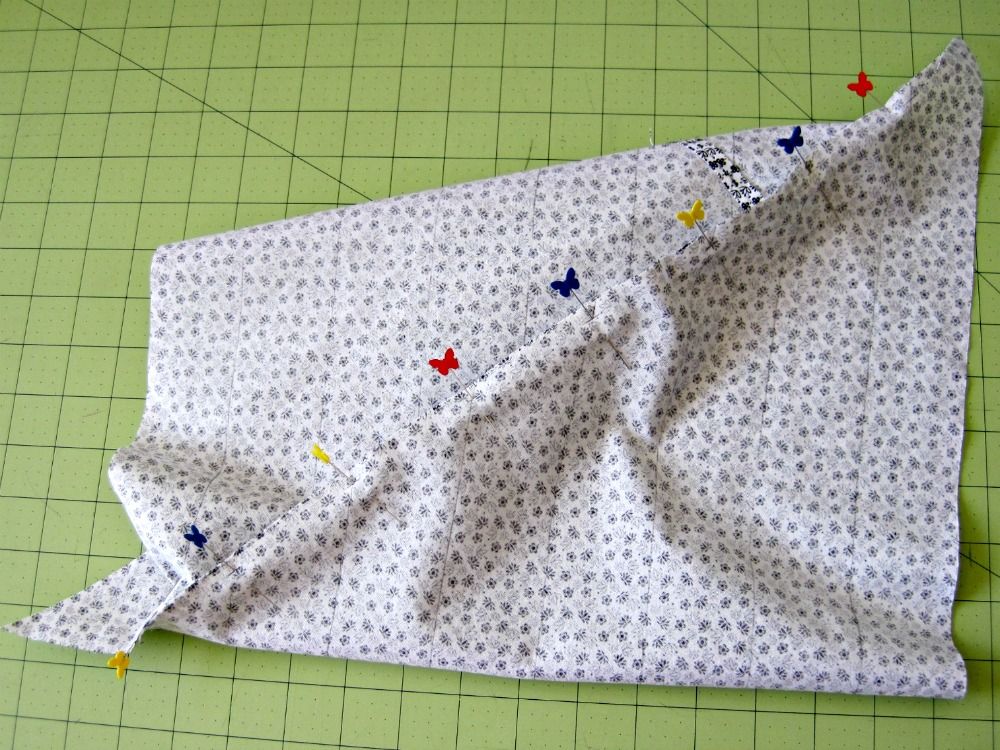
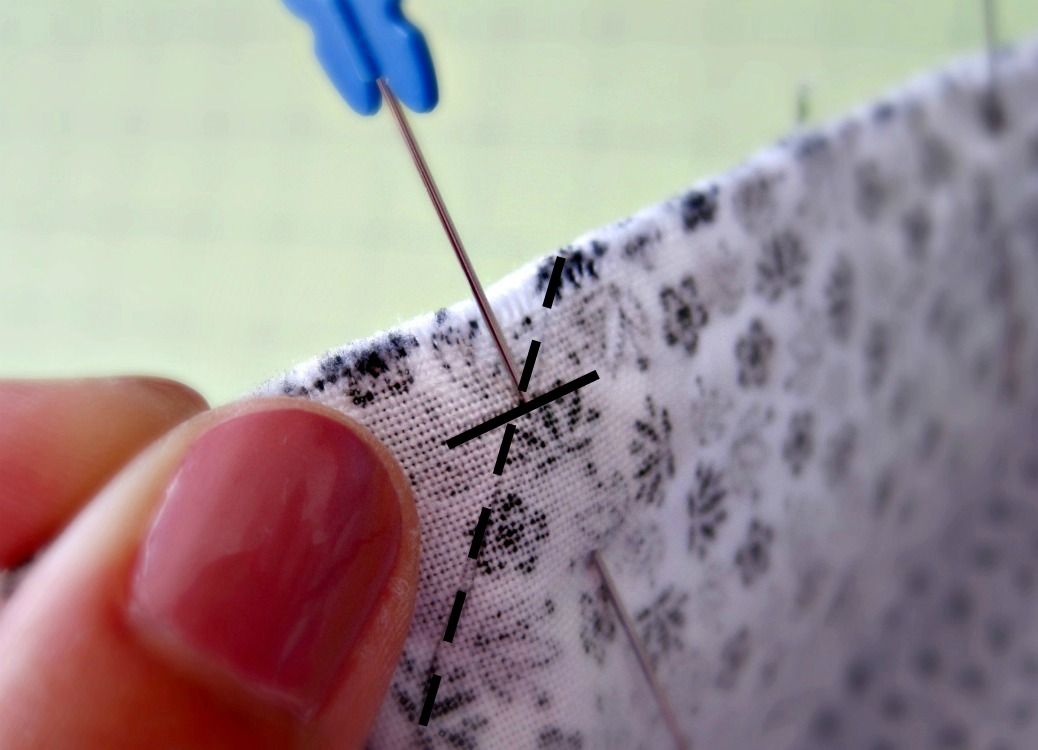
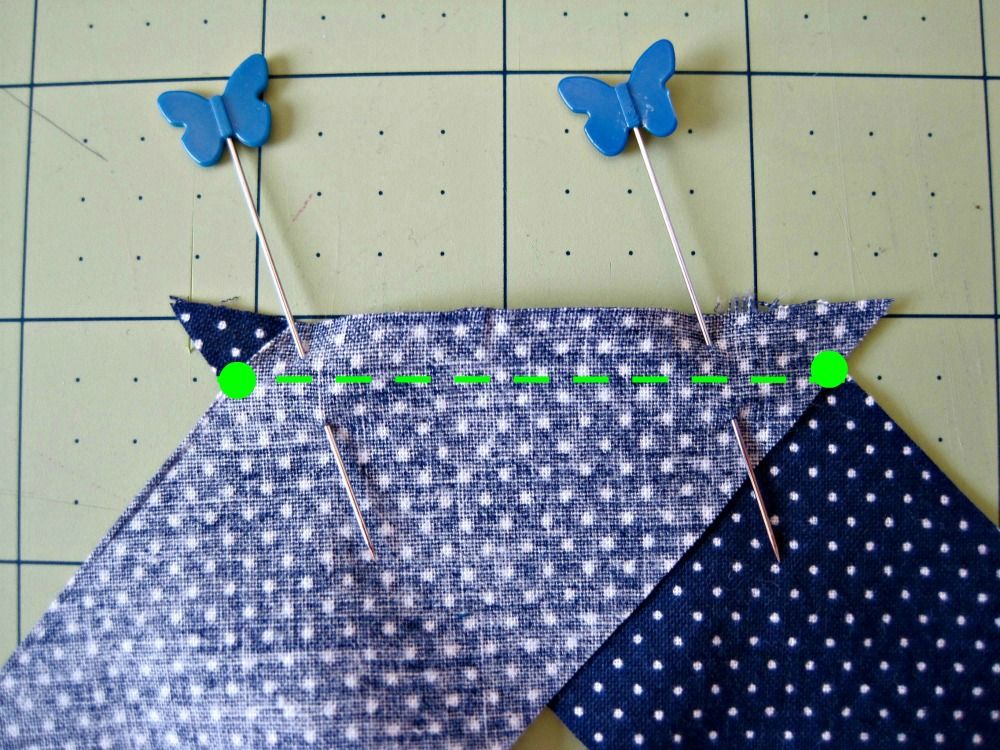
- Step 9a: Here's where it gets a bit tricky. Bring together the two edges to match up the lines you just drew. (The fabric will bunch up). Align the edges so that there is 1 column of bias tape hanging off at both ends. Pin at each intersection of the lines, 1/4" down from the edge [Make sure to pin and align the lines 1/4" down, not on the edge of the fabric]. Sew with a 1/4" seam allowance with a tiny stitch length.
 |
| Whoops, I forgot to take a picture after I sewed this seam! |
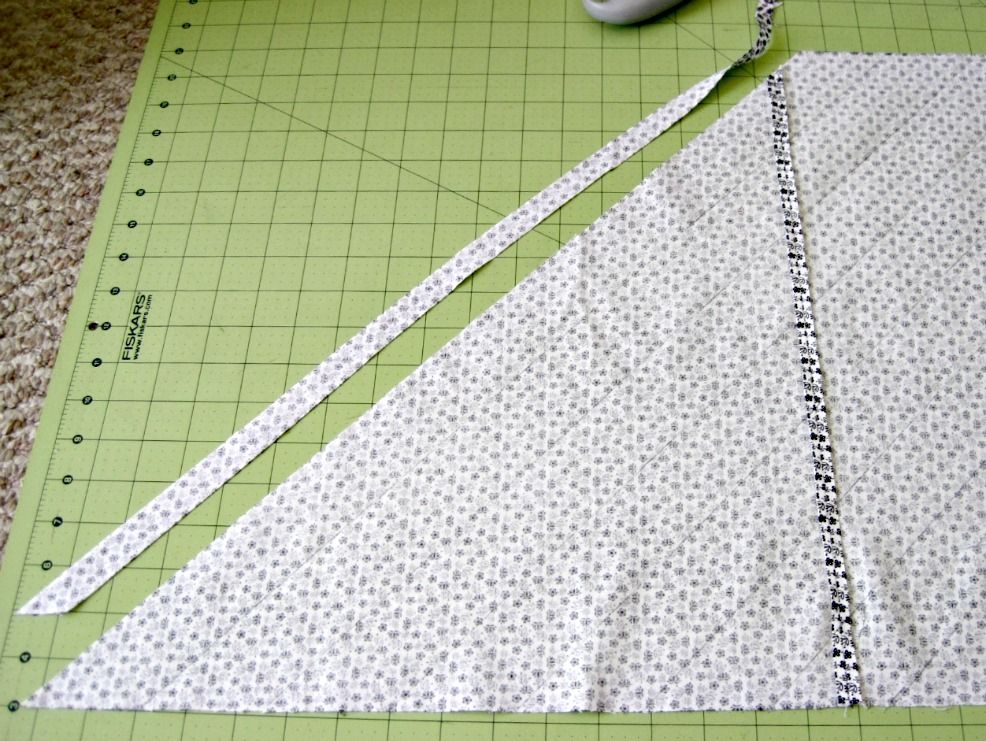
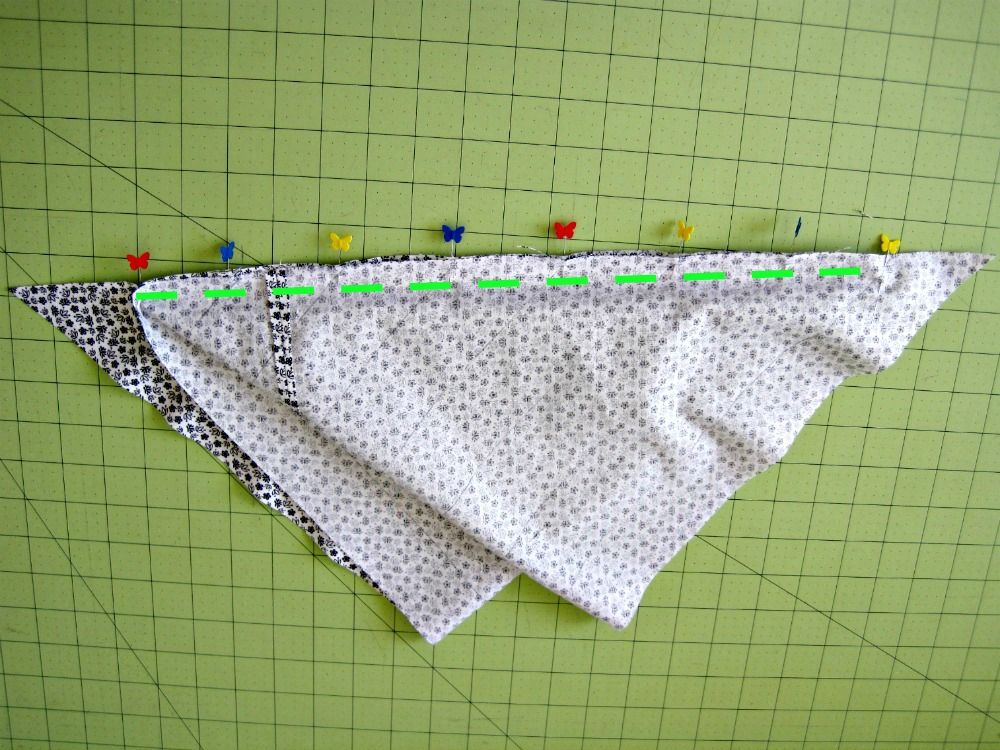
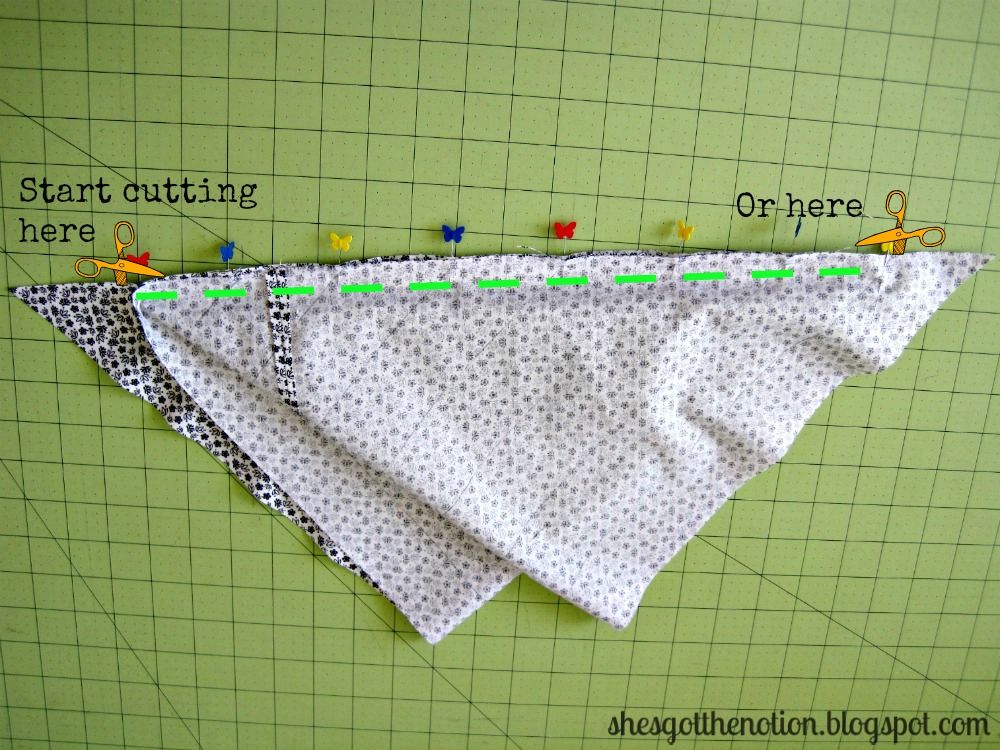
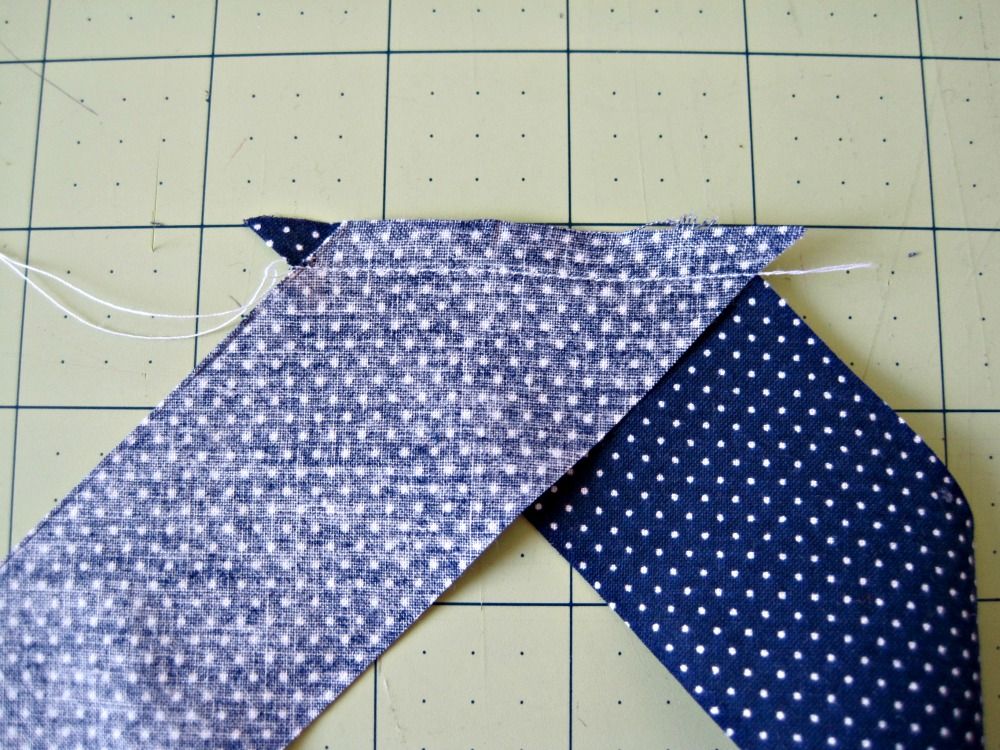
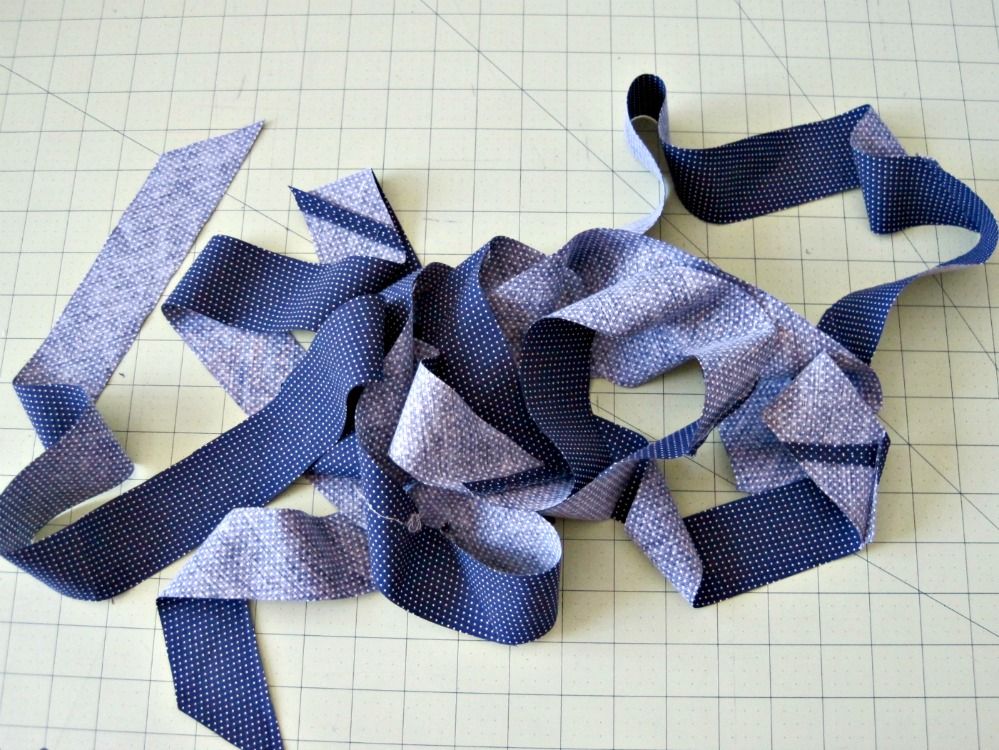
- Step 10a: Press seam open. You can now cut your bias strips! Start cutting along the lines and your bias tape will unravel into 5 beautiful yards.
You should use this method if your fabric is dark or difficult to mark. Or if you just hate using your sewing scissors, because you can cut the strips with your rotary cutter! This takes about the same amount of time as Method 1. You'll spend less time cutting, but a bit more time at your sewing machine and ironing board.
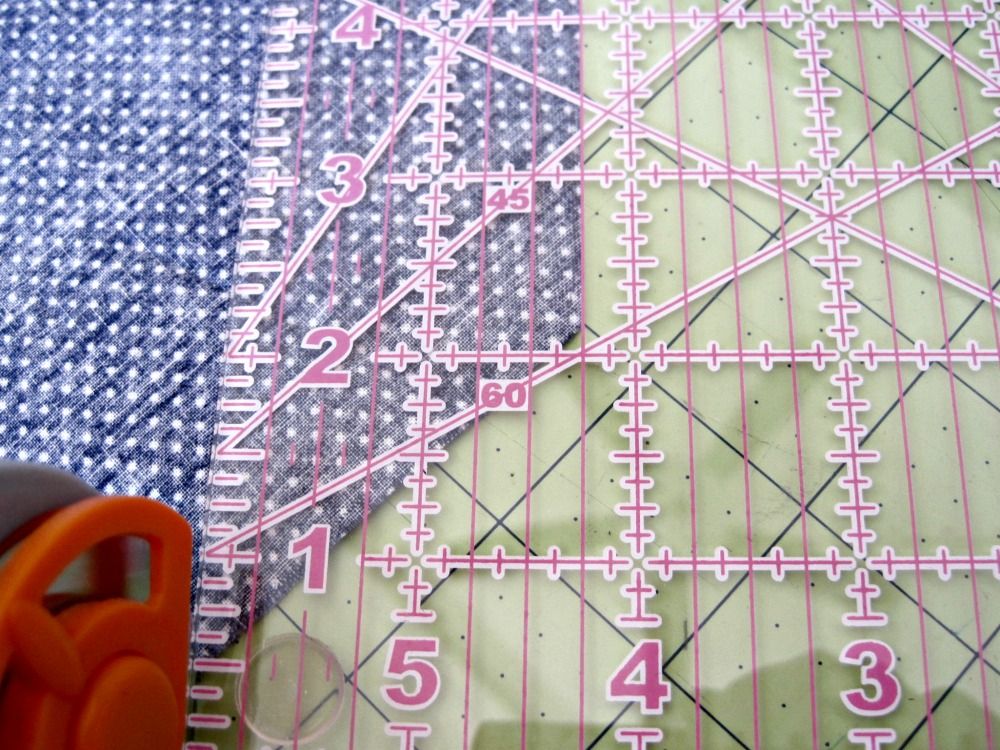
- Step 7b: Cut parallel strips that are 1 3/4" wide with a clear ruler and rotary cutter.
- Step 8b: Pin strips right side together. You want a bit of fabric to hang off each side. Sew about 1/4" seam, from point to point as pictured.
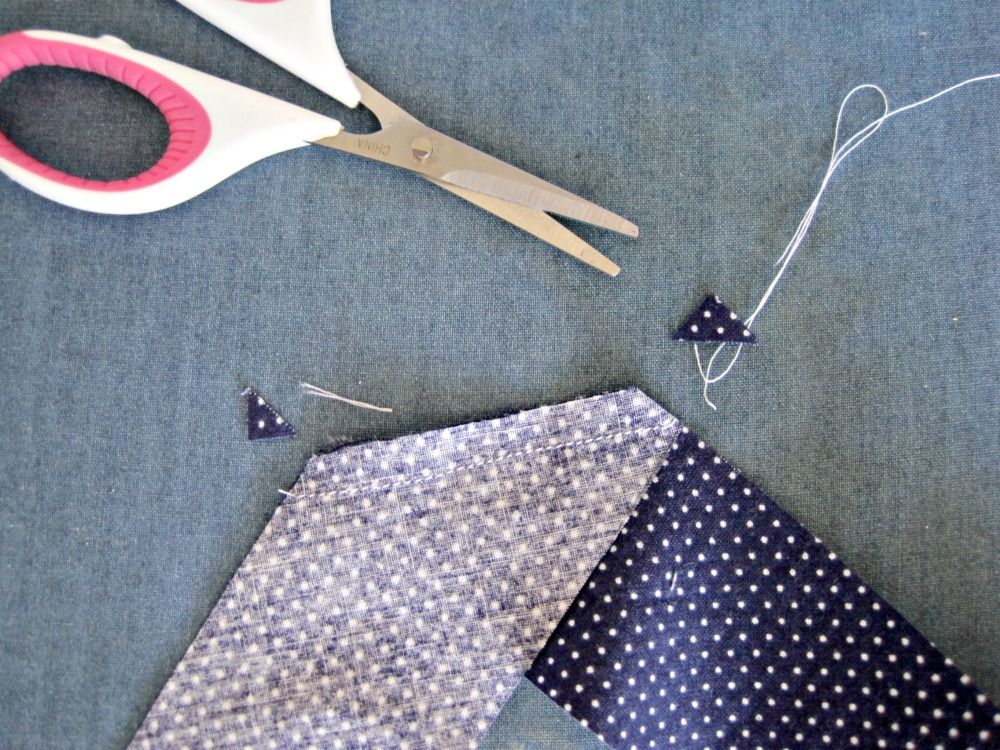
- Step 9b: Clip off the little triangles on the corners.
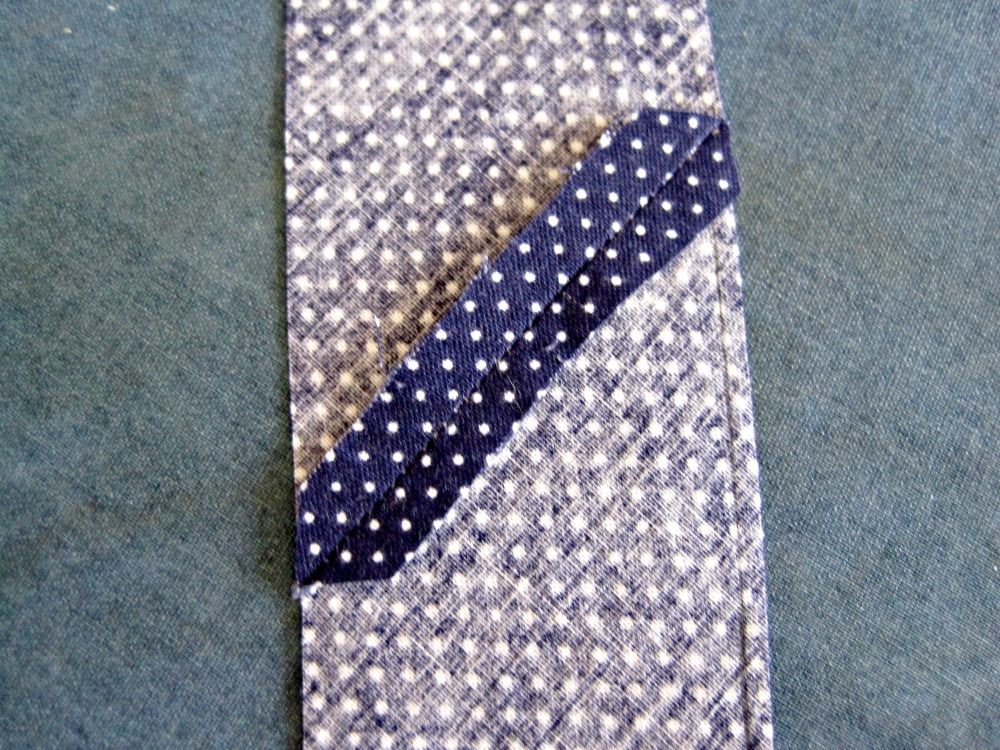
- Step 10b: Press seams open.
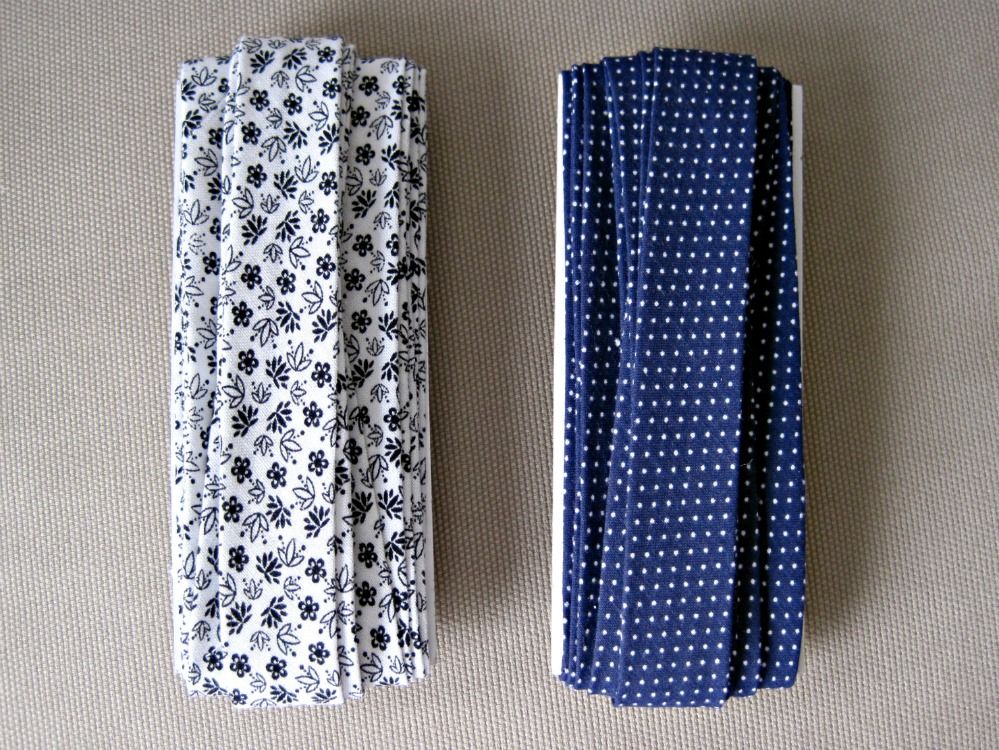
You should now have something that looks like this! Now it's time to turn it into bias tape. For my bias tape, I like to leave it single folded when I'm not sure what I'm going to use it for. If I need it double folded for a project, I'll fold in half and iron the amount I need for the project.
 |
| Thanks to my sister whose bias tape maker I |
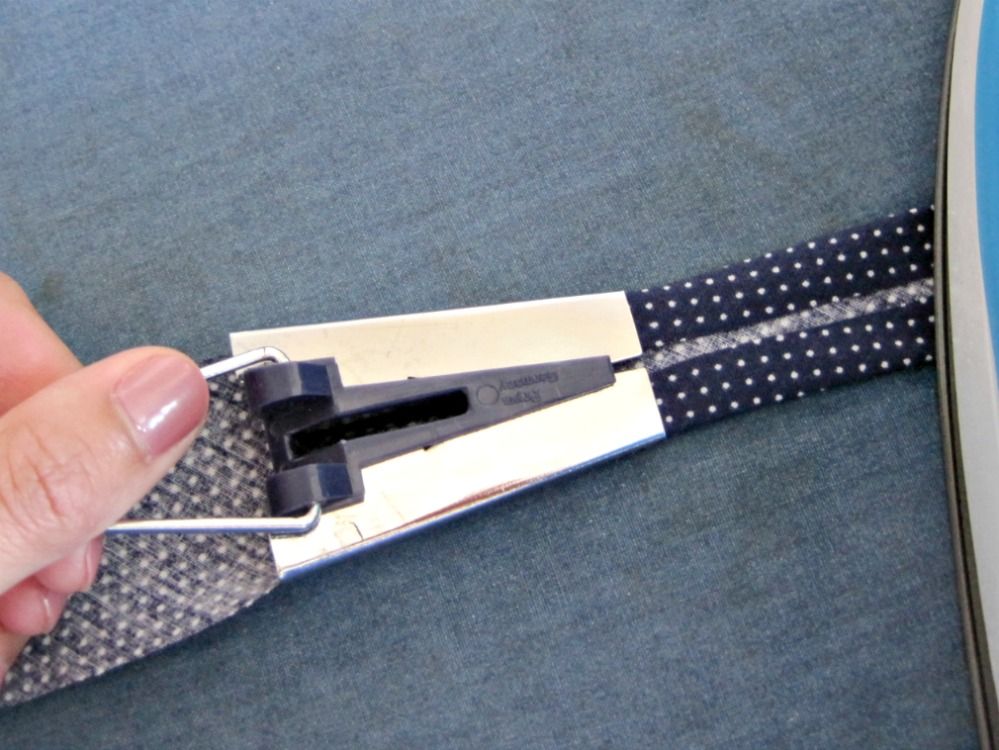
- Step 11: Fold the bias tape about 1/4" on each side and iron. Or just use a bias tape maker like I did. It's so quick and minimizes steam burns to your fingers! To make double fold bias tape, fold in half lengthwise and iron again.

Stay tuned next week when I show you what I'm going to make using the bias tape and the remaining 4 fat quarters.

Other posts in the Fat Quarter Series:
What size bias tape maker did you use? I used a 1" and it was a mess!
ReplyDeleteSorry to hear that! My bias tape maker is a 1"/25mm. It's marked as a brand called "Prym", but I think I bought it packaged by Dritz in the US.
DeleteThe problem might be the bia tape maker you are using. I've used another brand of bias tape maker (also 1"), but it didn't hold the fabric securely enough and the results were not as even or nice.