Green isn't a prominent color in my wardrobe. So when St. Patrick's Day rolls around I'm usually scrambling to find something to wear. I usually have to settle for an article of clothing that is much more teal than kelly green or something green I've literally only kept around to wear once a year. Sometimes, however, I end up just tying a green ribbon in my hair.
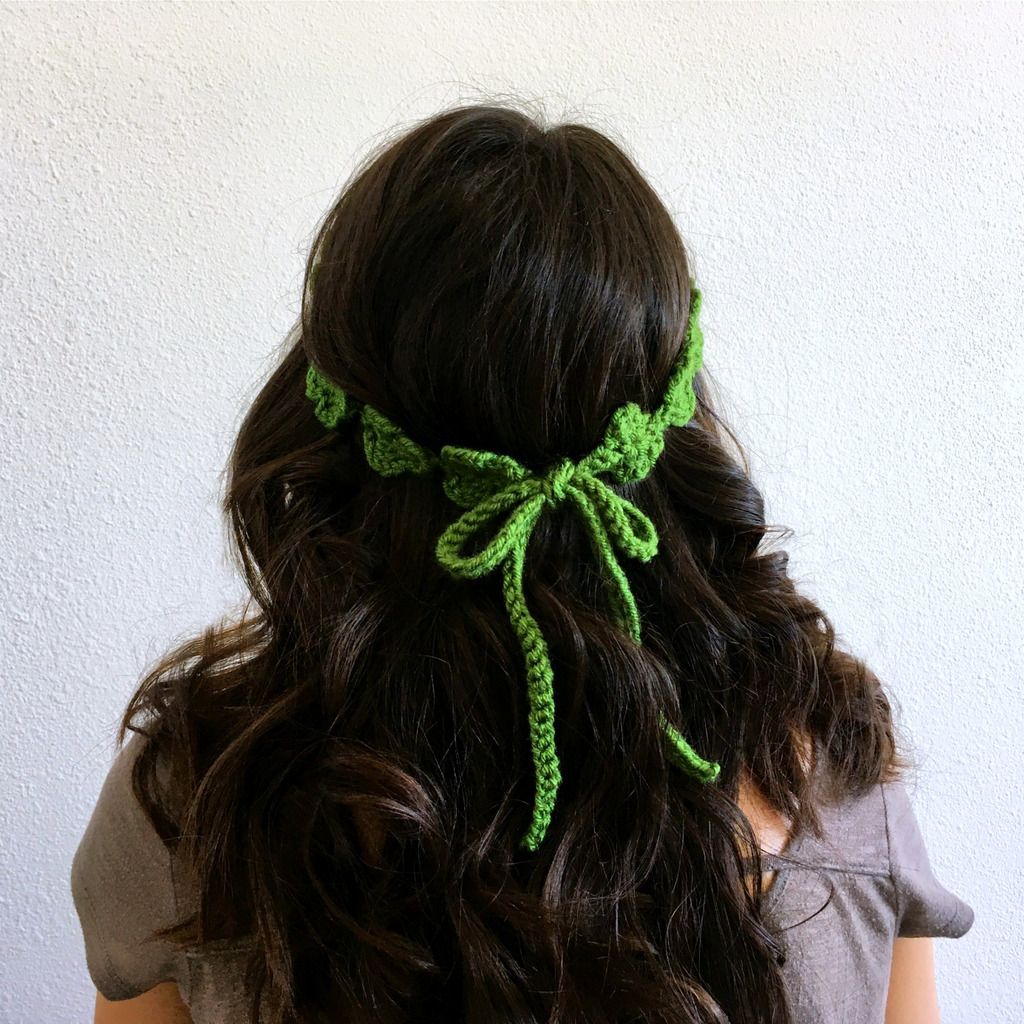
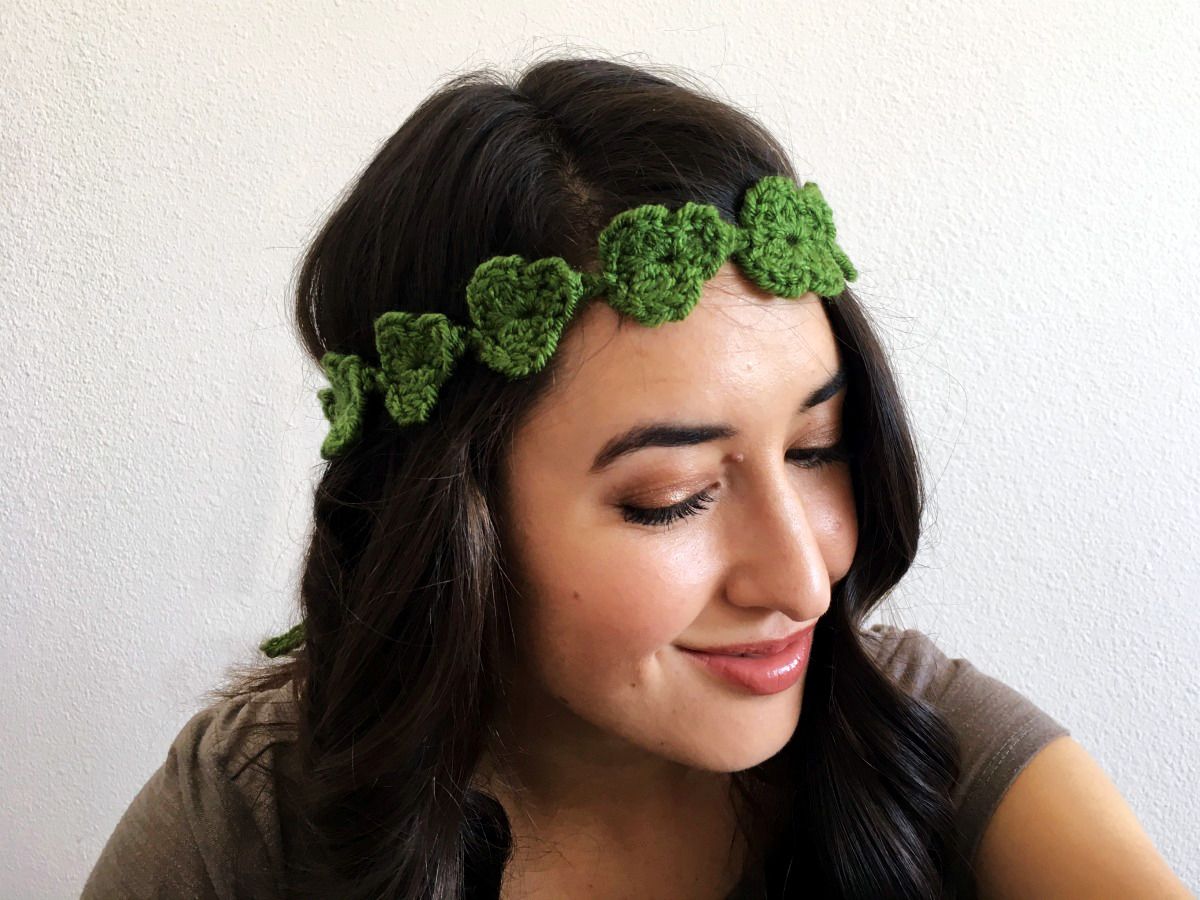
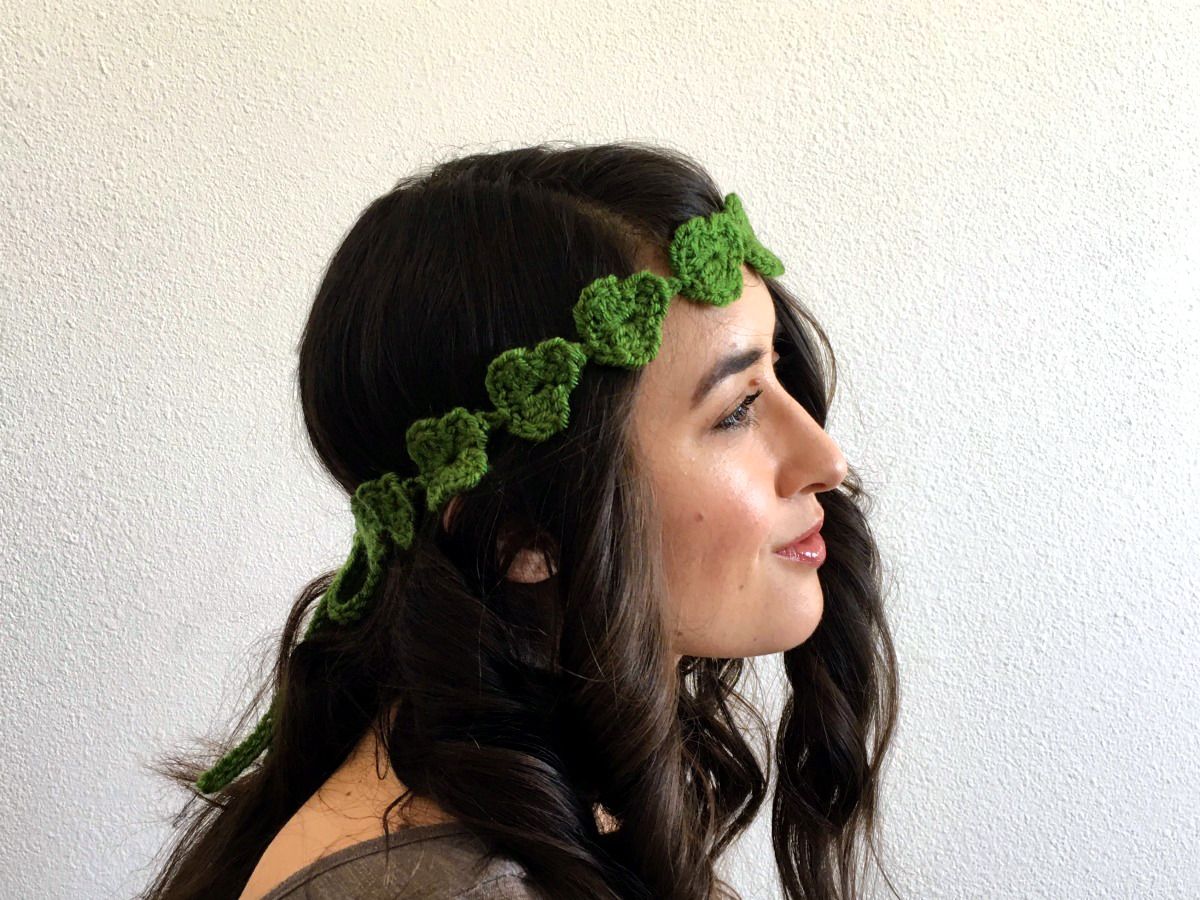
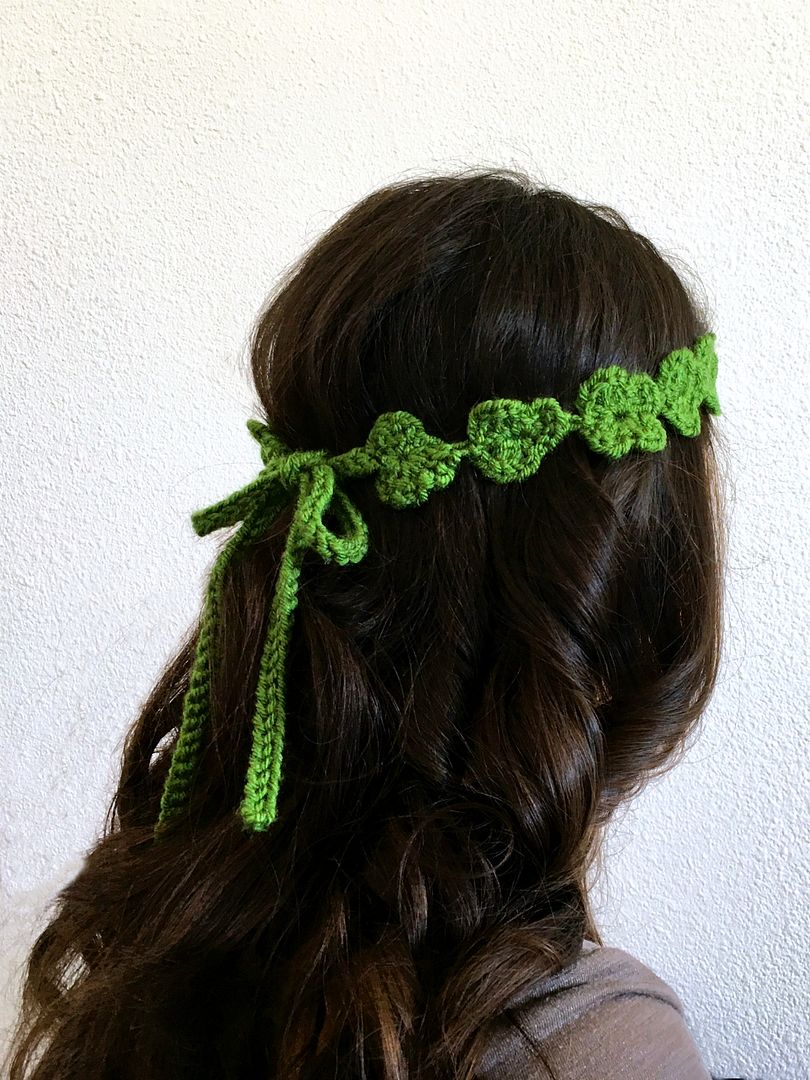
I wanted to be prepared this year. One thing I do happen to have in green is yarn, so I decided to start from there. Instead of just a scarf or hat, I wanted something specifically festive for St. Patrick's Day. After all, I will probably be pairing it with some less-than-green clothing. I decided I wanted to make a flower crown. Specifically, a clover flower crown!
I was inspired by the Shell Stitch Crochet Headband on Jenny and Teddy and wanted to make my own St. Pat's festive version. I really struggled to figure out how to accomplish that task without making individual clovers and shamrocks and sewing them together, which would have been quite tedious. I wanted to make this a fairly quick project since it is a wear one-day-a-year thing. I finally found a way how after watching Crochet Flower Cord Tutorial from Sheruknittingcom on YouTube. That pattern is quite pretty and the 5-petal flowers would definitely make a lovely spring and summertime crochet flower crown. I adapted it to be able to make 3- and 4-leaf clovers for St. Patrick's Day. I decided on mostly 3-leaf clovers, with the scattered 4-leaf shamrock for luck.
Crochet Pattern
Difficulty: Advanced beginner to intermediate
Materials Needed
* The weight of yarn and the gauge doesn't really matter here since you will be sizing the pattern as you crochet. I just recommend using a slightly smaller hook to make tighter stitches.
Stitch Glossary (U.S. crochet terms)
The 2nd leaf of each clover is connected to a chain from the previous clover.
The optional leaf to make a 4-leaf clover is made in between the 2nd leaf and the last leaf.
Picture Tutorial
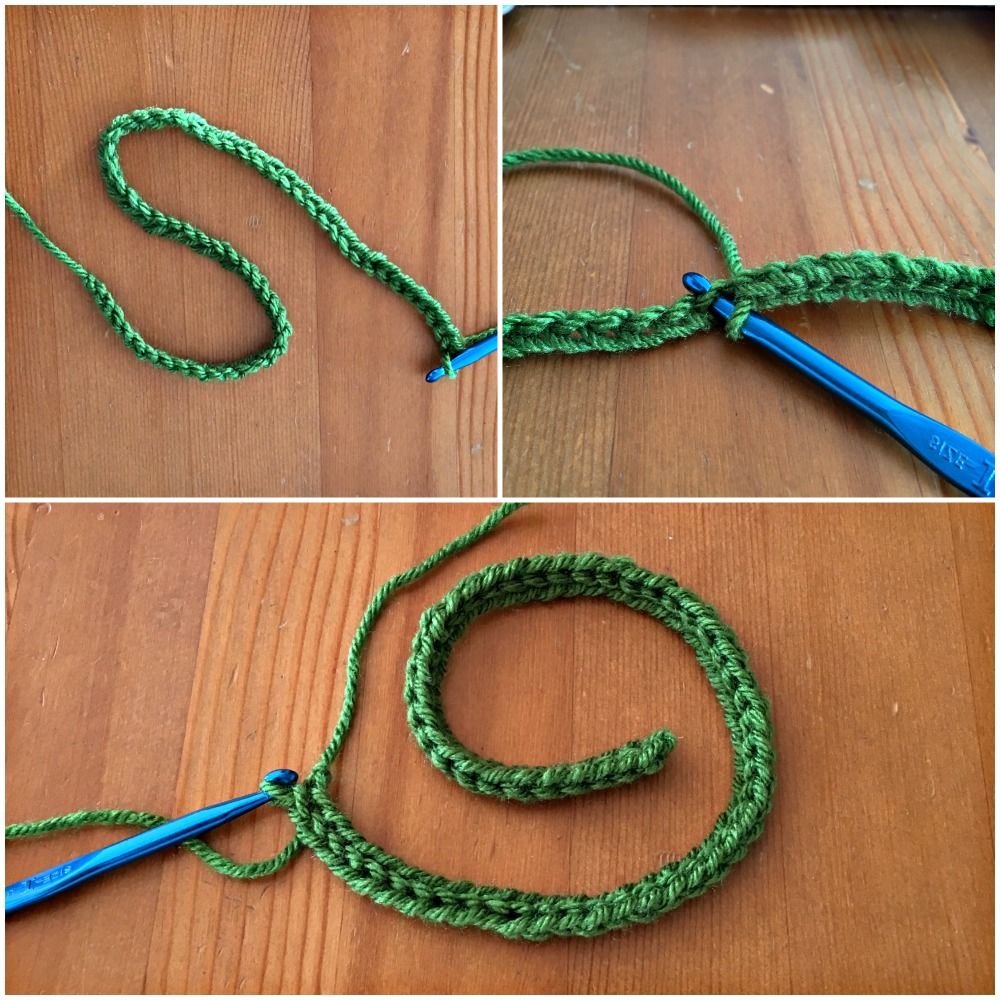
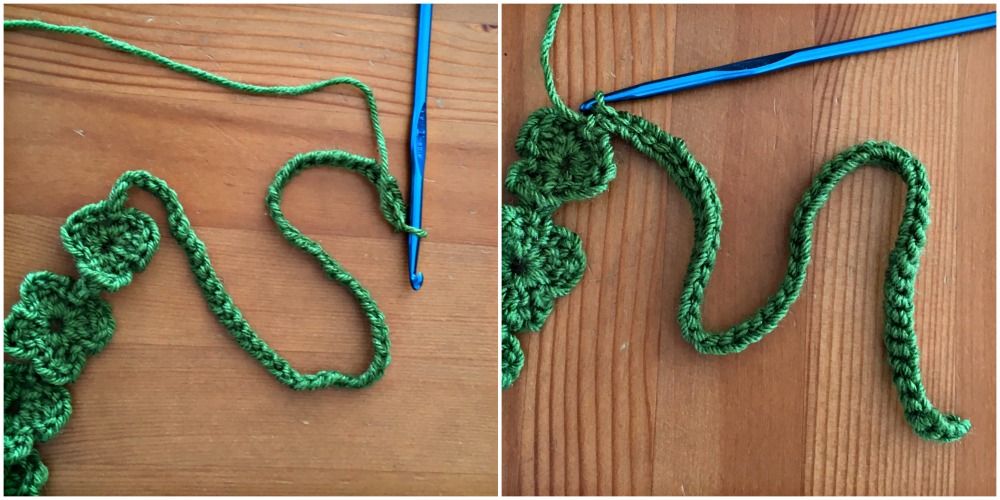
(click HERE to jump to written pattern)Make the first tie-back: Make a chain that is 12” long (with aran weight yarn and an 'I' hook, this was 57 stitches for me). Turn, slip stitch in the back loop only into 2nd chain from hook and across the chain. You can make the starting chain longer or shorter based on your preference for the length of the tie.
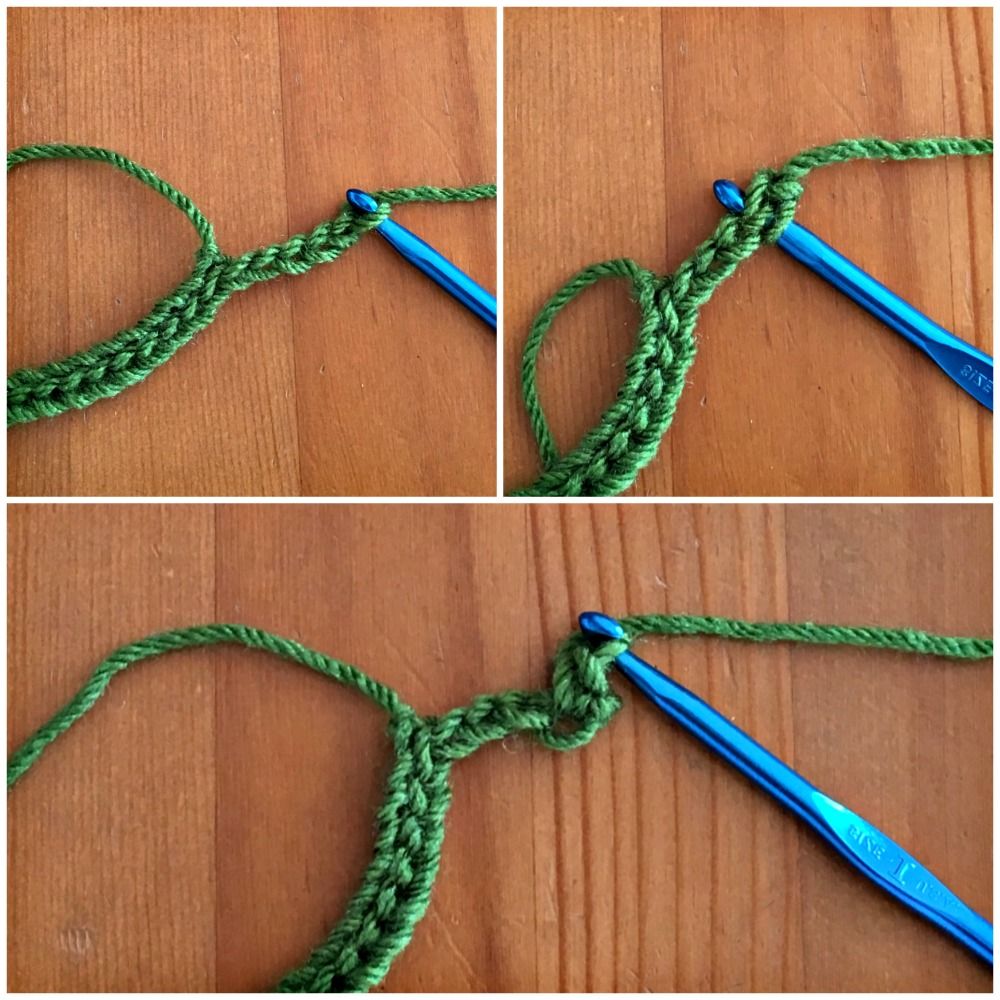
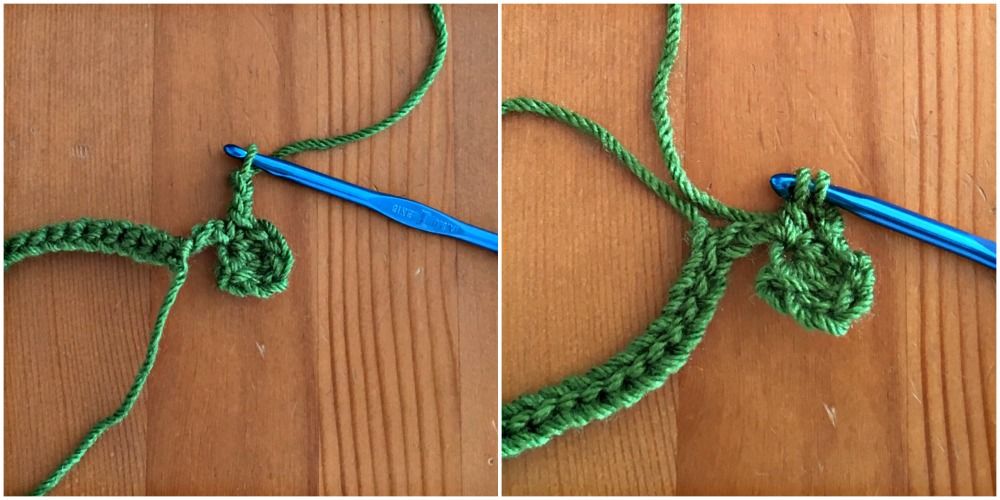
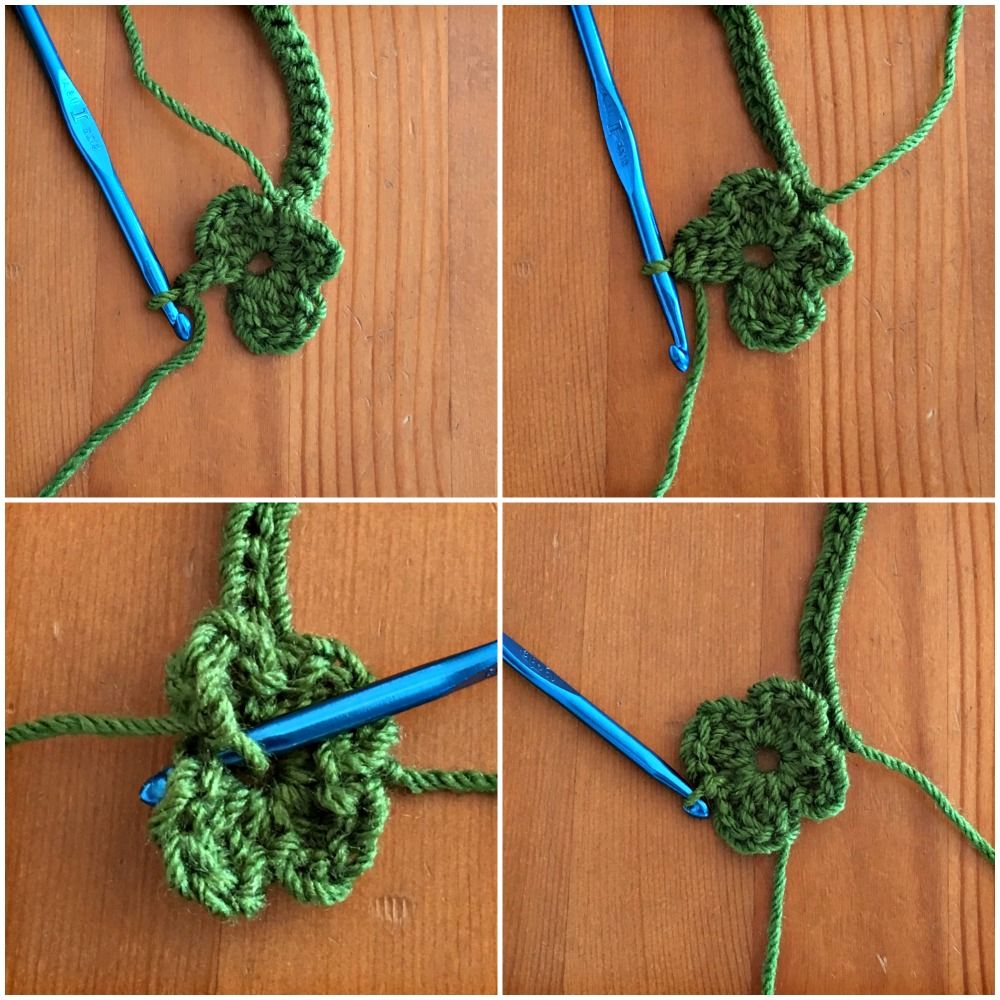
Make the first clover leaf: Chain 5. Sc into the 2nd chain from the hook. All stitches are worked into the same stitch as the sc unless otherwise noted.
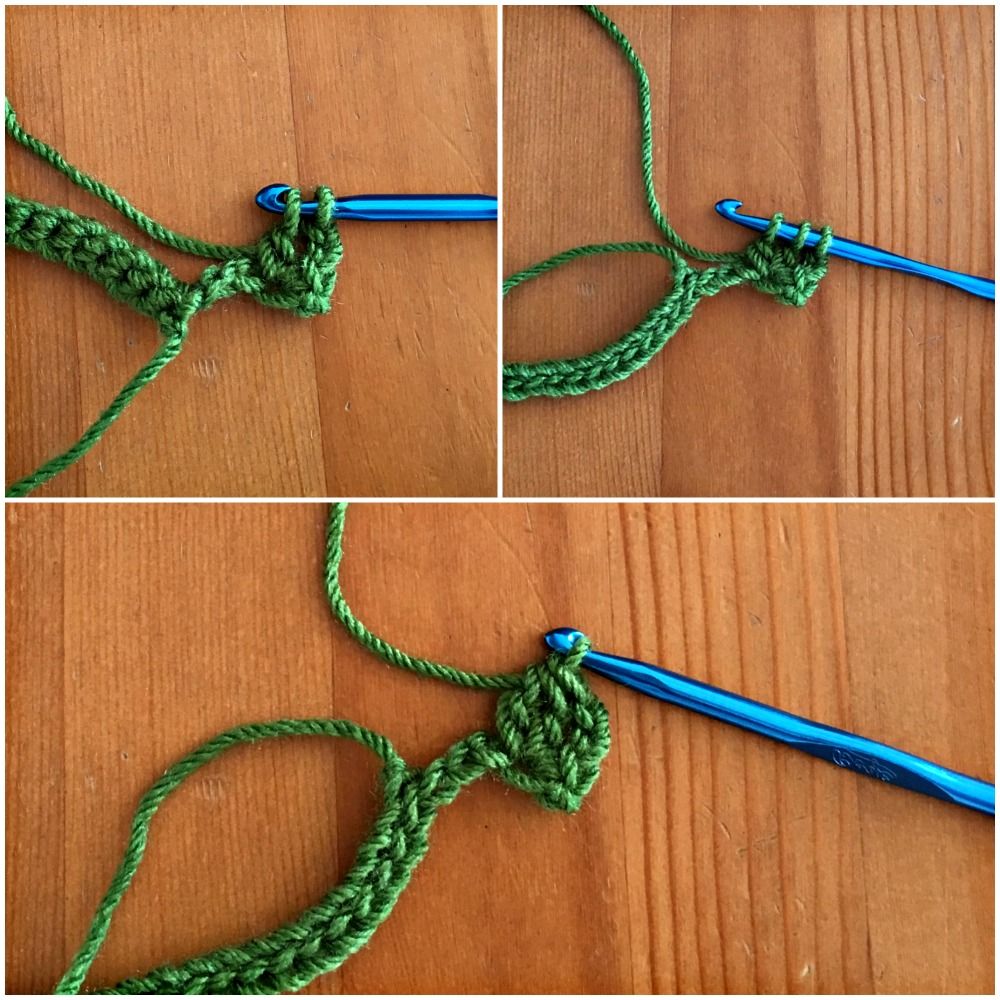
1st leaf, cont... Dc2tog: yo and insert hook, yo pull thru a loop (2 loops on hook), yo and insert hook, yo pull thru a loop (3 loops on hook), yo pull thru all 3 loops.
1st leaf, cont... Chain 2, sc. 1st leaf is complete.
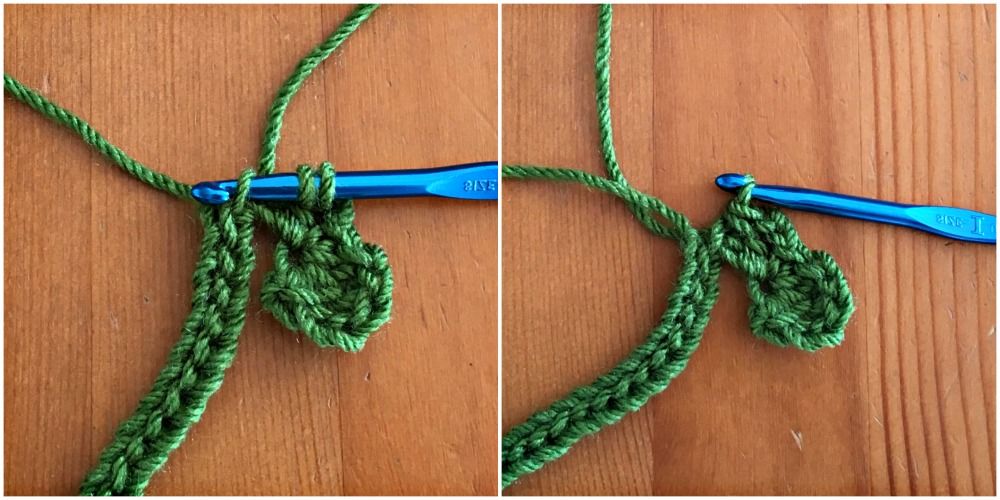
2nd leaf: Ch 2. Do the first half of a dc2tog: Yo, insert hook, yo pull thru a loop, yo pull through 2 loops (2 loops on hook)
2nd leaf...cont: Insert hook into the 1st ch of the original ch 5, yo pull thru a loop, yo pull thru the remaining 3 loops.
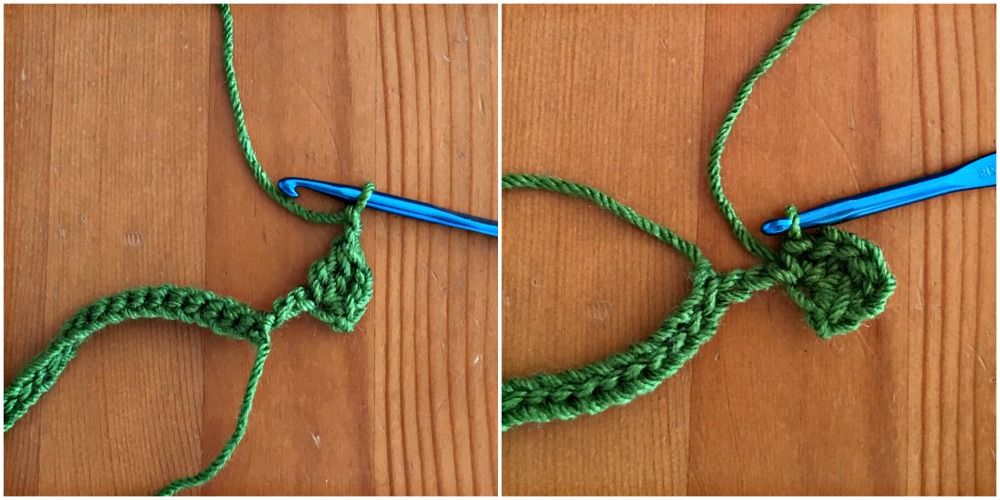
2nd leaf...cont: Ch 2, sc. 2nd leaf complete.
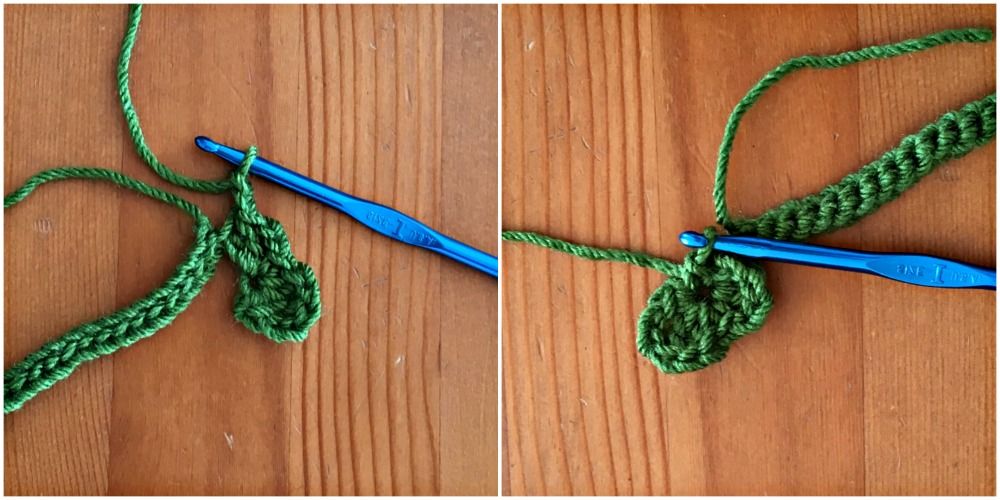
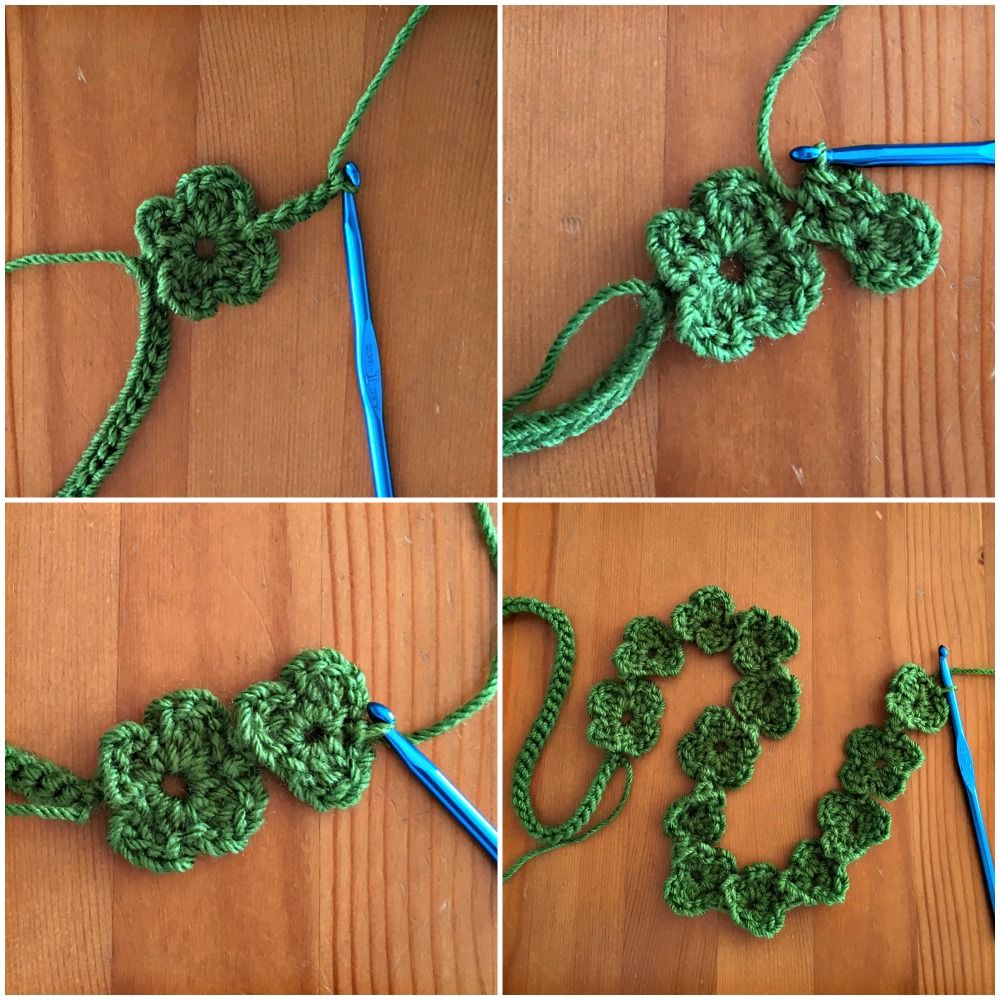
Optional Leaf (to make it a 4-leaf clover): Ch 2, dc2tog, ch 2, sc. Optional leaf is complete.
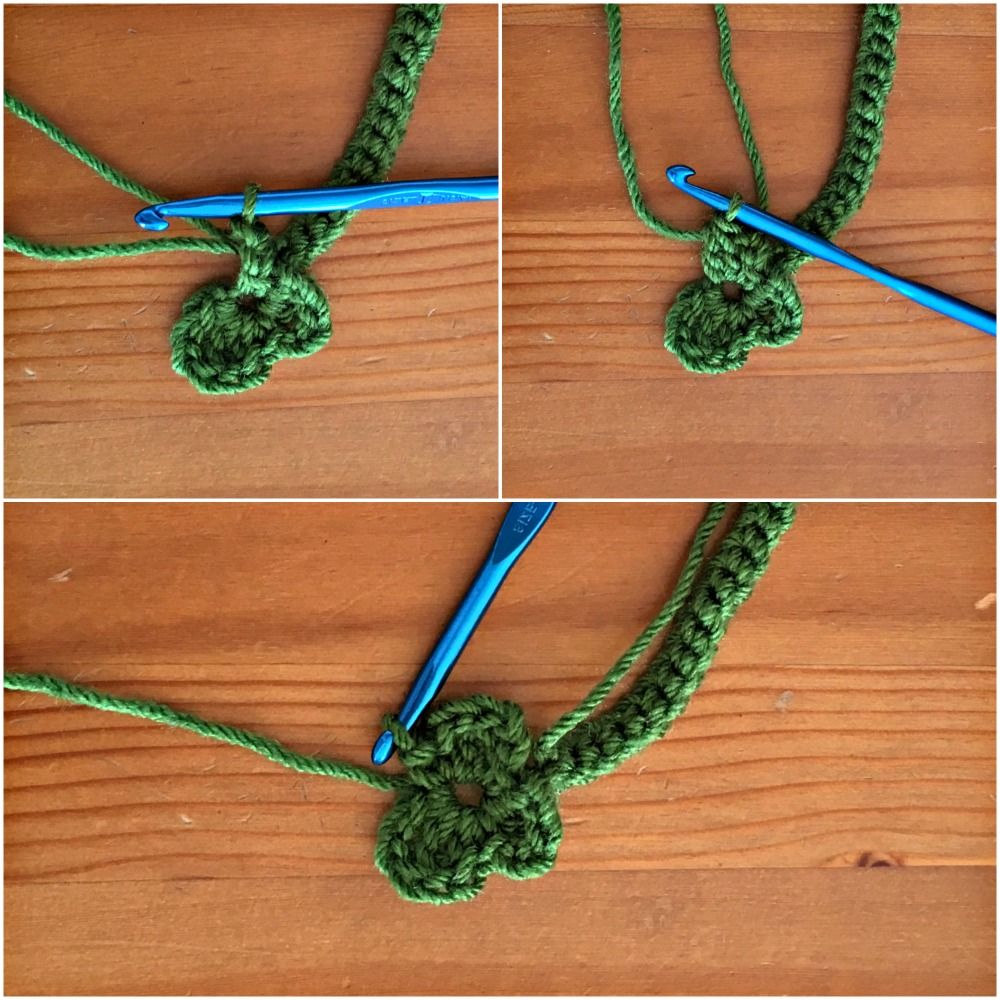
Last leaf: Ch 2, dc2tog, ch 2, sl st to first sc from the 1st leaf. Clover is complete.
Repeat the following pattern for each remaining clover:
Stop when your clover chain is almost long enough to fit around your head. My chain was (lucky?) 13 clovers.
Make the 2nd tie-back: Make a chain that is 12” long (should be the same number of chains as the first tie-back). Turn, sl st blo into 2nd ch from hook and across.
Finish off. Weave in ends
Written Pattern
[first tie-back]
[clovers]
ch 5
1st leaf: sc into 2nd ch from hook [all stitches worked 2nd ch unless otherwise noted], ch 2, dc2tog, ch 2, sc,
2nd leaf: ch 2, work the first half of a dc (yo, insert hook, yo pull thru a loop, yo pull thru 2 loops), insert hook into the 1st ch of the original ch 5, yo pull thru a loop, yo, pull thru the remaining 3 loops, ch 2, sc,
Optional leaf (to make 4-leaf clover): ch 2, dc2tog, ch 2, sc,
Last leaf: ch 2, dc2tog, ch 2, sl st to first sc.
Repeat process for making the clovers until it's long enough to fit around head.
[second tie-back]
Finish off. Weave in ends.
If you make your own, I'd love you see a photo. You can post it to Ravelry or tag me in one of my social medias (link in sidebar).
Happy Crocheting!

This post contains affliate links

So cute! My crochet skills are pretty basic, but I think I could handle this. Thanks for all the helpful pictures!
ReplyDeleteThanks so much! I hope the pictures help :)
Delete