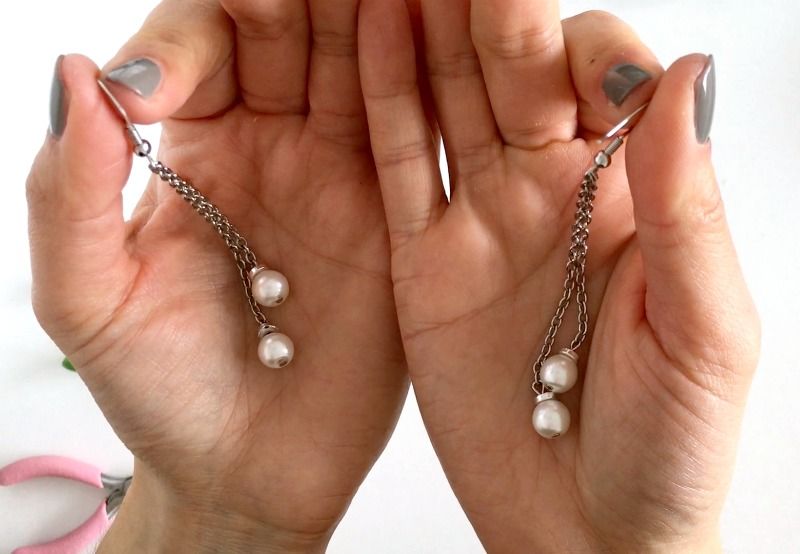
Jewelry making projects can be so satisfying to me because I can usually come up with an idea, sit down, and make it in under an hour. I had an idea for these earrings, Google image searched some pictures for further inspiration, and then finalized my design. Then I sat down and made them. It took a little tweaking to get the length I wanted, but you could knock out a pair of these in 10 minutes.
I really do love how they turned out. They look nice and sophisticated enough to wear out on a date, to a party, or for a wedding. I think they'd also make a great gift. Plus, I'm a sucker for dangly earrings. I love the feeling of them swinging around when I move. Also, I made these with metal findings and faux pearls, so it is a super inexpensive project! That being said, you could definitely class these up by using silver or gold findings and real pearls.
.
I filmed a tutorial for making these on Skillshare if you're more the visual learner. If you use my referral link to watch all of my classes plus thousands of others for free for your first month.
.
...Otherwise, continue on below for the written instructions. Enjoy!
Supplies Needed
New to jewelry making? Read my Beginner's Guide to Jewelry Making to help you get started.
Steps
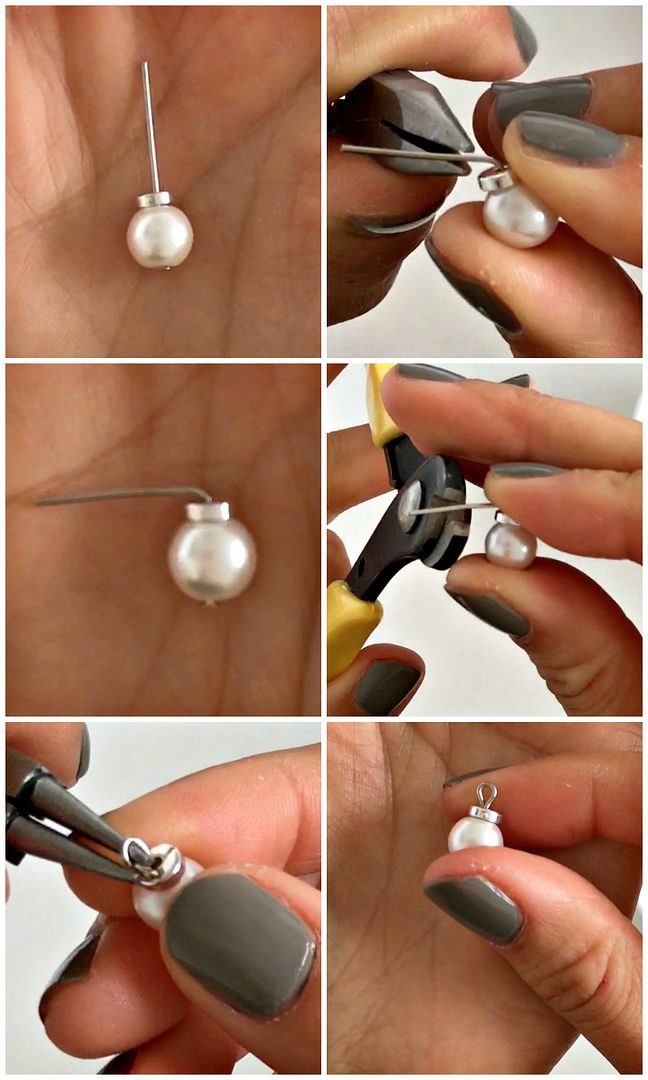
- Thread a pearl and a spacer bead onto a head pin.
- Bend head pin wire to a 90-degree angle.
- Cut excess wire down to 1/4" (0.5cm).
- Using needle nose pliers, bend the wire into a circle.
- Repeat 3 more times.
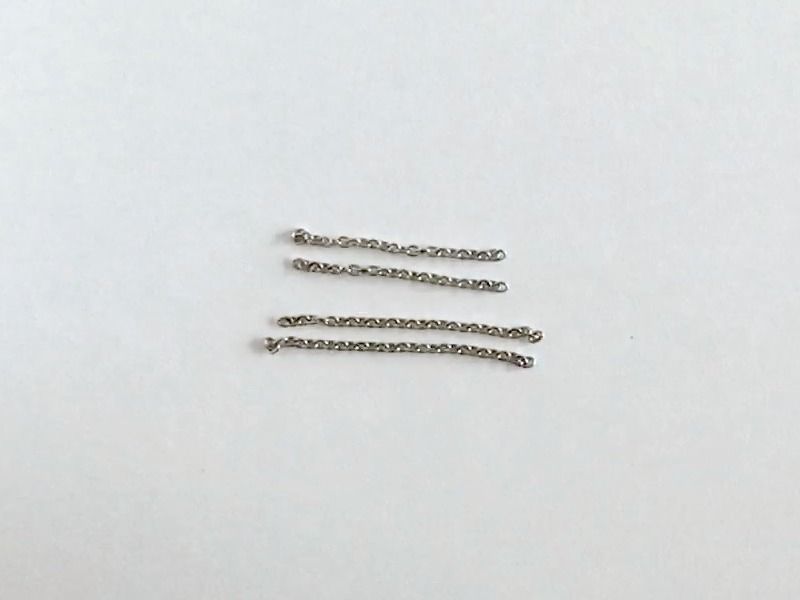
Cut the chain
- Cut 2 pieces of chain 1 3/4" (5.5cm).
- Cut 2 pieces of chain 2 1/4" (4.5cm).
Note: you can make these pieces longer or shorter based on your preference.
Assemble the earrings
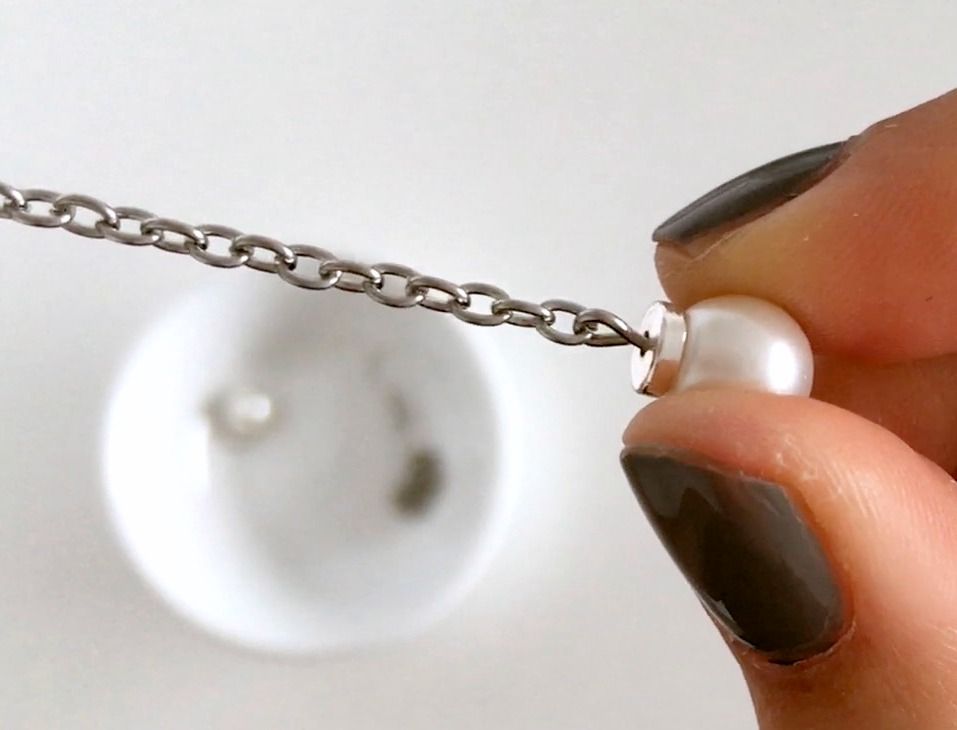
- Open the eye on a pearl piece.
- Attach a length of chain.
- Close the eye.
- Repeat with the other 3 pearls and chains.
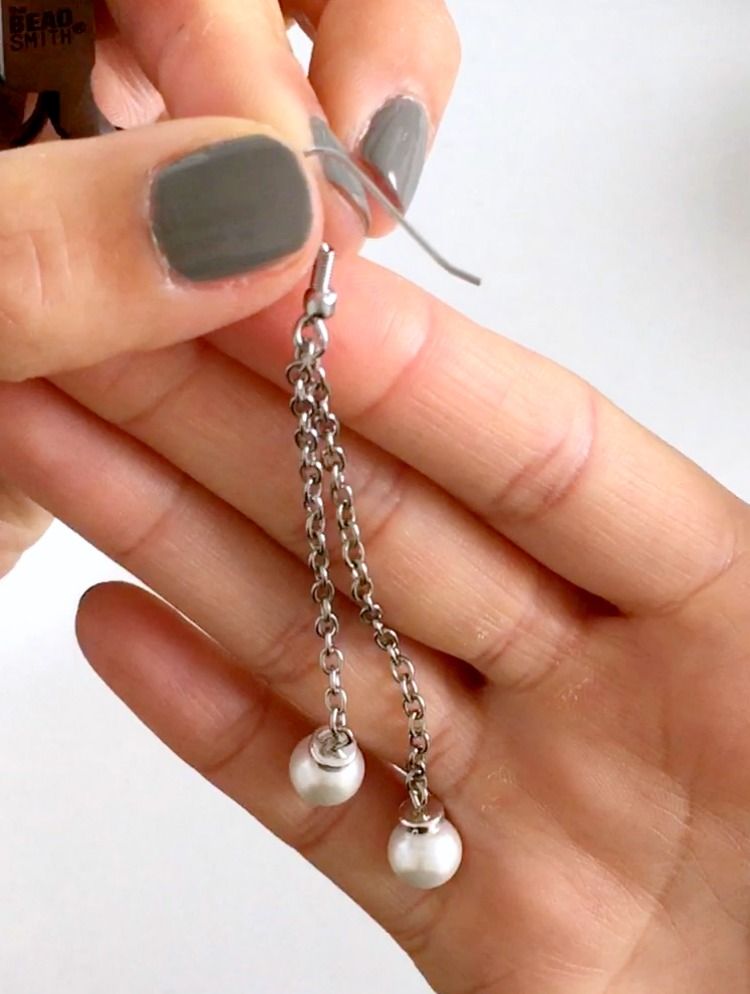
- Open the eye on an ear wire.
- Attach one longer piece of chain and one shorter piece of chain.
- Close the eye.
- Repeat with the other ear wire.
Attach the pearls
That's it!
If you make these earrings, I'd love to see a picture. You can tag me on social media (links in sidebar), or post a picture to the She's Got the Notion Facebook Page.
Happy DIYing!

This post contains affiliate links.



No comments:
Post a Comment