
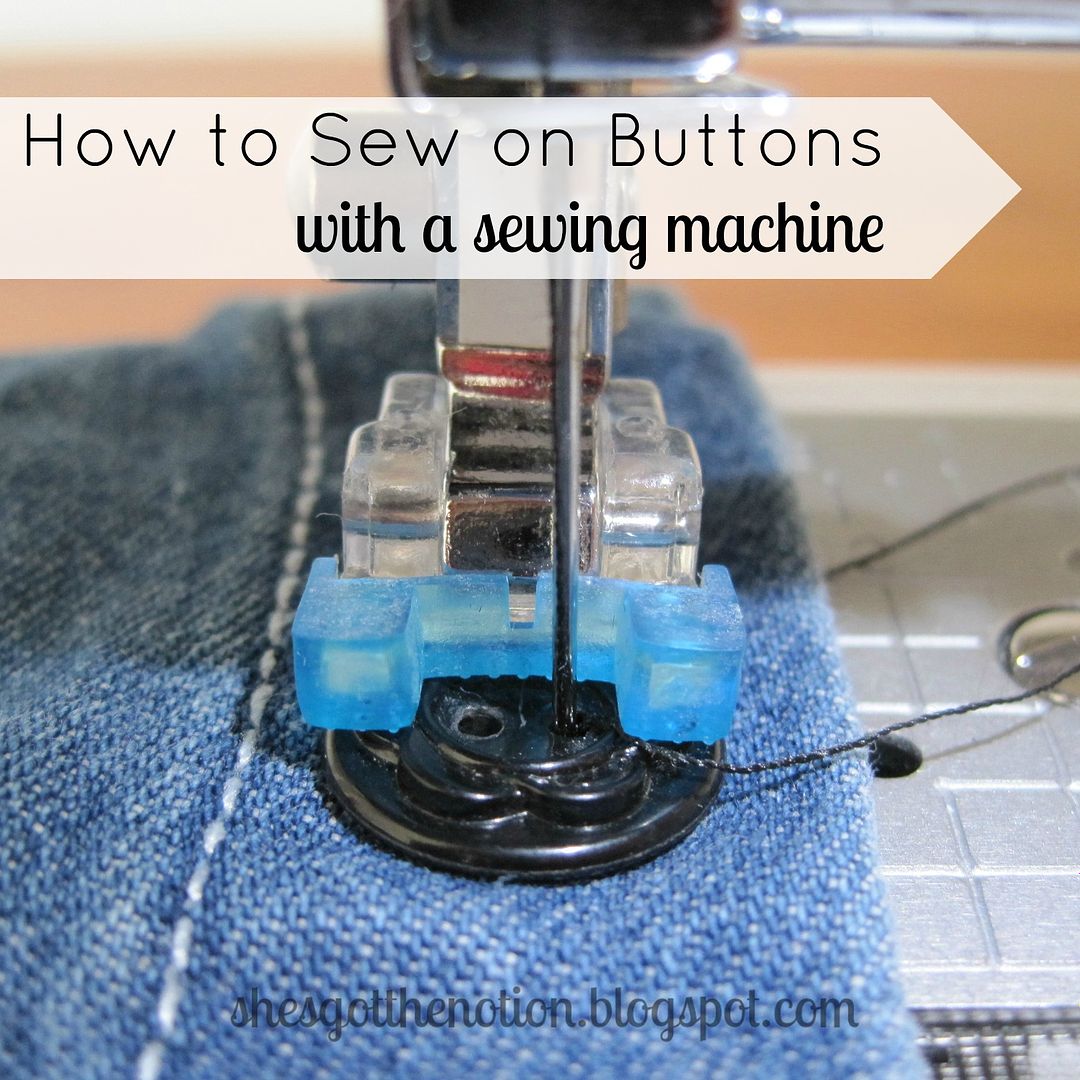
I can't remember the first time I heard you could sew on buttons using a sewing machine, but I thought it seemed hard. How do you line up and sew the little holes in the button without accidentally sewing your button and bending or breaking your needle? Sewing buttons by hand just seemed easier.
The problem, though, is it takes a long time to sew buttons on an entire shirt by hand. Who wants to thread a needle, sew, and knot 9 times in a row? All for a little button too. So, while I was fine with replacing a button or two by hand, if all the buttons on one of my shirts needed replacing, it usually just lay there in the "to fix" pile for a long time.
Then I was asked to replace all the buttons on two shirts. This was a paid job, not something I could just throw in a "to fix" pile. I freaked out a bit, thinking about how long that would take me. So I decided to teach myself the mystery of machine button sewing to speed up the process. First, I look in my sewing machine's manual. I was still confused. It was explained well enough I guess, but I'm more of a visual learner. So I went to YouTube and watched this video. And realized it looks easy. Really easy. So I tried it out for myself and found that it was. I regret not teaching myself before because it is a huge time saver! Below I posted step-by-step instructions if you want to learn too.
Before beginning, make sure to mark on your fabric where you want the buttons sewn.
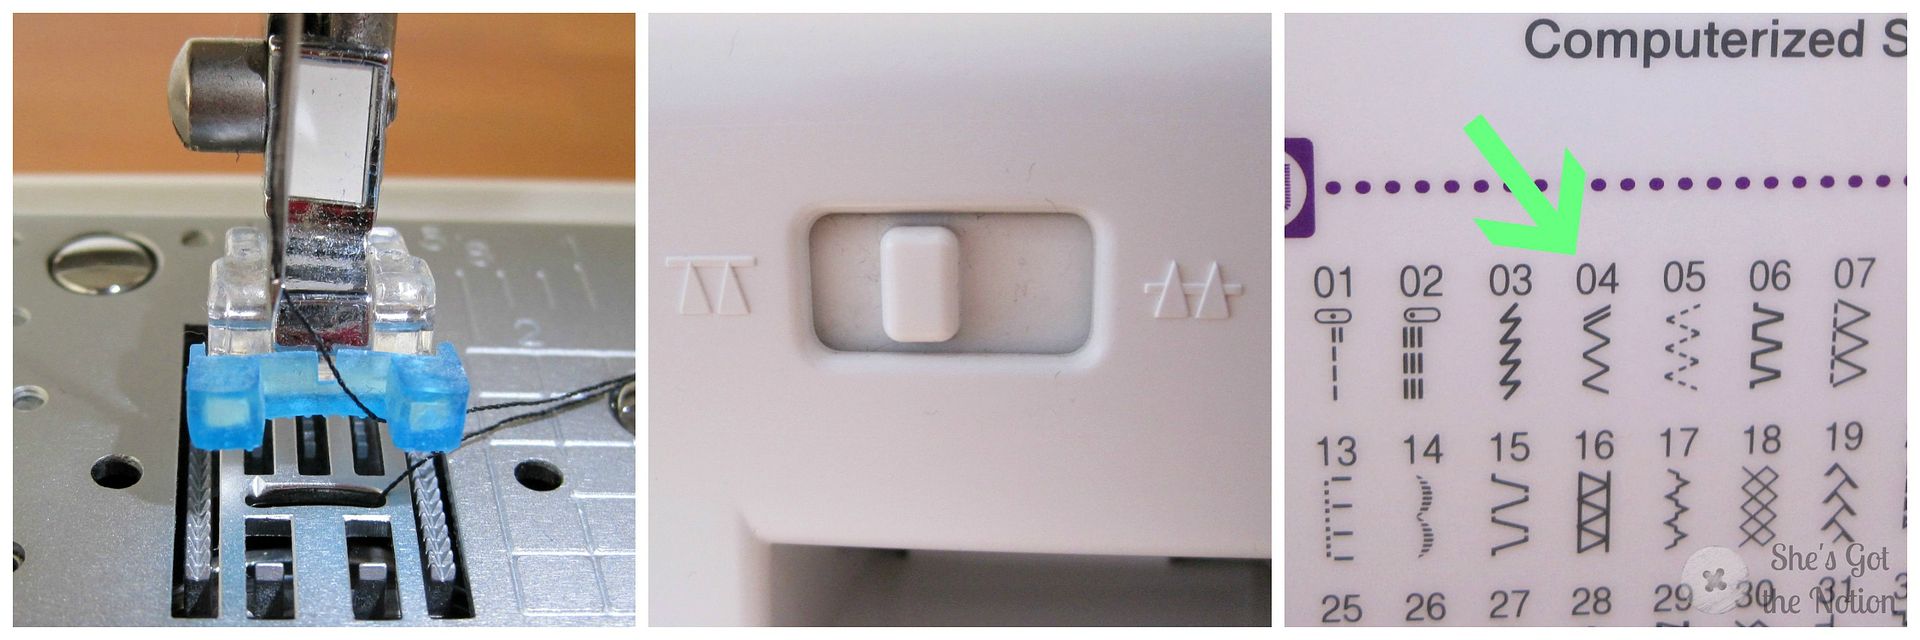
- Attach the button sewing foot to your sewing machine. (Mine came with my machine).
- Lower your feed dogs. My switch is located in the back of my machine (slide to the left to lower). This is very important because it makes your button stay stationary during sewing, and won't try to feed it through the machine.
- Set your machine to a basic zig zag stitch. [Mine is stitch #4]
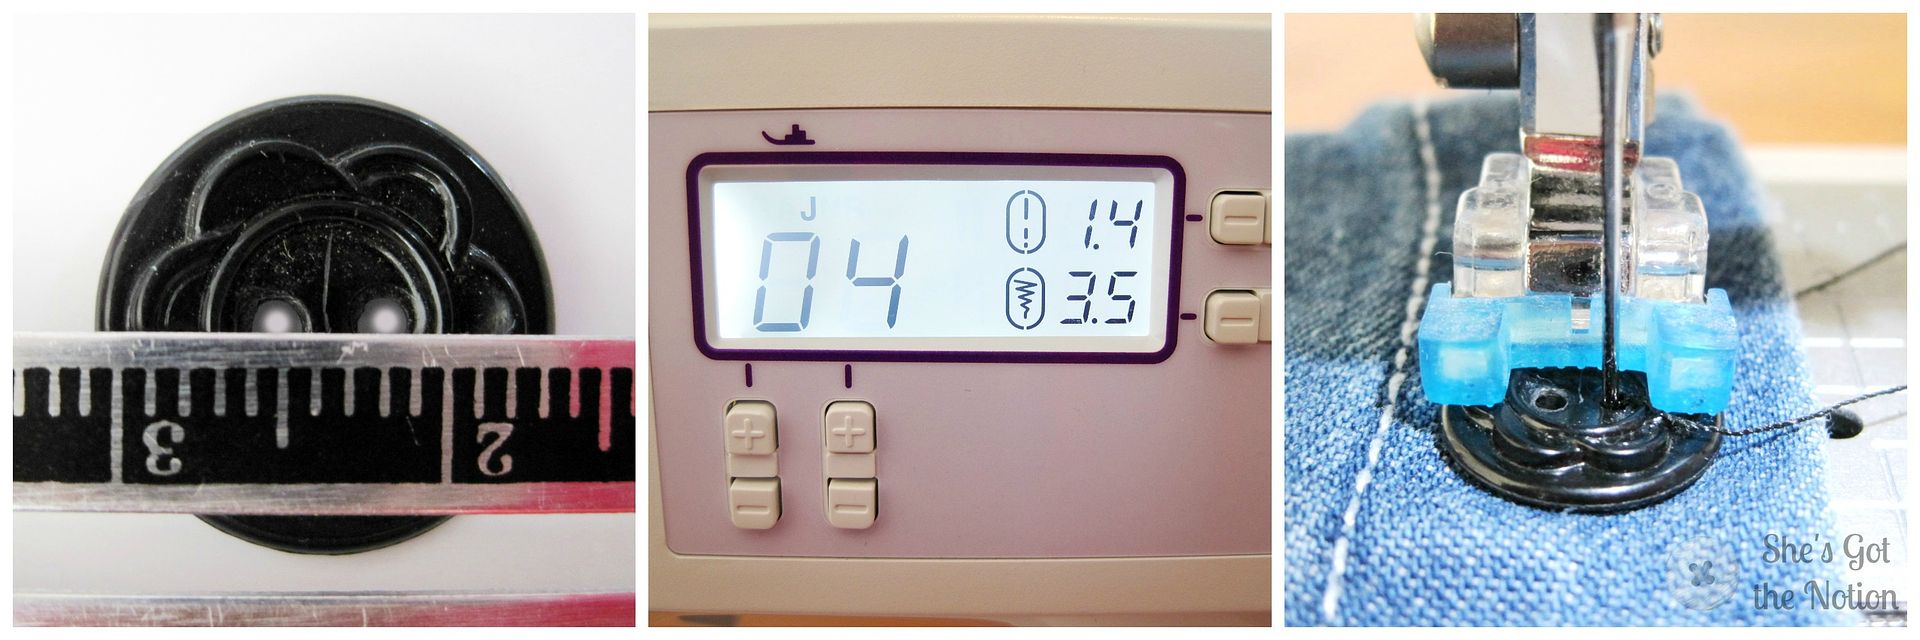
- Measure the space between the holes in your button. Mine was about 3.5mm.
- Set the stitch width to the distance you just measured. (The stitch length setting is not important because your feed dogs are lowered).
- Place your button where you want it sewed on your fabric and center it underneath your button foot on your machine. Lower your foot and hand crank your needle for a stitch to ensure you measured and aligned the needle correctly. Then sew away! [Note: I found it easier to first place the fabric under the machine foot, then line the button up on top].
If you're sewing on 4-hole buttons, after sewing the first 2 holes, simply raise your needle and move and align the other two buttons under your machine to sew them.
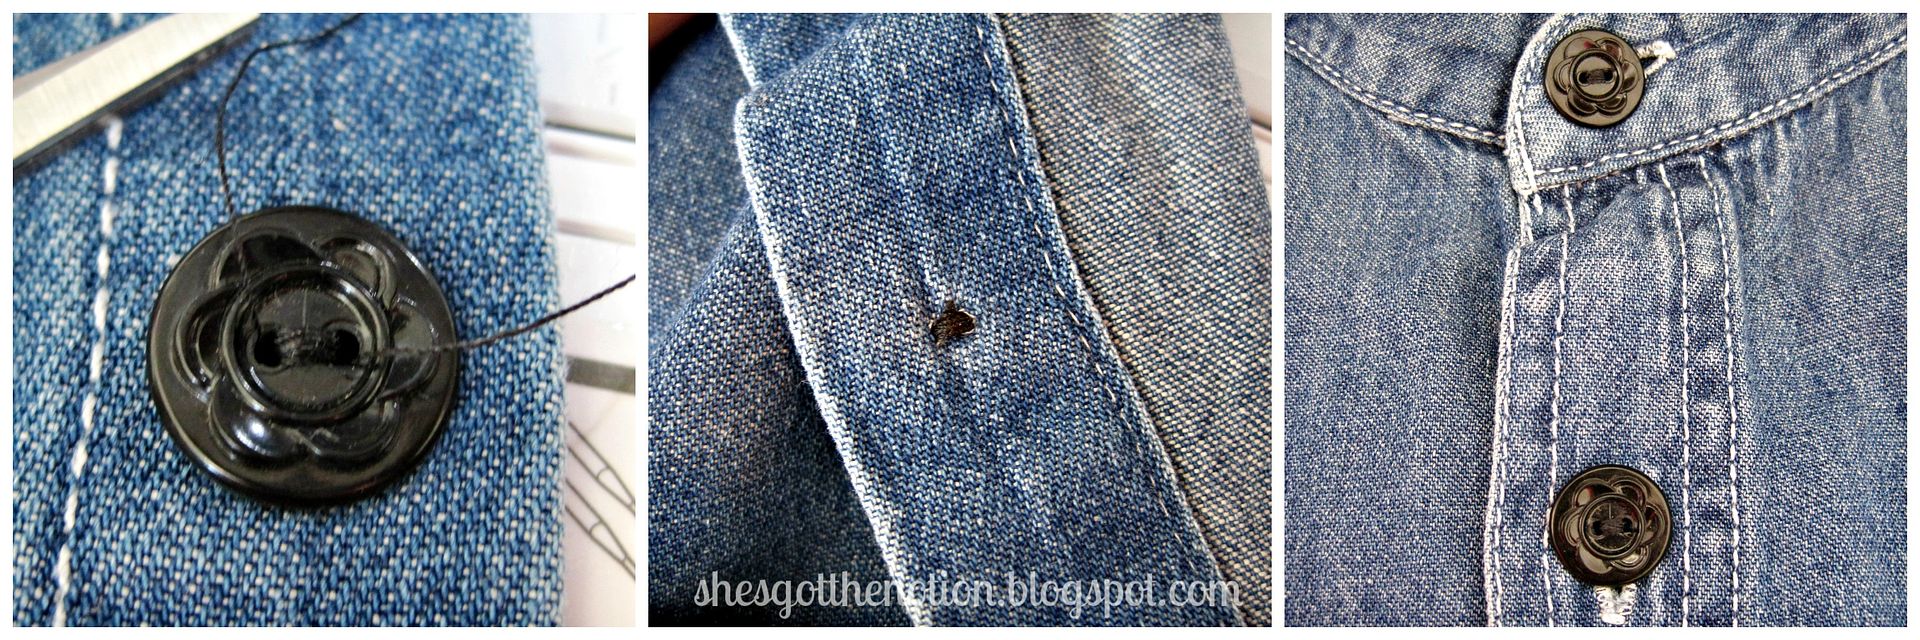
Update: After making this tutorial, I found another helpful hint in my Sewing for Dummies book. Take a toothpick, matchstick, or tapestry needle and place it on top of your button in between the holes to be sewn and perpendicular to you button foot. Then sew on top of the toothpick. The toothpick acts as a spacer and helps your fabric lay flat under the button. Simply remove the toothpick after sewing. - Remove your sewed on button from the machine. Pull the upper thread to the wrong side of the fabric and tie it to the bobbin thread to secure your stitches.
- Snip threads.
- Repeat with other the buttons. Admire your neatly sewed on buttons.
Now that you are a machine button sewing pro, try it out on other buttons.
If you're a pinner, here's a Pinterest-friendly reference guide:

I definitely have become a machine button sewing convert. I'll save the hand sewing for fancy stitching or when it's just one button and it's not worth setting up the machine. Did you try machine button sewing? Do you prefer to machine sew or hand sew your buttons? Let me know in the comments.

No comments:
Post a Comment