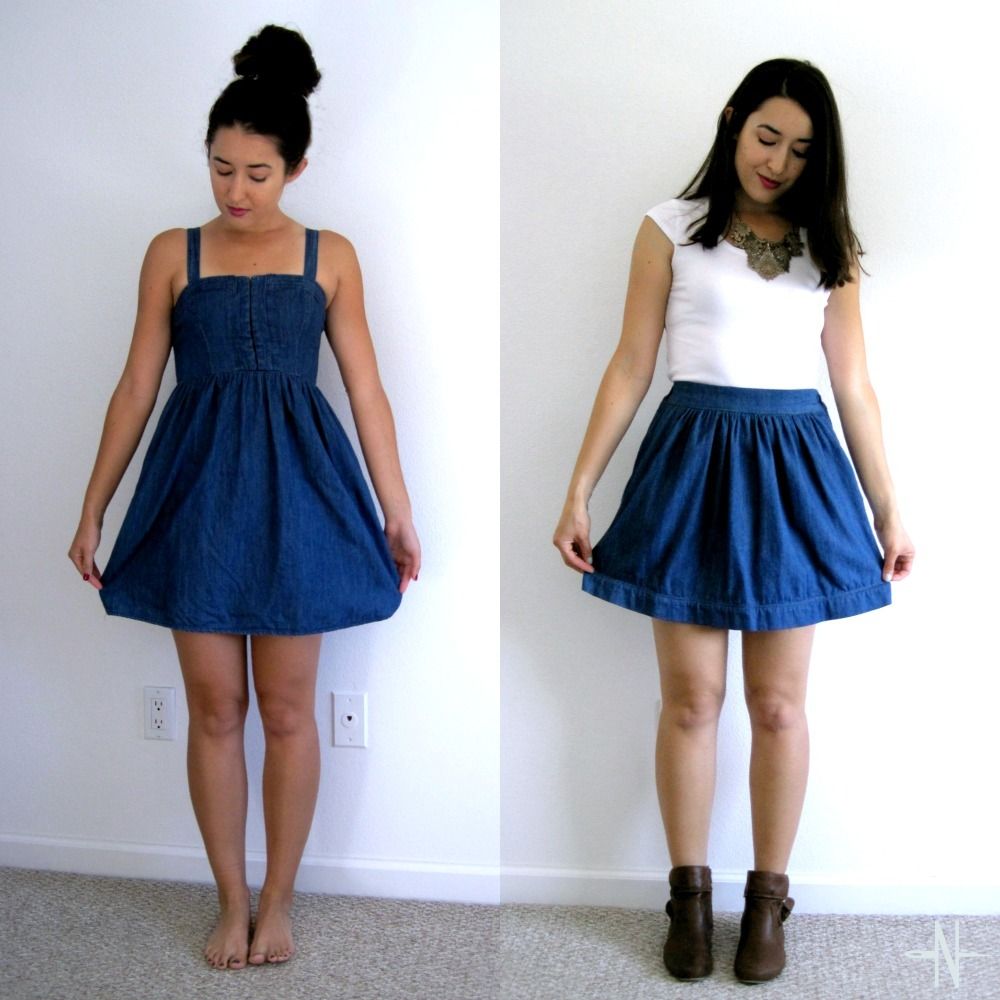
Last week in my Yoga Pants to Leggings post, I wrote about how I was going through my closet and wanted to tackle some refashion projects. I must admit I started this particular project over six months ago. I got the idea for it and proceeded to take apart the zipper and detach the bodice from the skirt. And then...that was it. I shamefully left in pieces in my "to-sew" pile for months. I would like to say that it was just because I couldn't figure out exactly how I wanted to approach it the refashion. However, it was probably a bit of laziness and forgetfulness too.
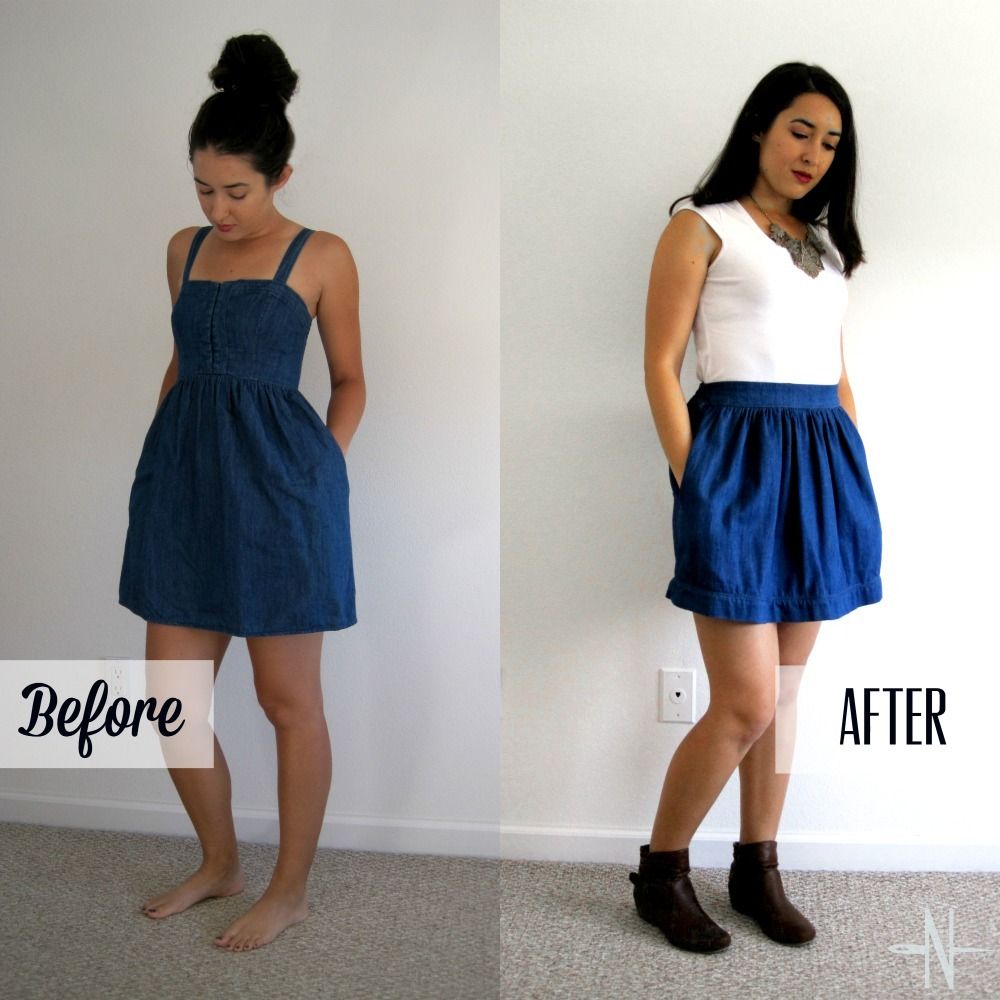
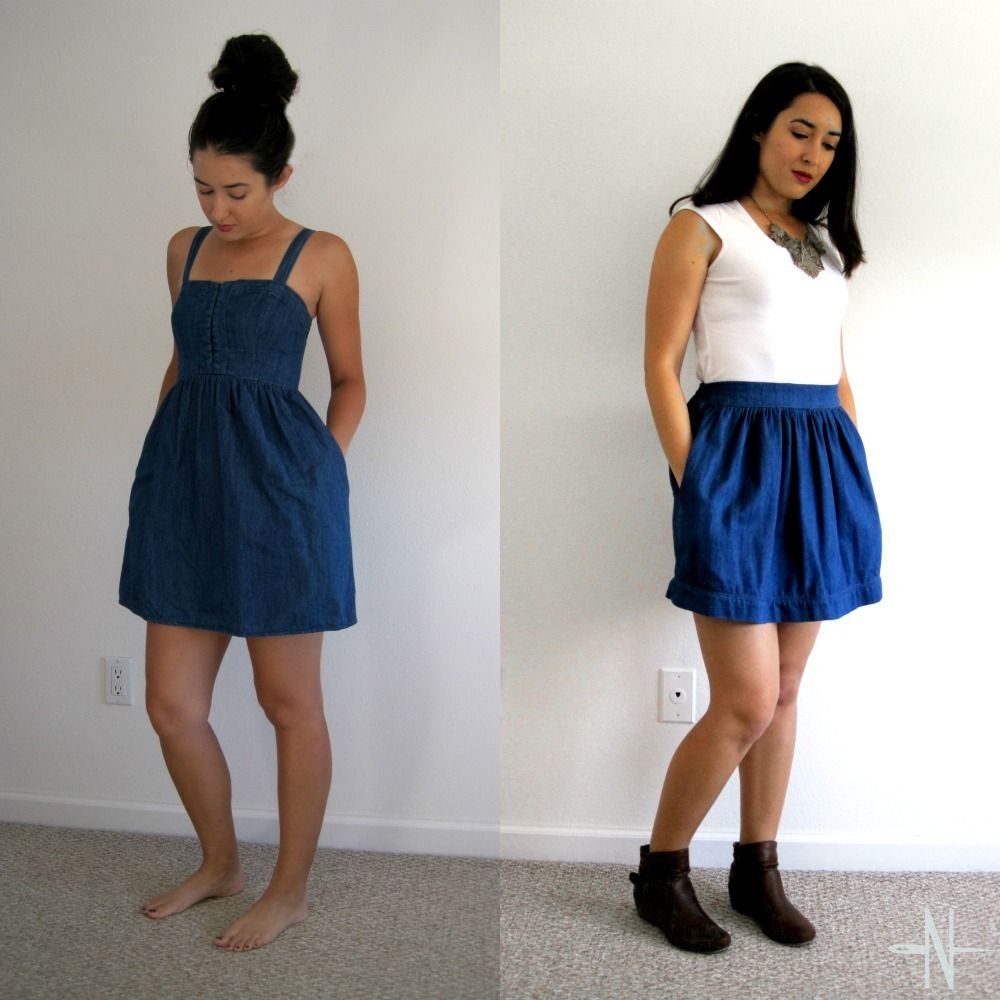
After tackling the easy project last week, I felt motivated to finally do this project. Now let me begin by saying I really love this dress and I've had it for several years. It was easy to wear and went with everything. And it had pockets! But truth be told, it never fit that well and was a bit uncomfortable. The bodice was too tight on my ribcage and too loose on my bust (a perpetual problem with ready-to-wear garments for me). It hadn't left my closet in a while, but I couldn't bring myself to get rid of it. So I decided to try and refashion it and turn it into something comfortable that I would actually wear. I technically started this project in the fall envisioning it as a cute fall skirt that I could wear with tights and boots. Well, this will speak to the versatility of this fabric, because now it will become a cute spring and summer skirt that I can wear with booties or sandals.
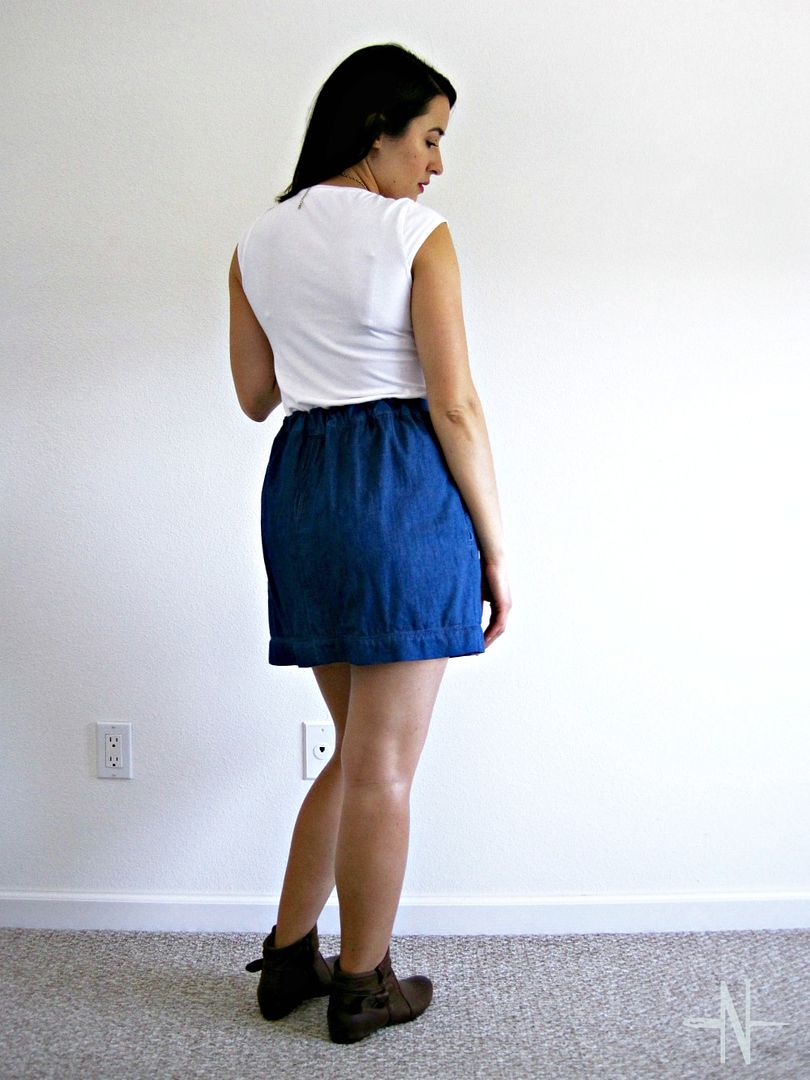
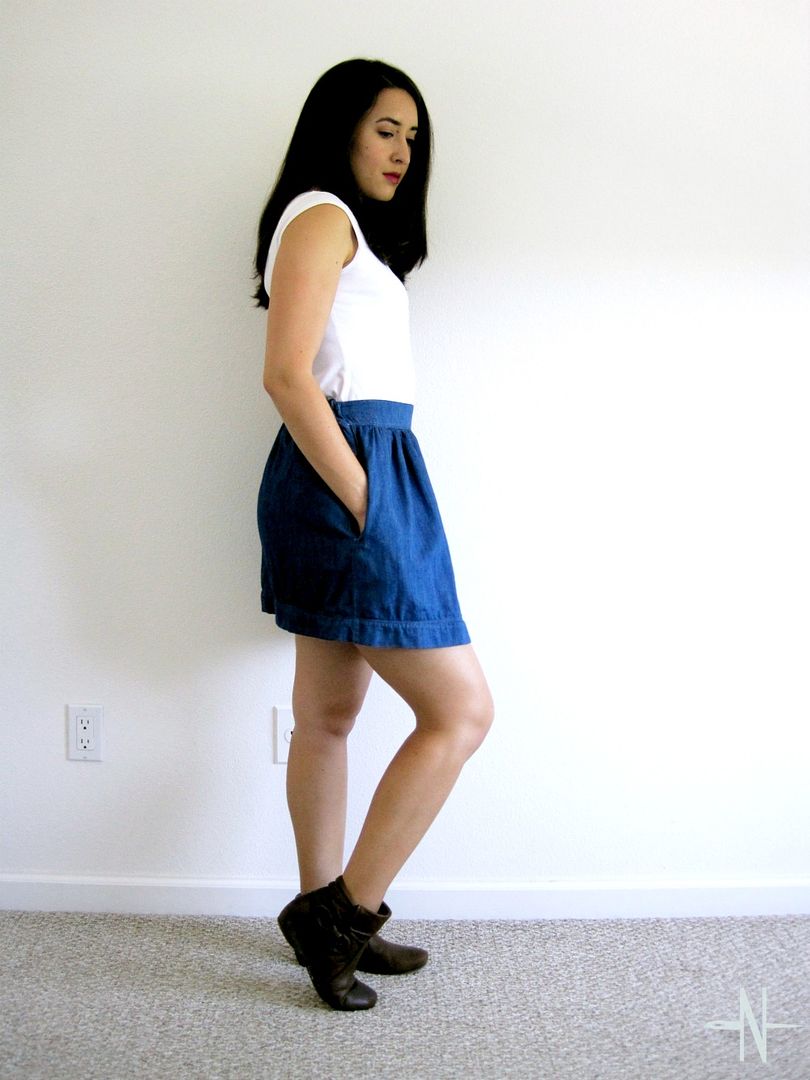
Now let's get to how I did this. This is a fairly simple project. It will work for most fit and flare dresses that have an attached gathered skirt. The front of the refashioned skirt has a flat waistband and a gathered skirt for a polished look, and the back has an elastic waistband to make it easy and comfortable to wear. The elastic waistband also makes the skirt more versatile because I can either wear it on my waist or pull it down and wear it on my hips. So let's get started...
Materials
Note that my dress has pockets that I want to keep intact, so the tutorial reflects this. If your dress doesn't have pockets, you could simplify the process by keeping the hem intact and using fabric from the top of the skirt piece to make the waistband.
Deconstruct the dress
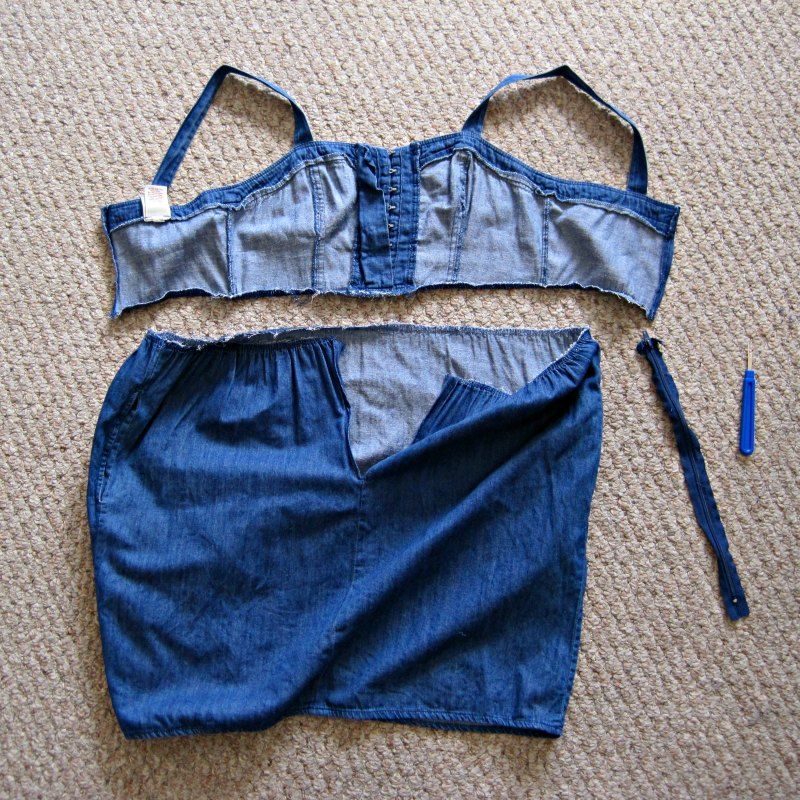
Using a seam ripper, carefully detach the zipper (if it has one) so it can be reused**. Next, detach the bodice from the skirt.
**I had originally planned to sew the zipper back into the skirt, however, sometime during those six months I must have used that zipper for a different project because I literally tore through all of my fabric and notions trying to find the darn thing. Then I decided a zipper is unnecessary and decided to use elastic instead :).
Sew up the zipper seam
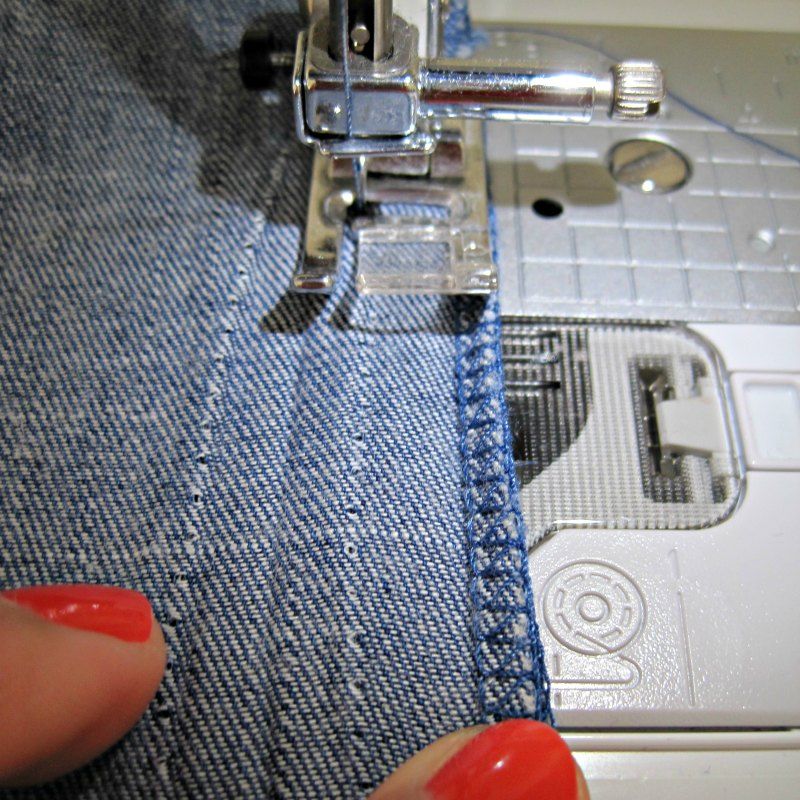
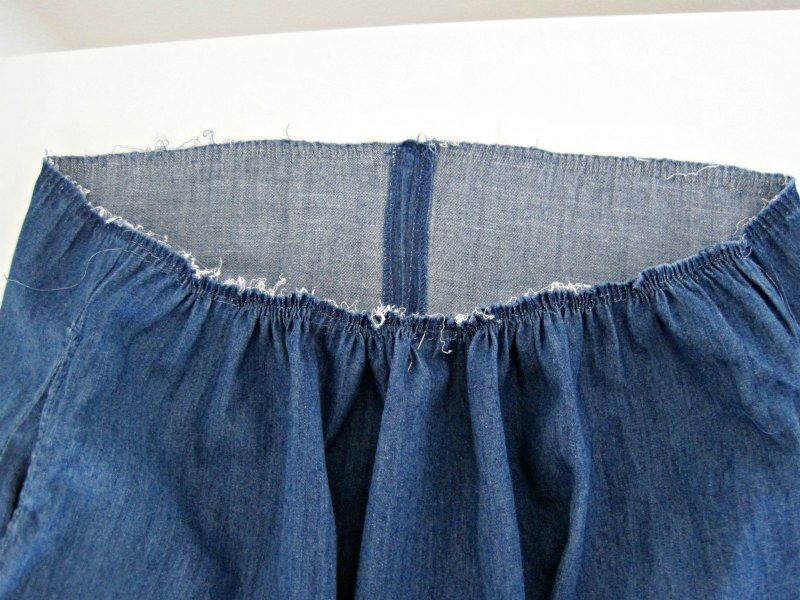
Sew up the back seam where the zipper was to close it. Press open. This is also a good time to reinforce the top side seams since they may had gotten damaged during seam ripping.
Cut the waistband fabric
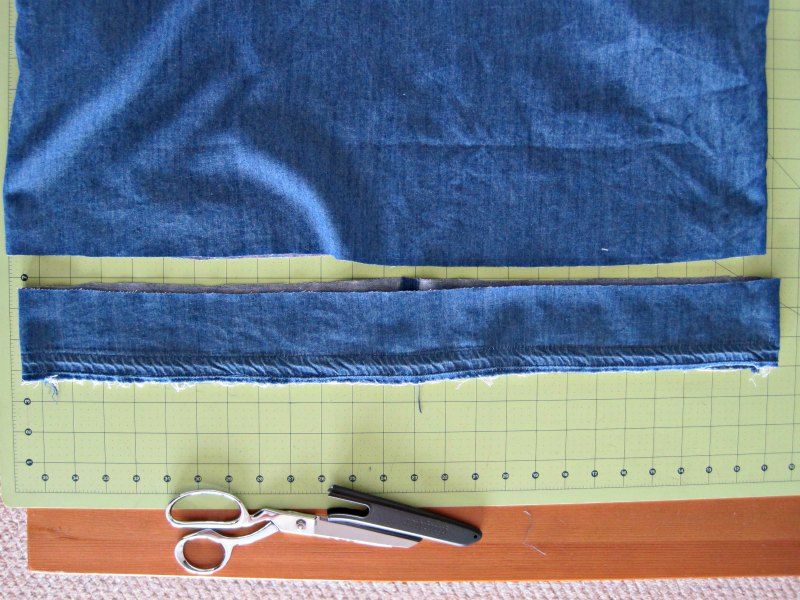
Undo the hem and press out the fabric. This is optional, but I wanted to use as much of the length of the fabric as possible. If your skirt is on the long side, you can just cut off the hem.
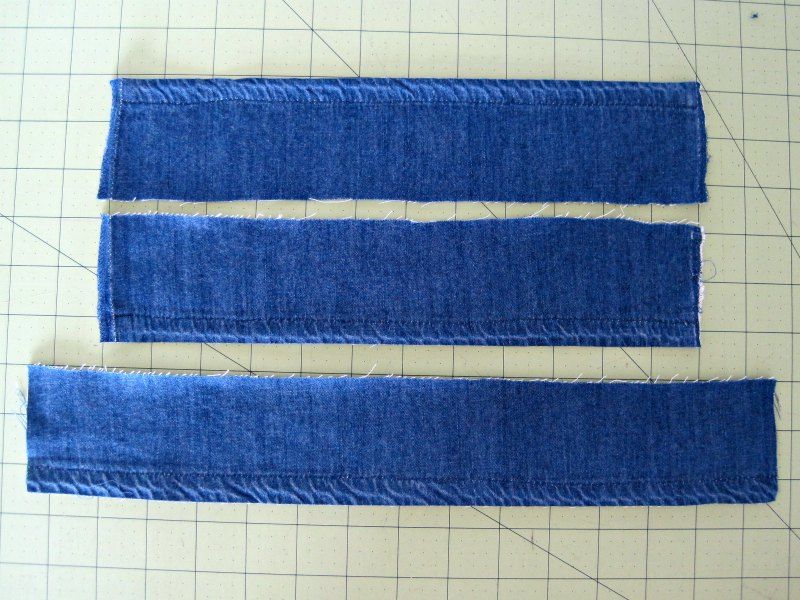
Use the bottom of the fabric to cut your waistband pieces. I cut 2" off the bottom for my waistband, and then cut my waistband pieces from that strip. Use the formulas below to figure out the length of the pieces.
back waistband length (cut 2) = [width of skirt ÷ 2] + seam allowance
You should have one waistband front and two waistband back pieces out of the skirt fabric. You next need to cut the same size pieces from your lining fabric. Next, cut a piece of interfacing to fit the front waistband**, and fuse the interfacing to the wrong side of the fabric.
**Note: I interfaced all three pieces, but it definitely wasn't necessary for the back. In fact, don't be like me and interface the back waistband. You want it to gather easily, so I actually regret doing this. Learn from my mistake and just interface the front waistband!
Sew the waistband
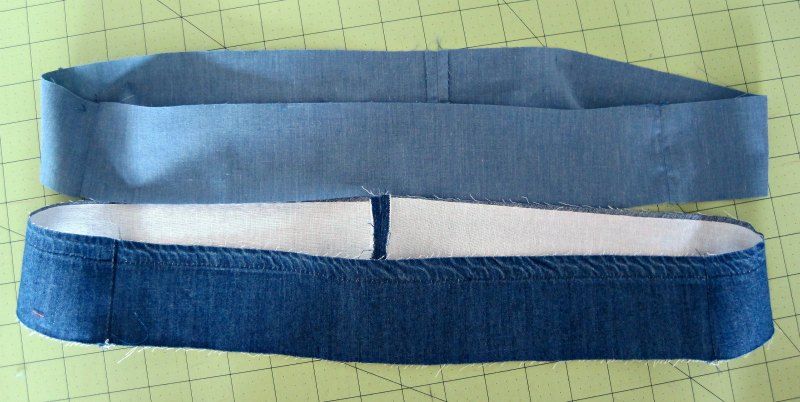
Sew the waistband pieces right sides together and press the seams open. Repeat with the lining pieces.
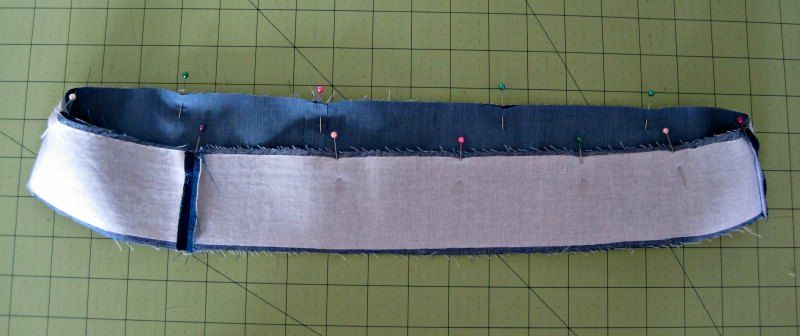
Pin along the top edge of the waistband and the lining, right sides together. Sew.
Press seam towards lining.
Turn waistband so right side is up and sew on the lining about 1/8" away from the seam (understitching). This will help prevent the lining fabric from rolling up and being visible on the right side of the skirt.
Gather the skirt front
Sew two lines of gathering stitches (long stitches with looser thread tension) along the top of the front of the skirt. Gently pull the bobbin threads to gather the skirt.
Sew the waistband to the skirt
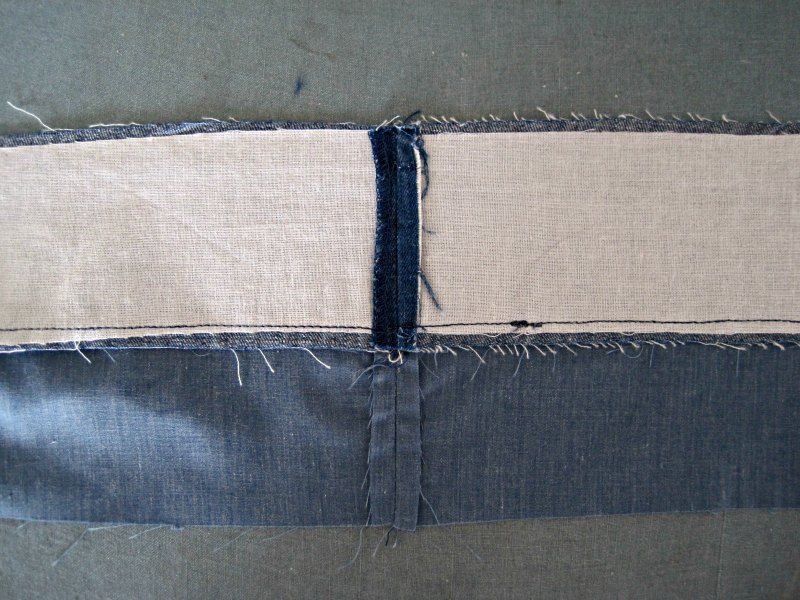
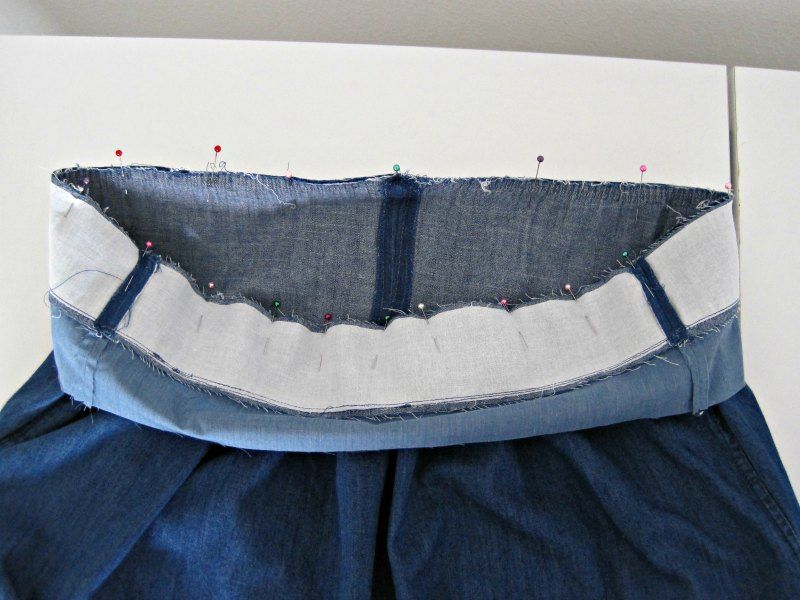
Pin the waistband main fabric to the skirt, right sides together, matching the side and back seams and adjusting the gathering to fit the front waistband. Sew.
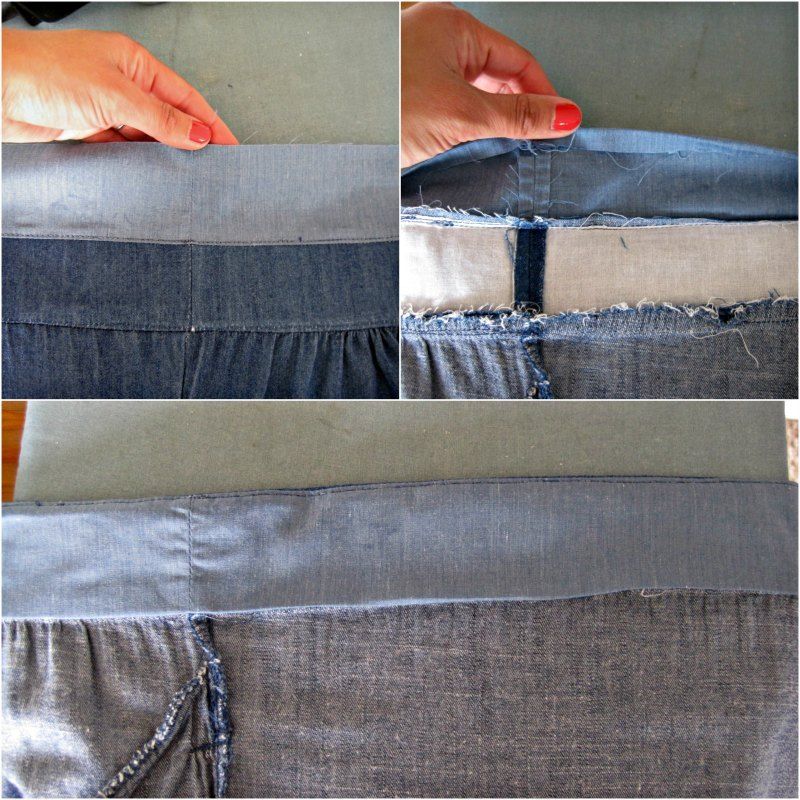
Press the waistband up, with the seam pressed towards the waistband. Fold and press under the seam allowance for the lining along the bottom edge. Fold and press the lining fabric to the inside of the waistband.
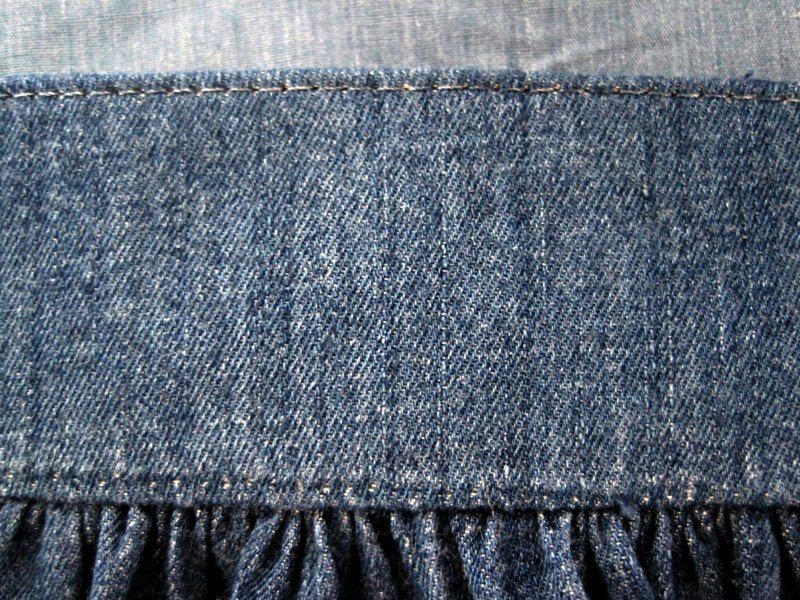
I edgestitched along the top edge of the waistband. This was partially for looks and partially to help prevent the elastic from rolling.
Insert the elastic
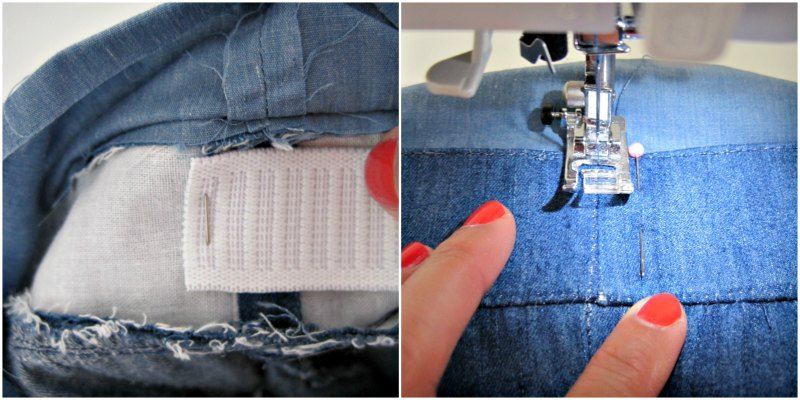
Cut a length of elastic that is half your waist measurement, minus 2-3". Pin the elastic one side of skirt, along the back, and sew into place by stitching in the ditch on the right side of the fabric.
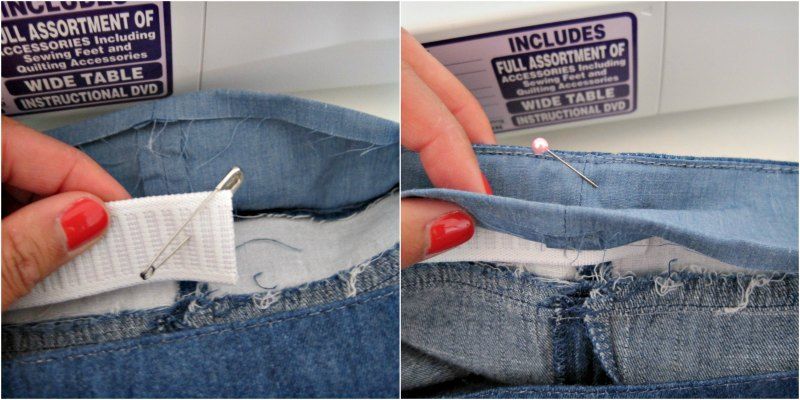
You will want to keep the elastic out of the way while you sew the waistband lining to the skirt. Attach a safety pin to loose end of the elastic, and then pin to the waistband from the outside. The safety pin will allow you to pull the elastic through the waistband casing easily.
Sew the lining to the skirt
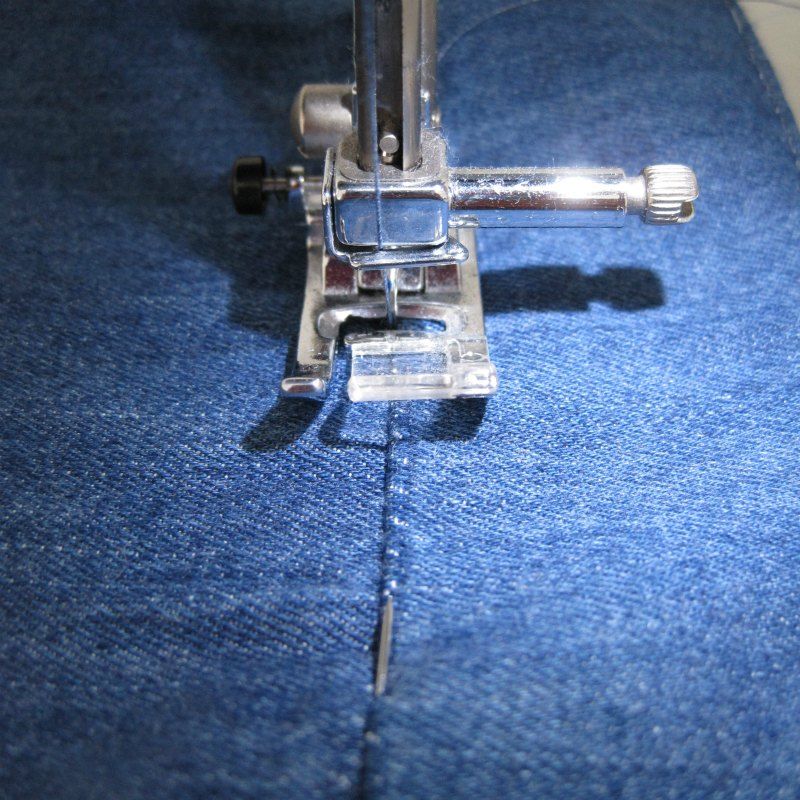
Pin the waistband lining to the inside of the skirt. Stitch in the ditch on the right side of the fabric to sew the lining to the skirt. Leave 3" unsewn along the other side seam (the one you didn't sew the elastic to yet).
Pull the the elastic through to the other end. Pin into place and remove the safety pin. Stitch in the ditch on the right side of the fabric to sew in the elastic into place. Sew the opening in the lining closed.
Hem the skirt
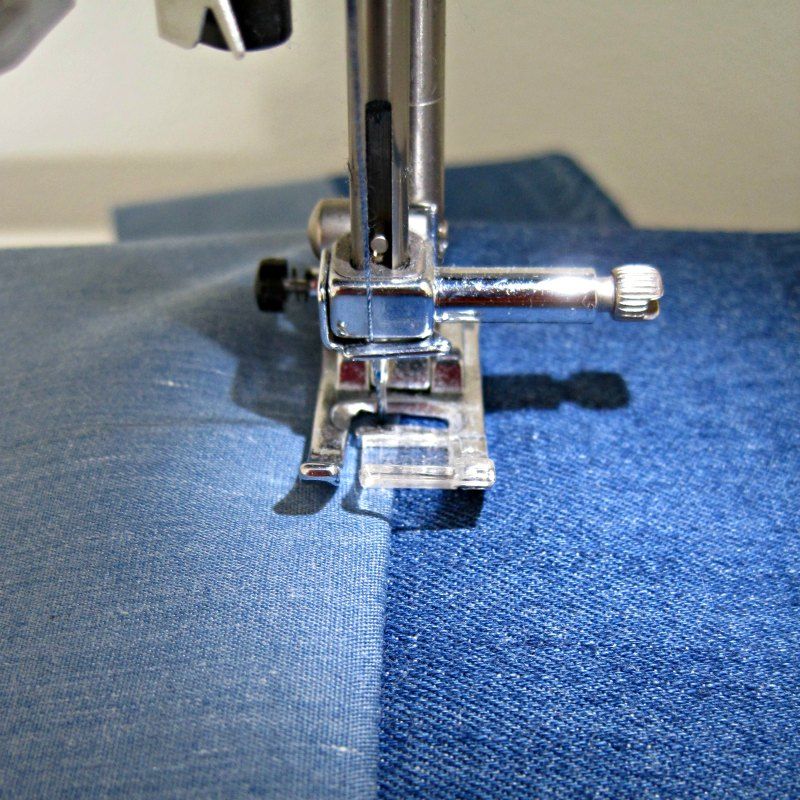
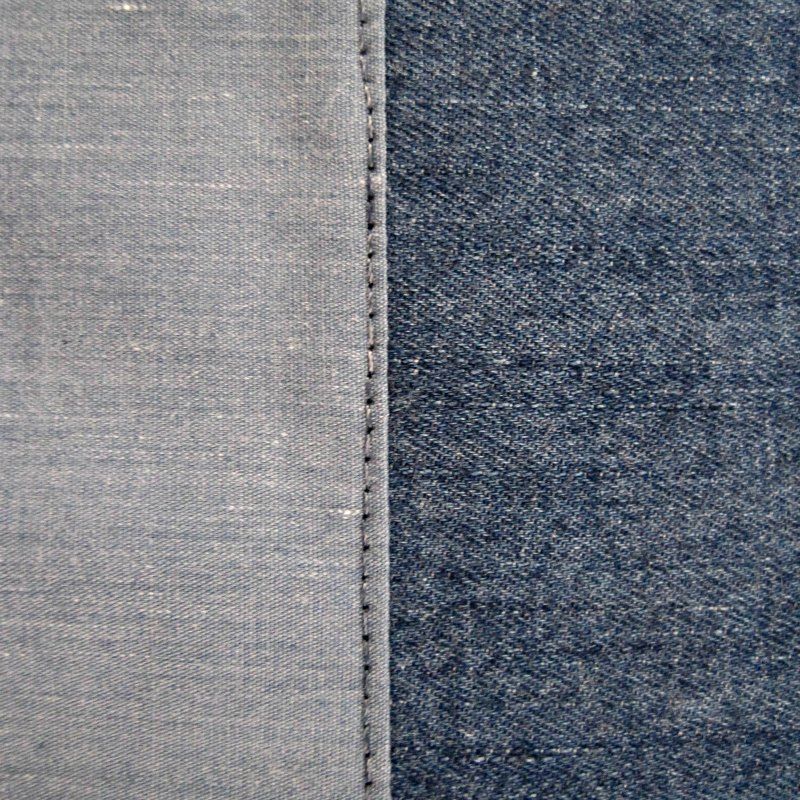
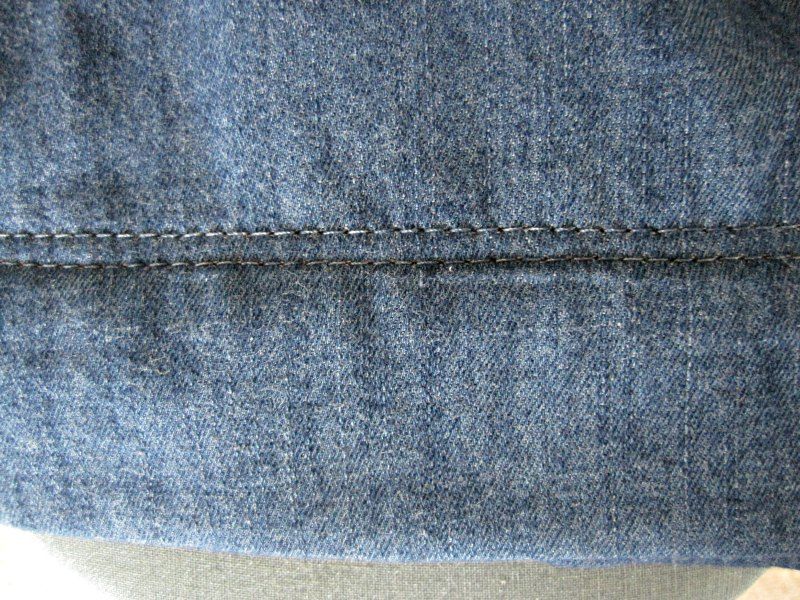
Hem the skirt to your desired length. I made my hem 1.5" to match the height of the waistband. (The two lines of stitching were because I didn't catch the hem completely on the inside the first time around, but I think it looks nice too).
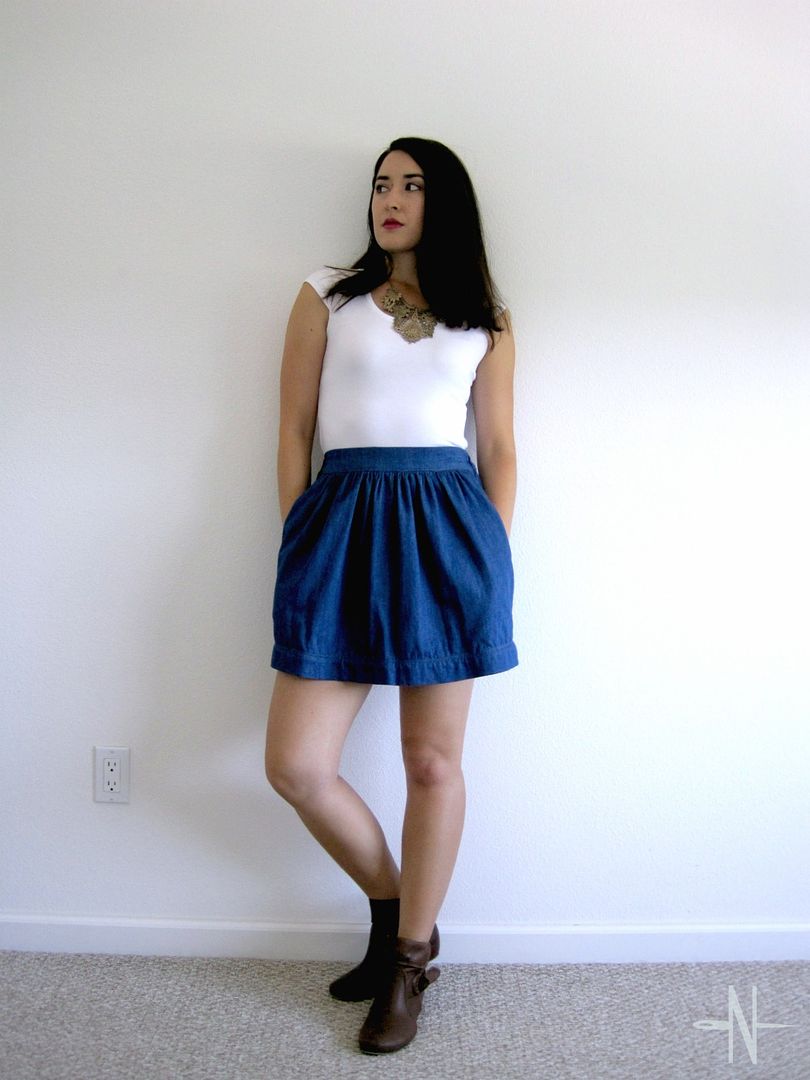
Now you have a new cute and comfortable skirt to wear!
I hope you found this tutorial helpful. Have you done any refashions to your clothes? I'd love to hear about it :). Keep up to date on my blog by following me on social media (links in sidebar).
Happy Sewing!

Check out these other refashions:

No comments:
Post a Comment