It's that time of year again. It's springtime and warmer weather means more time outside, blooming flowers... and spring cleaning. I love how a home feels after a thorough cleaning. However, I'm not such a big fan of the actual cleaning part. As a way to put off doing some actual cleaning, I decided to go through my closet. It's been a bit warmer outside now so it was time to put away my winter clothing and accessories and take out my summer clothes. I wanted to take this opportunity to figure out what I'm still actually wearing. If there was a piece I haven't worn in awhile I like to ask myself these questions:
If it needs to be altered or repaired, it goes into my to-sew pile. Which, shamefully, hasn't been touched in much too long. If it still fits and it is in good condition, that usually means I just don't like it anymore. In that case I'll put it in a pile of clothes to be donated. If it can't be repaired or is in bad shape, then I'll try to salvage it. I remove and save any buttons or working zippers (you can never have too many!) and use the fabric as sewing scraps or cut it up for cleaning rags.
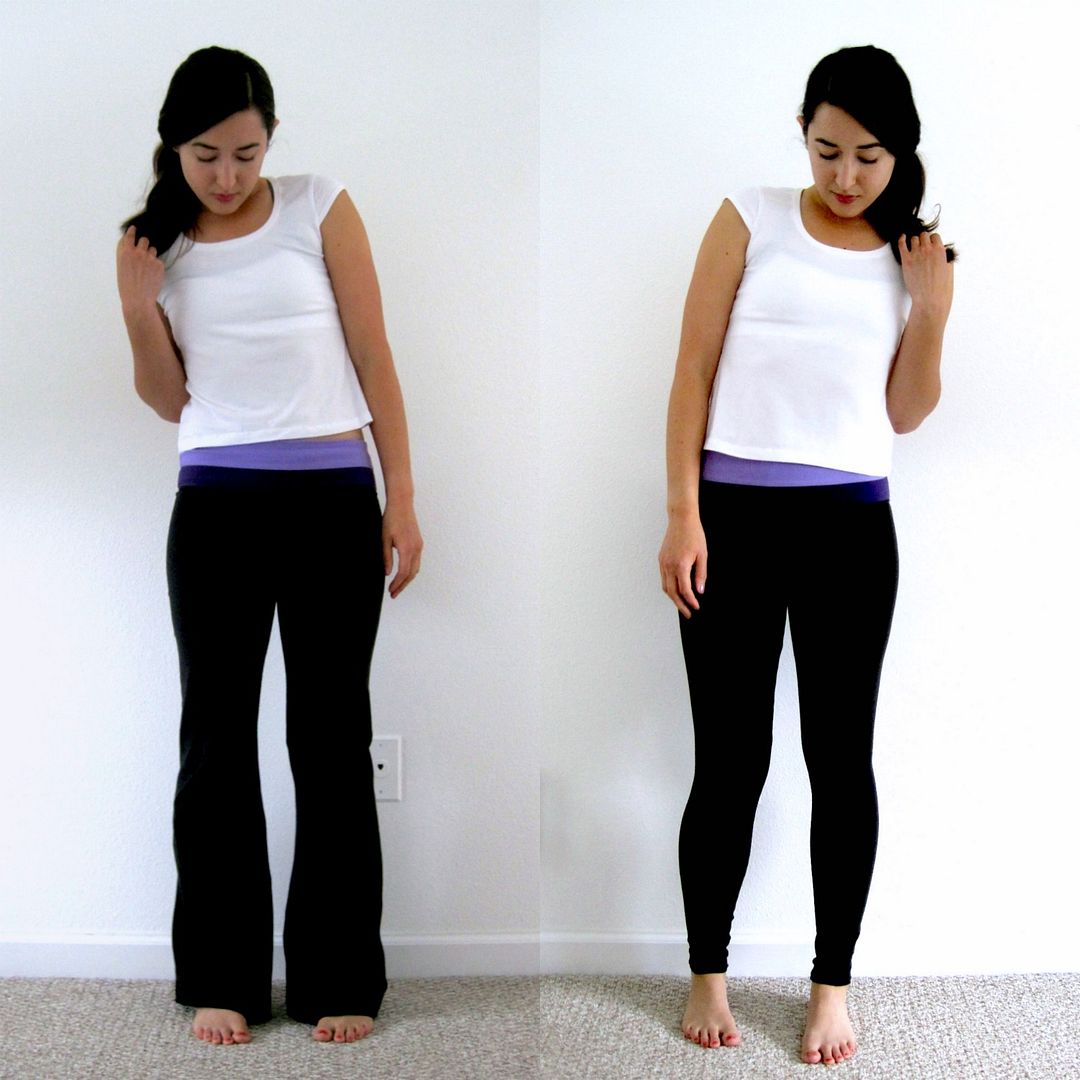
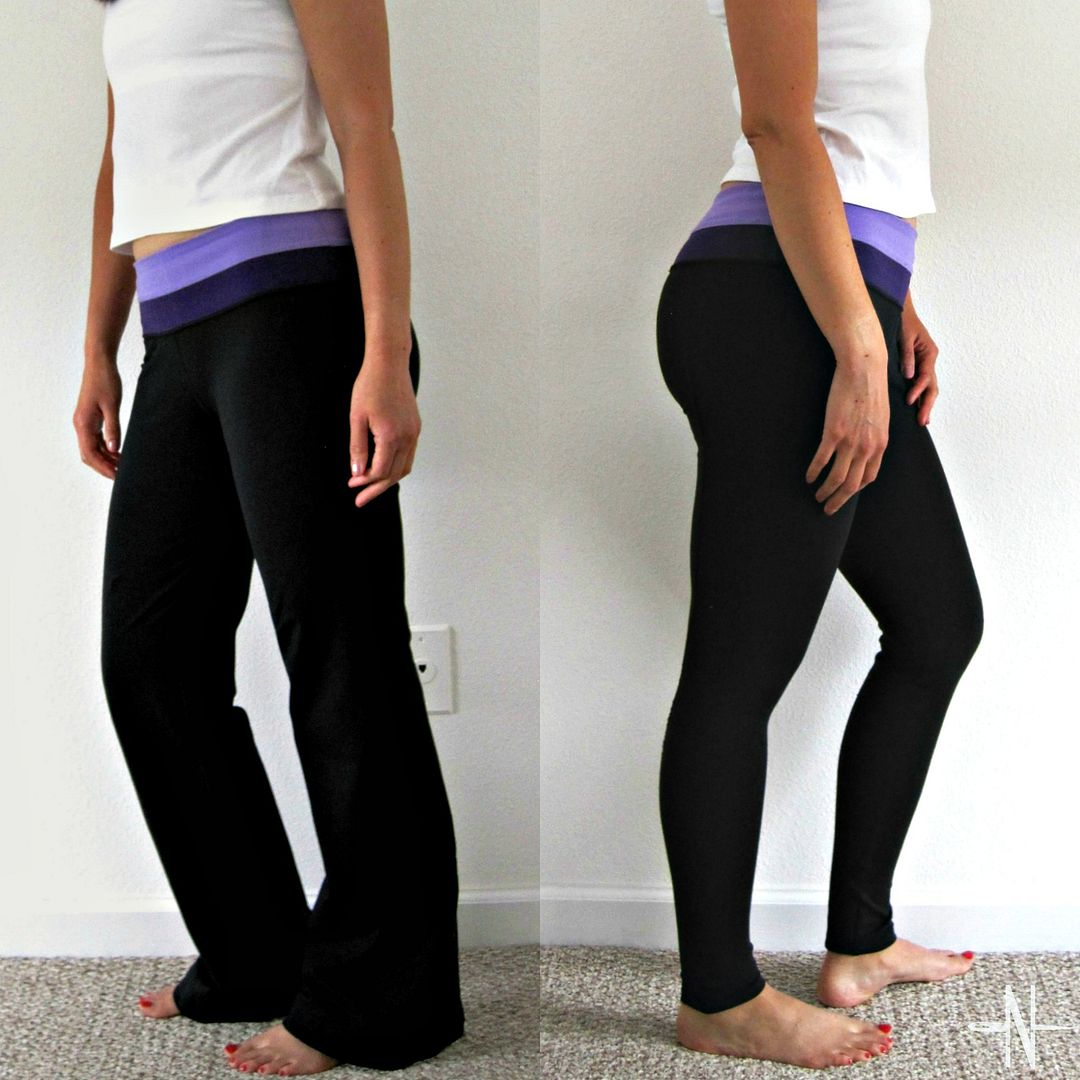
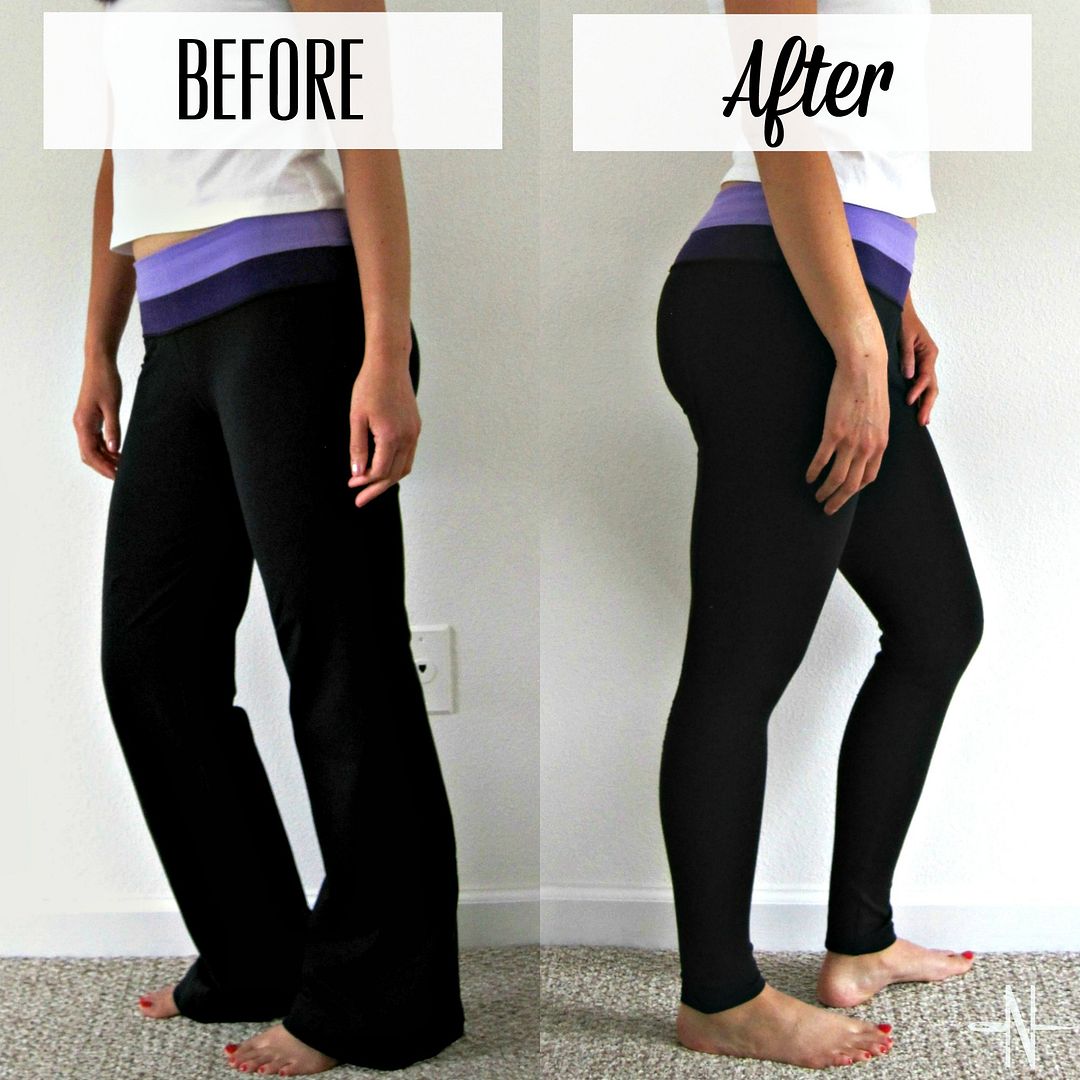
At this point, my pile of things to sew or repair has built up quite a bit. To get things started, I decided to begin with one of the easier projects. I've had these yoga pants for several years and the quality is great. However, they are just so flared. I definitely prefer a bootcut to my pants, or bet yet, leggings! Working out in flared pants just tends to get in the way. I prefer leggings when exercising, so I decided to see if I could turn this pair of yoga pants into leggings. I don't wear these anymore anyway, so it'd be like getting a new pair of leggings for free! It was so easy and successful I wanted to kick myself for not doing it sooner.
You could do this upcycle with any pair of flared stretch pants you have lying around. This would be a great project for pants that are too short since leggings have a shorter inseam anyway.
Ready to see how I did it? Let's get started!
You will need:
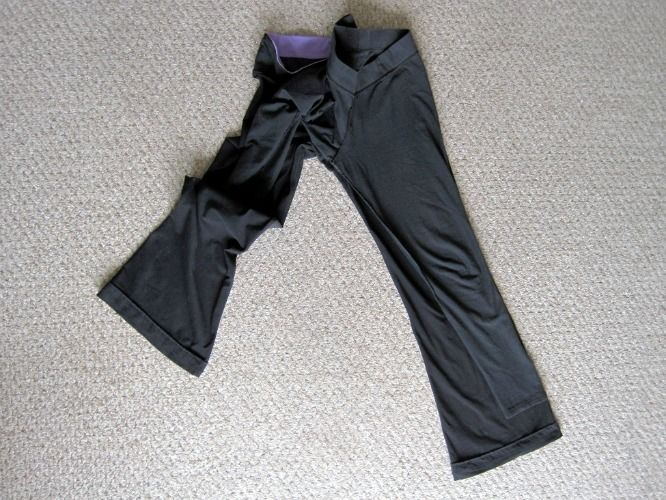
Line up the crotch seam and the outer seam of your leggings and yoga pants.
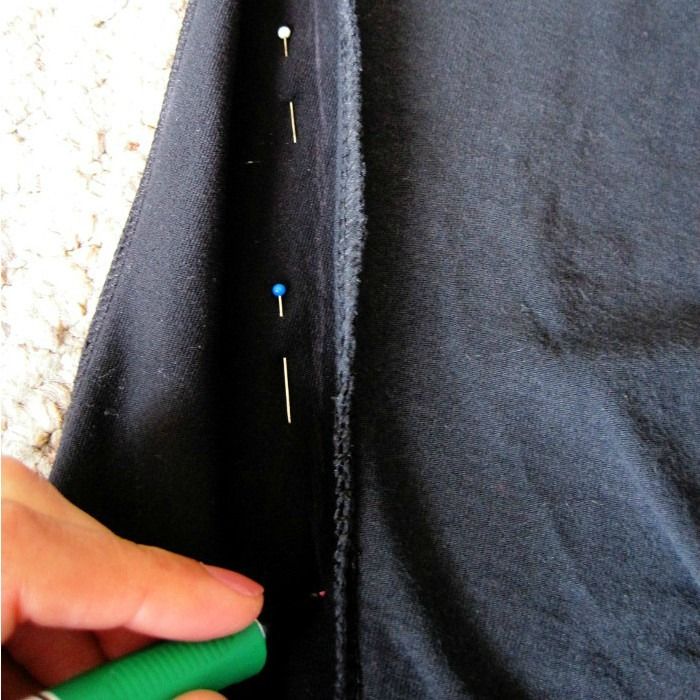
Using pins and/or chalk mark the inner seam of the legging onto the yoga pants. Try to keep the original crotch seam intact and start marking an inch or two below the crotch area. When you get to the hem, add a couple of inches to give yourself extra hem allowance just in case.
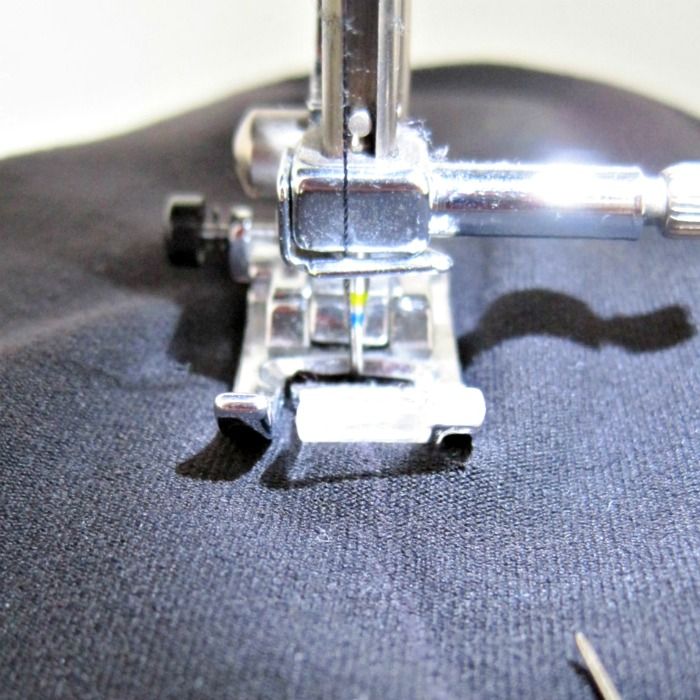
Using a stretch or ballpoint needle and a stretch or zig zag stitch, sew up the new inner leg seam.
*Pro tip: Just do one leg to begin with, and then try on the pants inside-out to check for fit. You can make any adjustments before sewing the other leg.*
Repeat with the other leg. Trim excess fabric to make a 1/4" seam allowance.
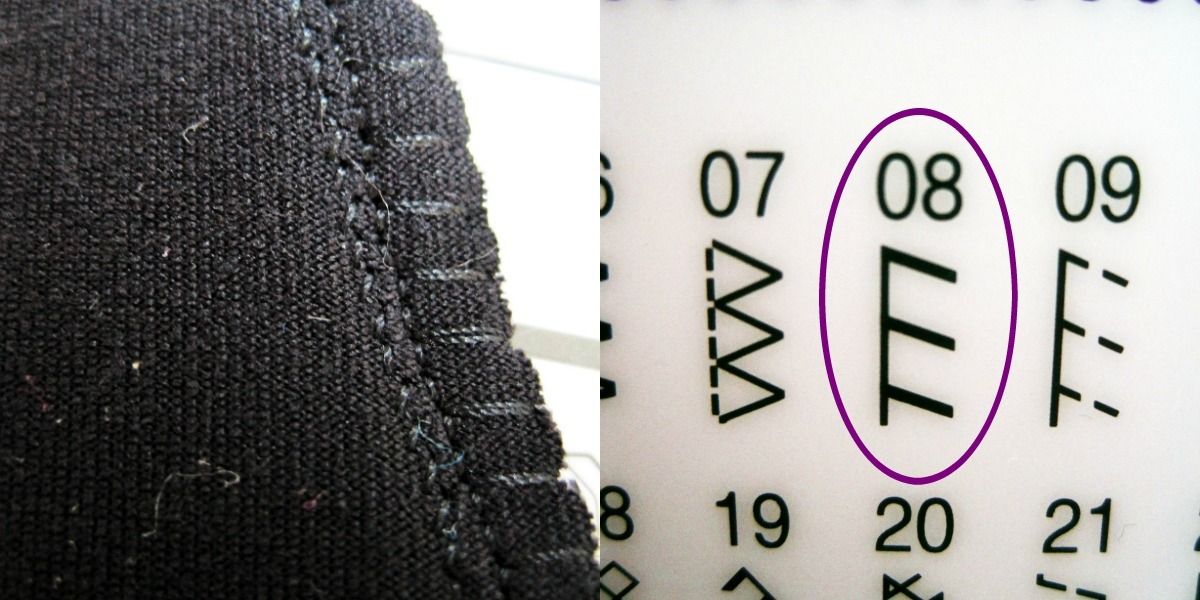
Optional: Use a knit overcast stitch to finish the seam. If you don't have an overcast stitch, zig zag over the edge of the seam. This will help the seam sit flat and prevent rolling, plus it gives it a more professional finish.
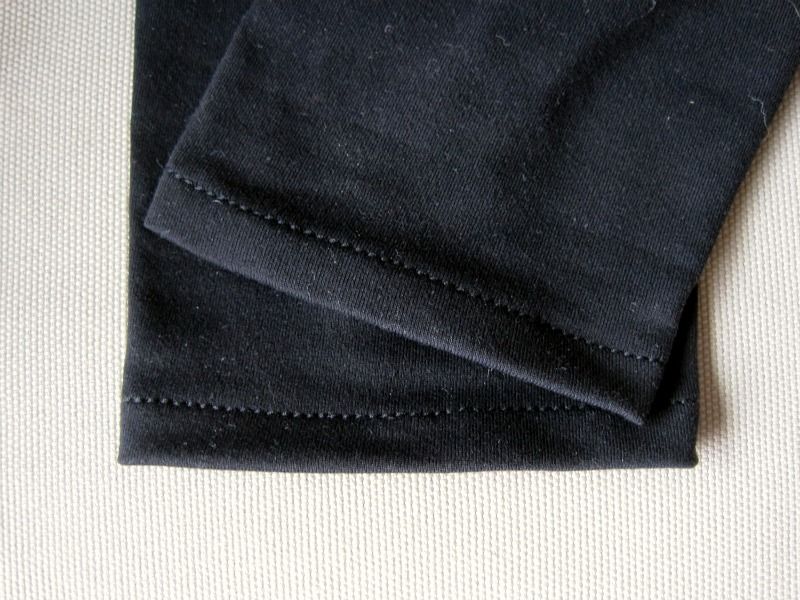
Try on your pants and mark where you want the hem to be with pins or chalk. Carefully take off them so you don't get poked! Next you want to add and mark your seam allowance. I made my seam allowance 1/2". Cut to the seam allowance.
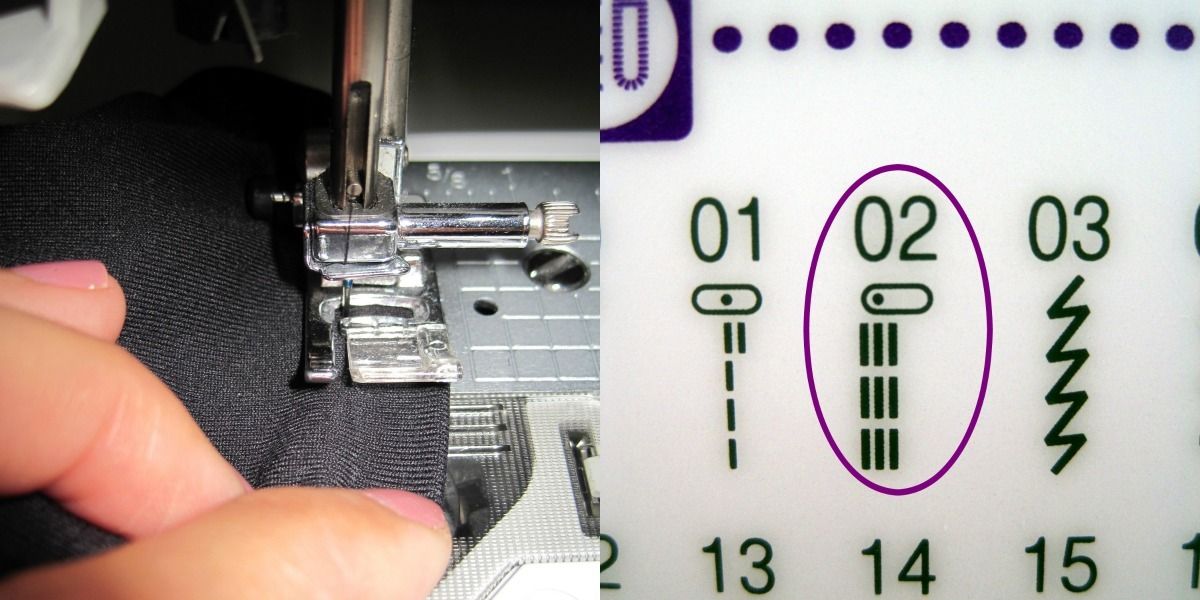
Fold and press under your hem and secure with pins or clips. Select a stretch stitch. I used the triple stretch stitch. It looks like a straight stitch, but it is actually very stretchy. Alternatively, you could hem them with a double needle.
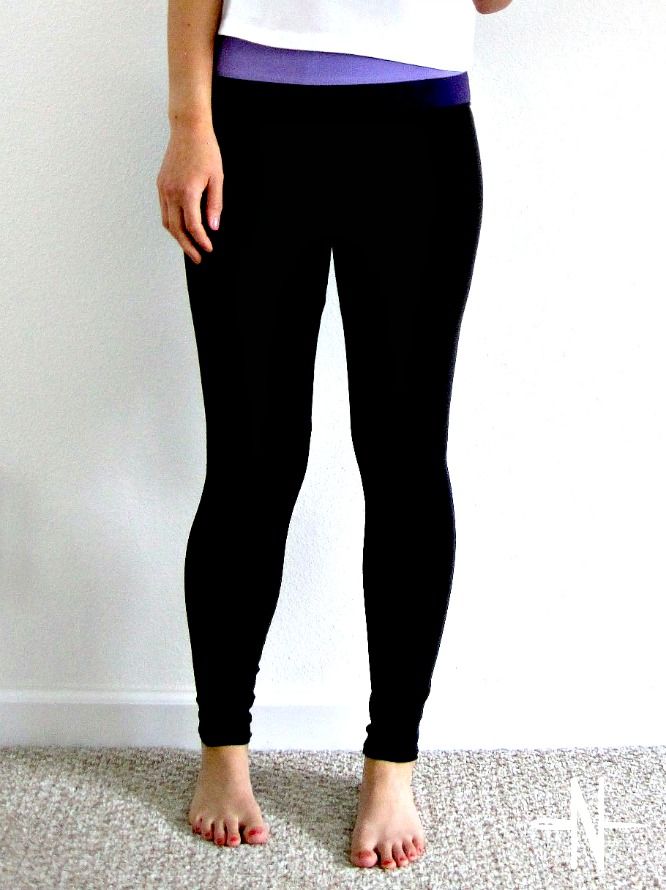
And that's it! You now have a new pair of leggings you can workout, lounge around, or go out in.
I hope you found this tutorial useful. What other things in your closet have you upcycled? I'm working on changing a too small dress into a skirt. Watch for that blog post next week! Follow me on social media to keep up-to-date on my blog (links in sidebar).

Check out these other refashions:

No comments:
Post a Comment