
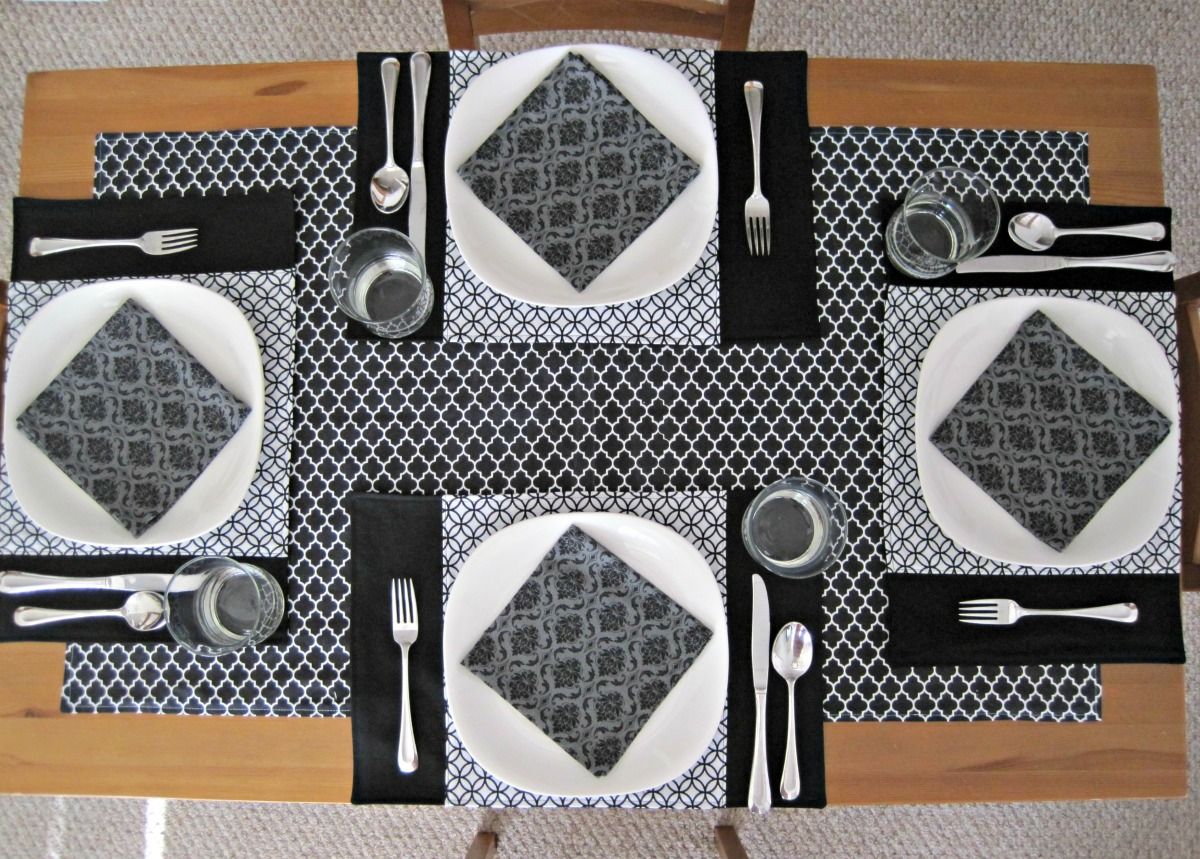
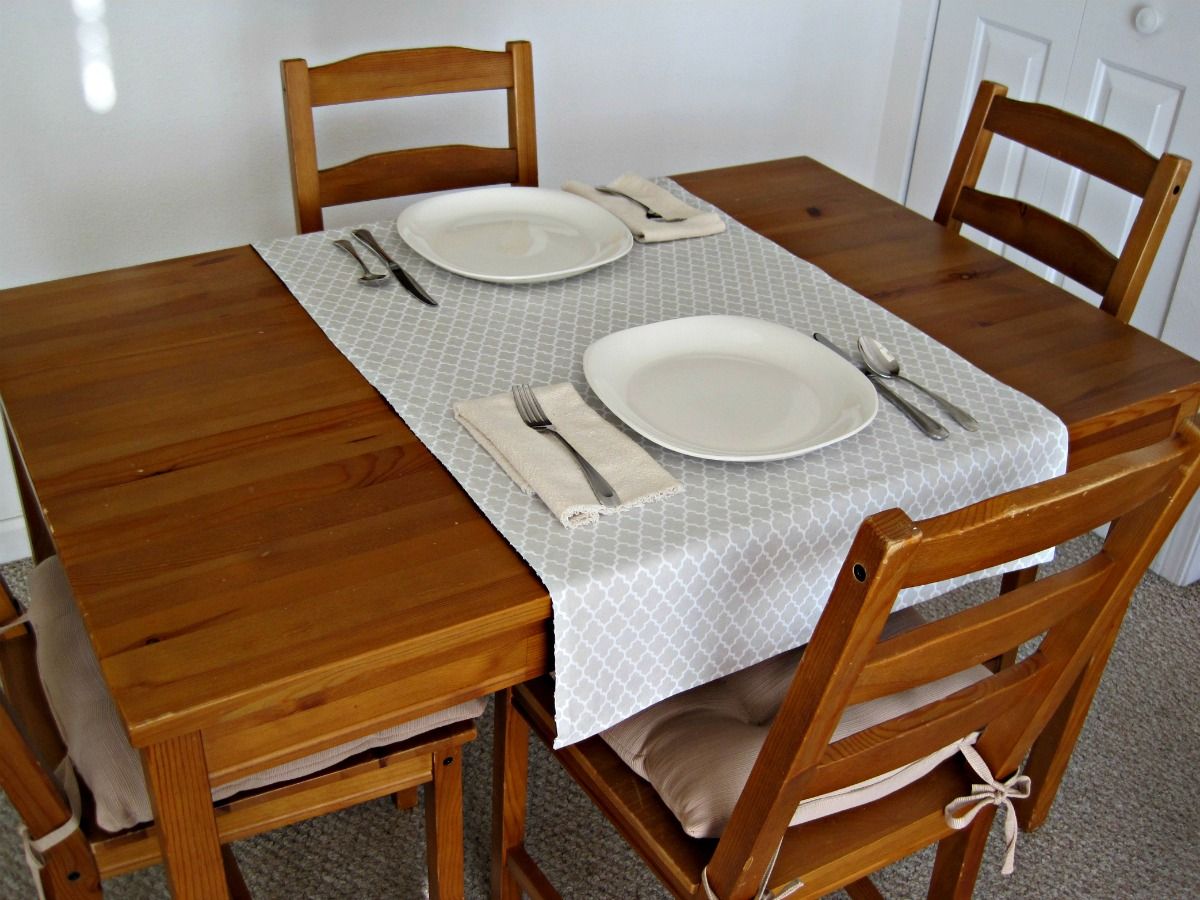
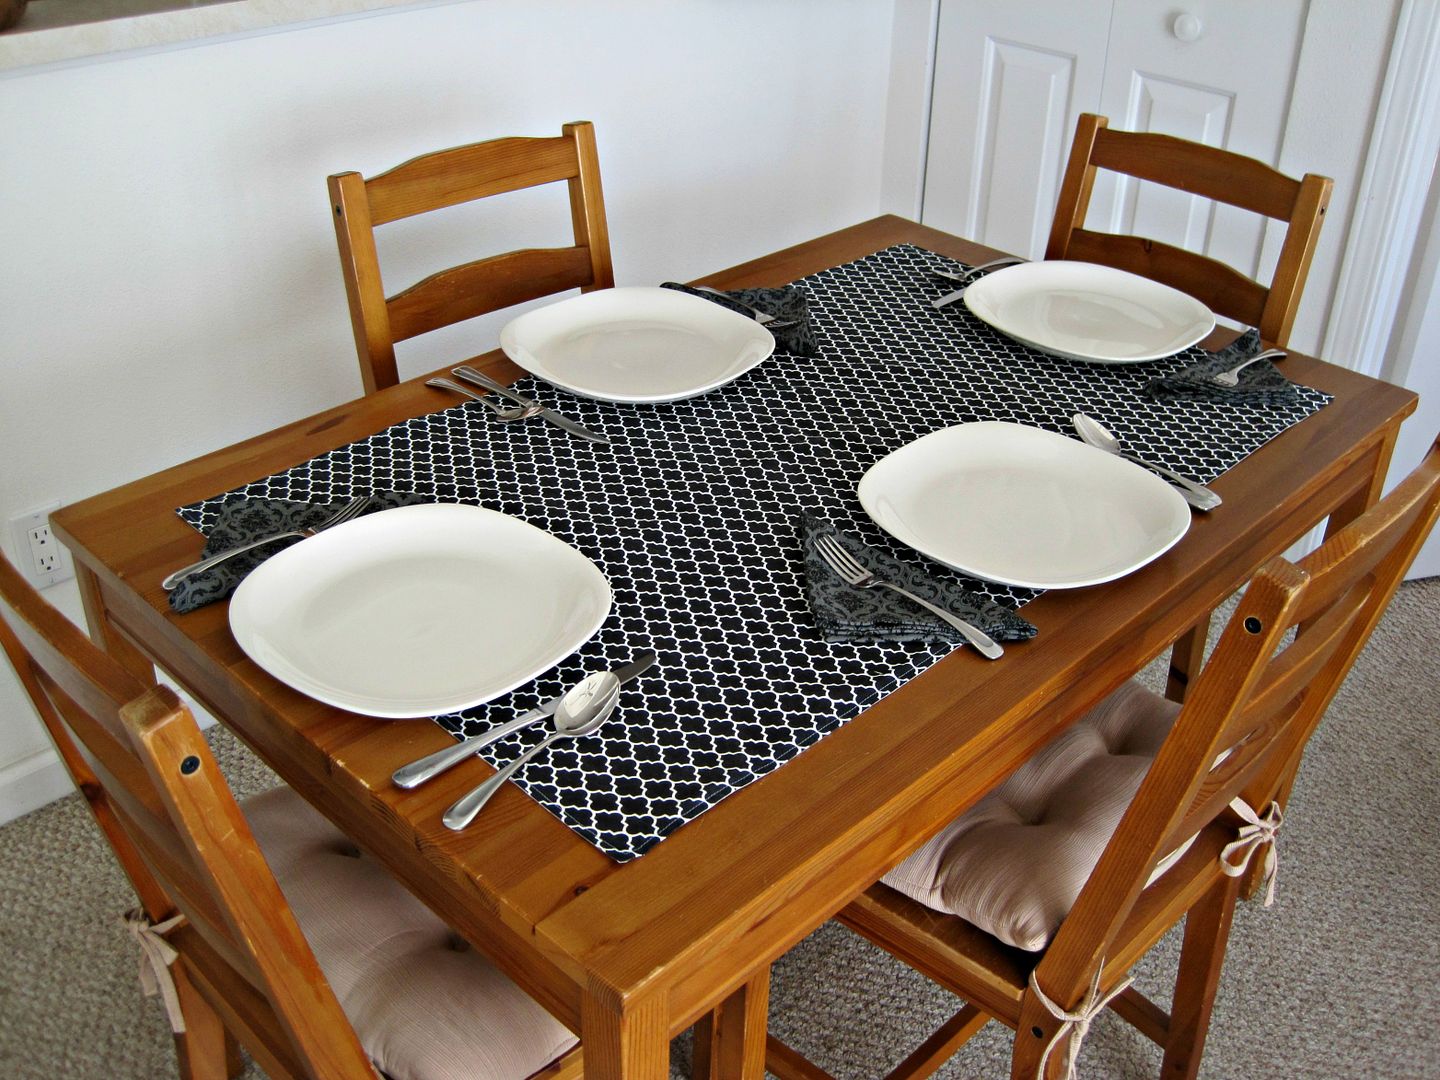
With the holidays fast approaching, it's the perfect time to give your tablescape an update. I recently sewed new placemats, napkins, and a table runner because I felt like a change.
All of these projects are fairly simple and quick to sew up. The trickiest part is learning the mitered corner technique for the napkins (but it's worth it for them to hold up for a long time). The placemats are reversible to either show a solid color or the accent. The table runner is also reversible, cleverly matching my new placemats on one side and my old placemats on the other side. Plus, I like the warm neutral side to set out during the day. It *may* be because it matches the pillows I made here. Since I live in a condo, the dining area and living room are the same room.
I made my placemats a fairly standard size. My napkins, however, are simply the maximum size the piece of remnant fabric allowed (minus a bit more from a sewing error!). The table runner is just the size of fabric samples I had, which I thought was a nice size for my table.
Placemats
Materials Needed
For 4 placemats:
Seam allowance is 1/2".
Cut your fabric
For ONE placemat:
So if you want to make 4 placemats, you will have four 19" x 13" pieces, eight 4.5" x 13" pieces, and four 12" x 13" accent pieces.
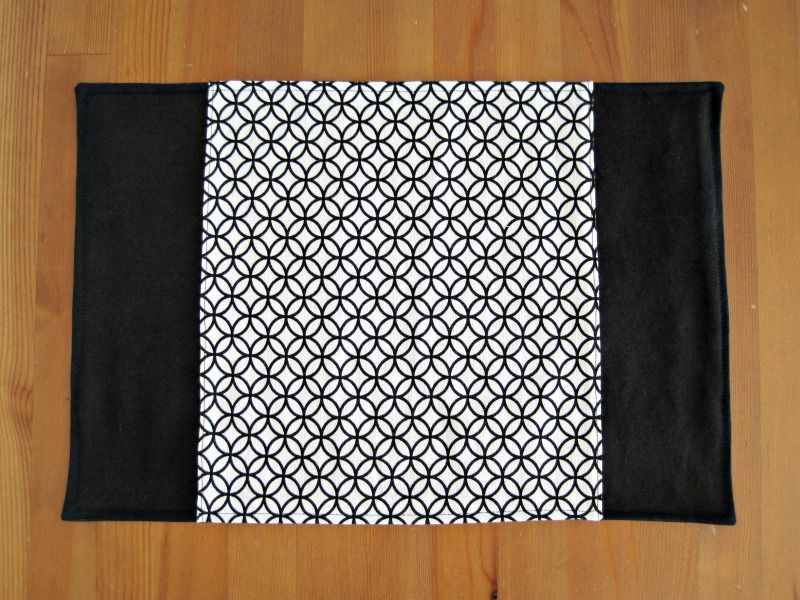
Sewing the placemats
- Right sides together, pin a 4.5" x 13" main fabric piece to the 13" side of the accent fabric. Sew. Repeat on the other side of the accent fabric with the other 4.5" x 13" piece.
- Press seams towards the center. Topstitch to sew seam down.
- Take a back 19" x 13" piece and pin it rights sides together with the front accented piece. Sew around all four sides, pivoting at the corners and leaving a 3" opening unsewn for turning.
- Clip the corners at a 45° to reduce bulk, taking care not to clip stitches.
- Turn placemat right side out and poke out the corners (chopsticks work well for this).
- Press placemat well.
- Topstitch 1/4" around all sides to close the opening.
Napkins

Materials Needed
Cut your fabric
For my napkins, I cut my yard of fabric into 4 equal squares, which ended up being 17" x 17". Finished sized, they should be 15" x 15". However, I messed up on my first napkin, so for continuity all my napkins ended up be a scant 13" x 13". That being said, I highly recommend using scrap fabric to practice the mitered technique first. Also, if you want napkins larger than 15" x 15", you will need to buy more fabric.
Sewing the napkins
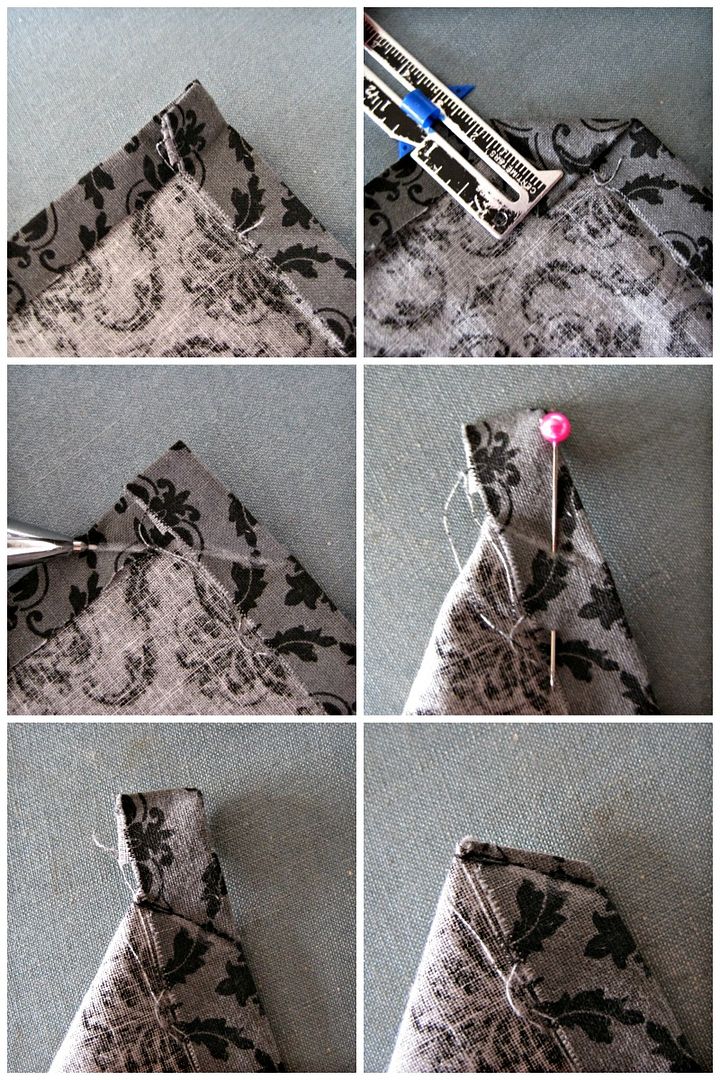
- Fold all sides of the napkin under 1/2" and press well.
- Fold and iron another 1/2".
- Unfold the second fold. Fold the corner down so each side is 1". Crease with your fingers or an iron, unfold, and draw a line along that crease. That will be your stitch line.
- Fold the corner right sides together, aligning the stitch line and pinning into place.
- Sew along the line, making sure to backstitch at the beginning and the end.
- Trim to 1/8" along stitched line.
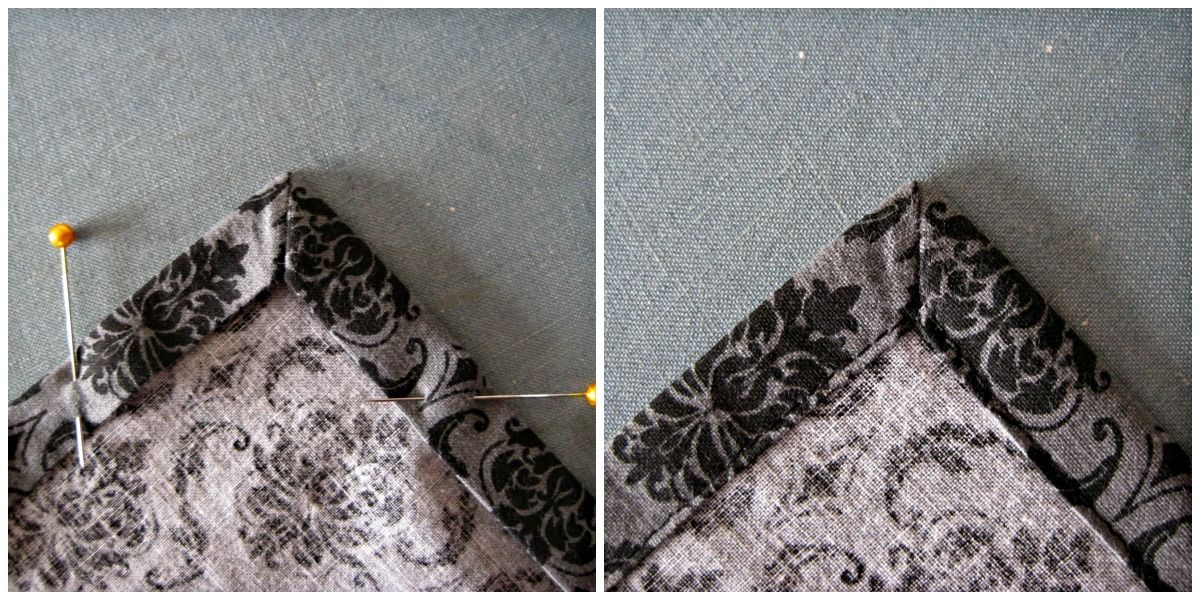
- Turn right side out, poke out the corner, and press well. Repeat with the other 3 corners.
- Press and pin the hem along all four sides. Edgestitch into place.
- Give it another press and you're done. Repeat with as many napkins as you wish to make.
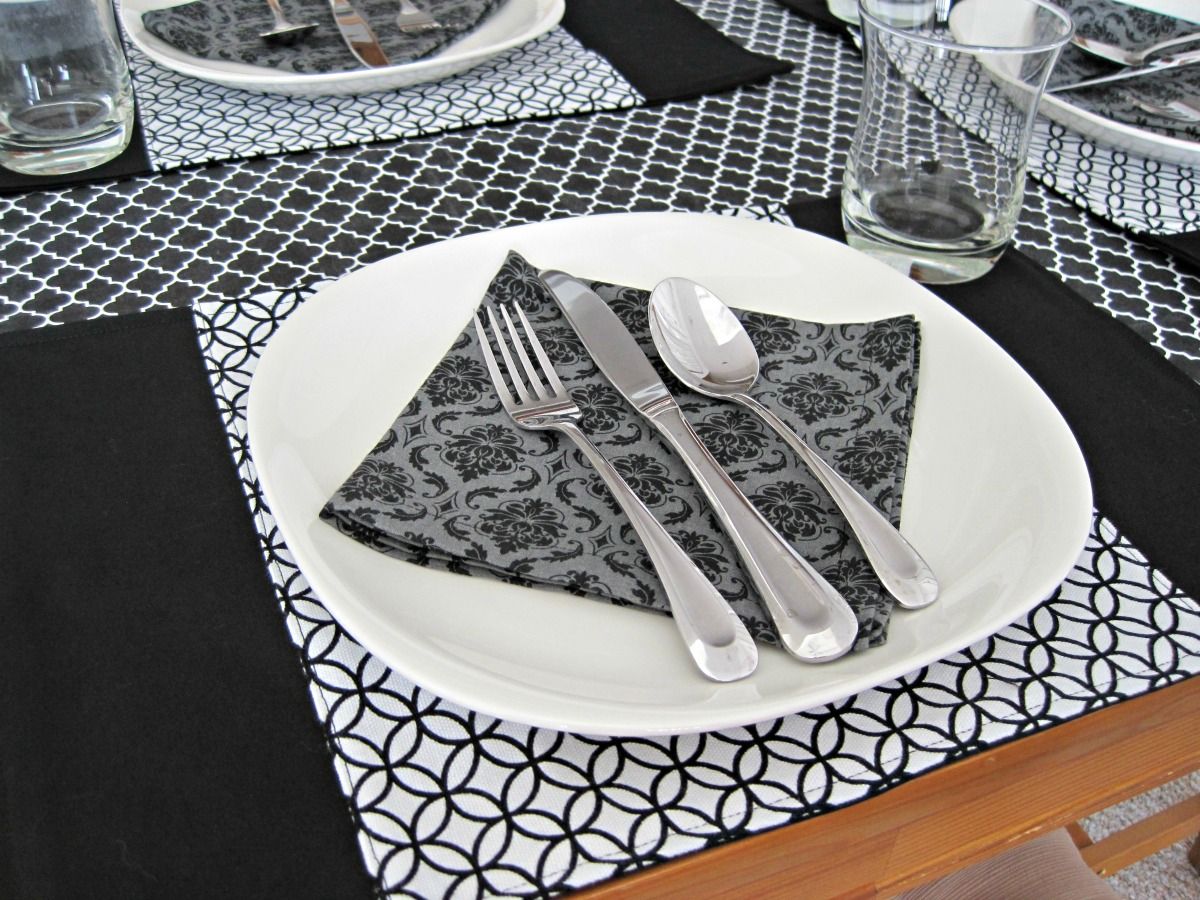
Table Runner
Materials Needed
The amount of fabric you'll need will depend on the size you want your table runner to be. I recommended sewing your placemats first, then laying out the table runner fabric on your table with your placemats to determine the dimensions that look the best.
Seam allowance is 1/2".
Cut your fabric
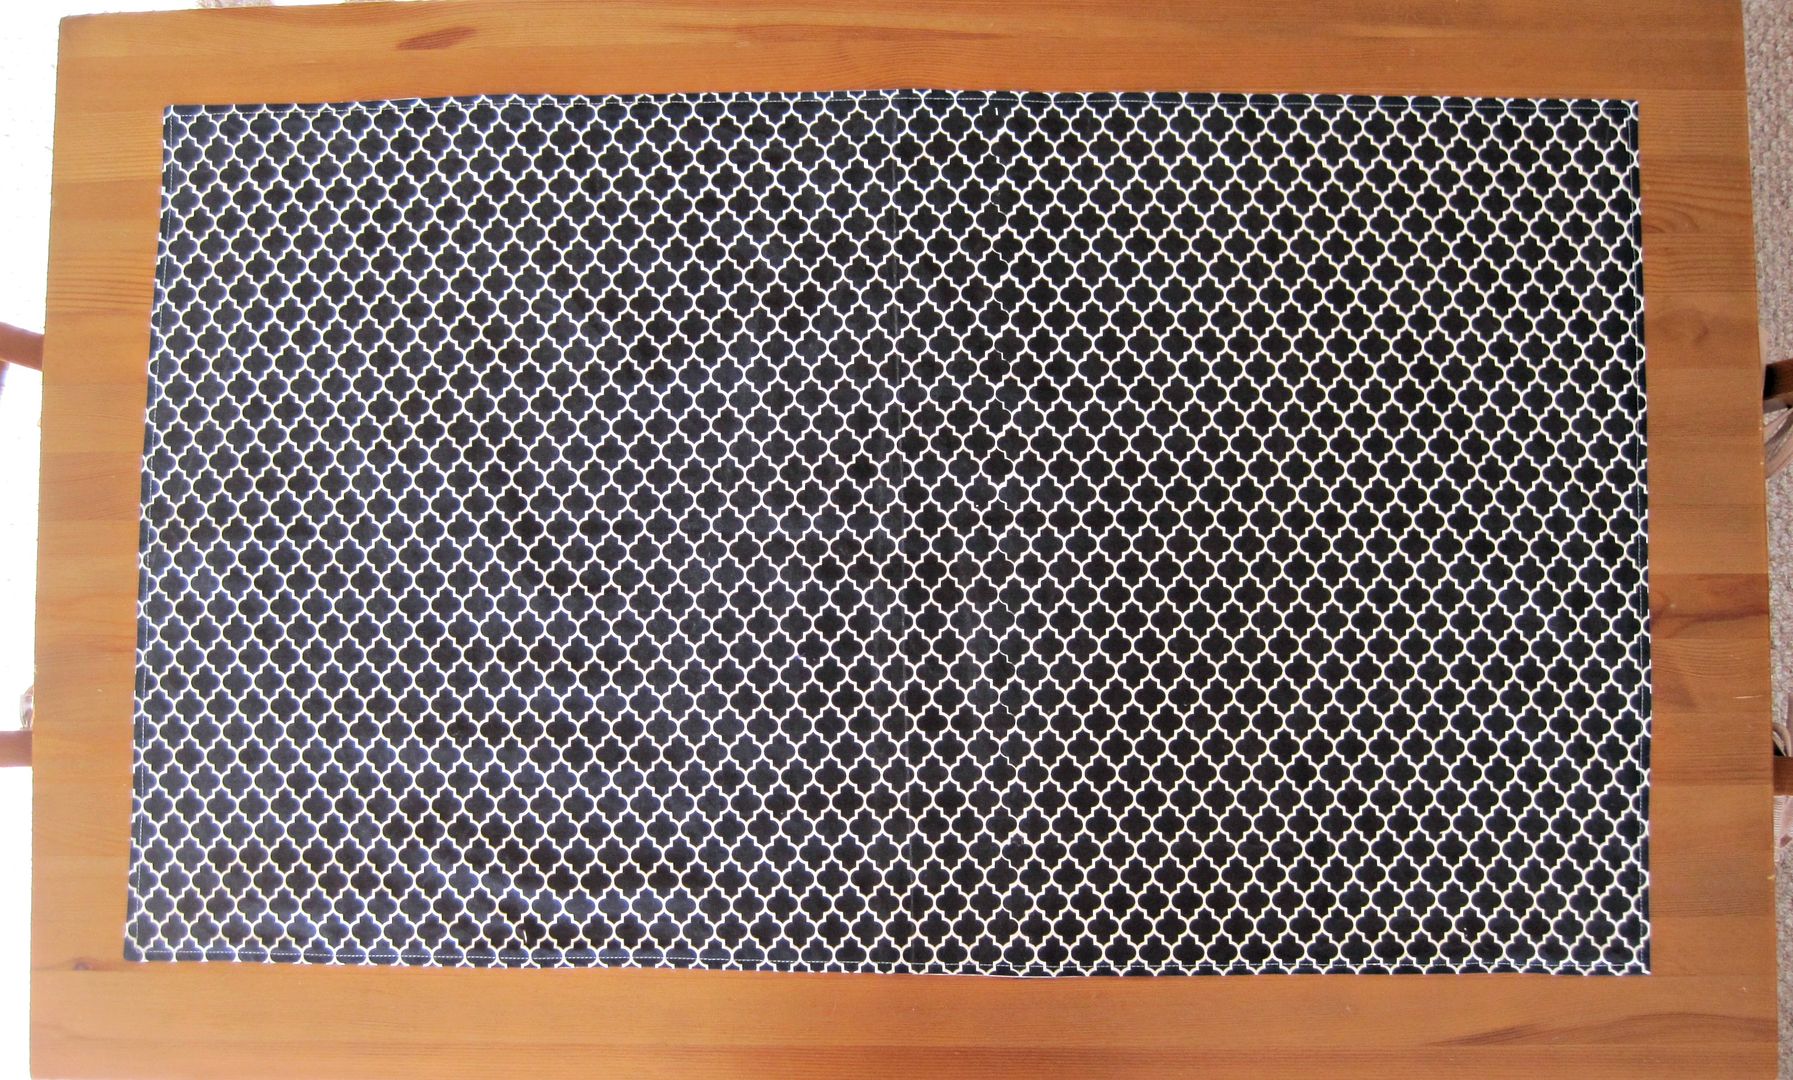
Add 1" to the desired size of your table runner for seam allowance and cut two pieces, one from each fabric. My fabric was cut 24" x 31", and the finished size with 23" x 30".
Sewing the table runner
- Place fabric right sides together and pin. Sew, leaving a 3" opening for turning.
- Clip the corners at a 45° to reduce bulk, taking care not to clip stitches.
- Turn table runner right side out and poke out the corners (chopsticks work well for this).
- Press well. Take your time, if you are making it reversible you want to make sure the reverse side isn't visible.
- Topstitch 1/4" around all sides to close the opening.
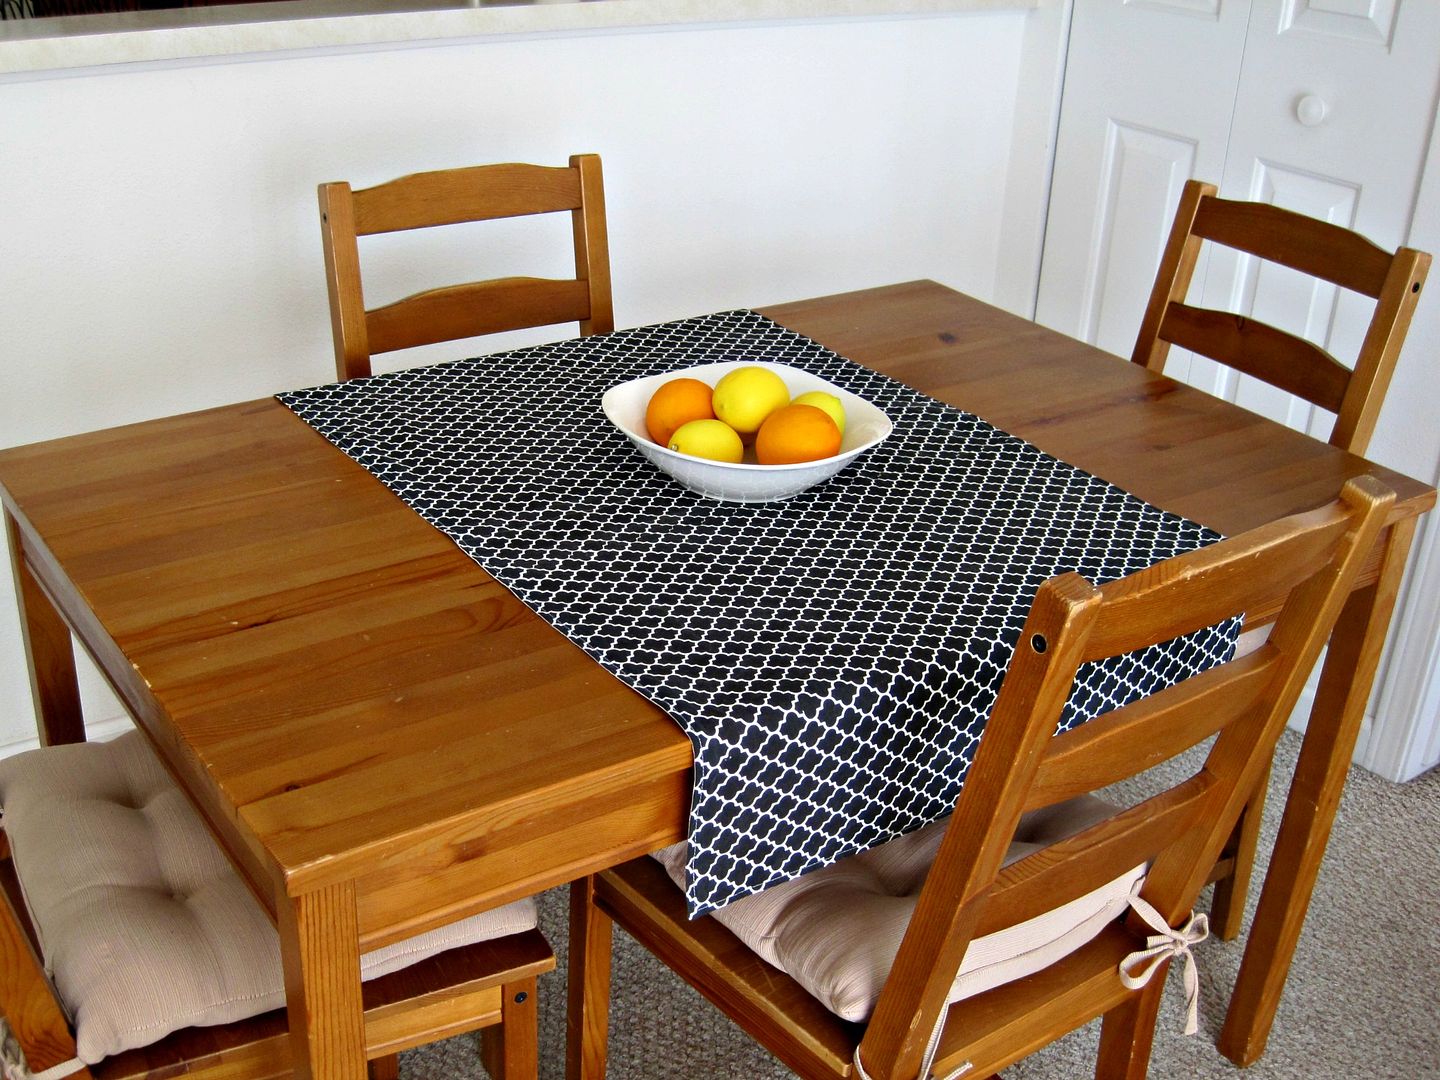
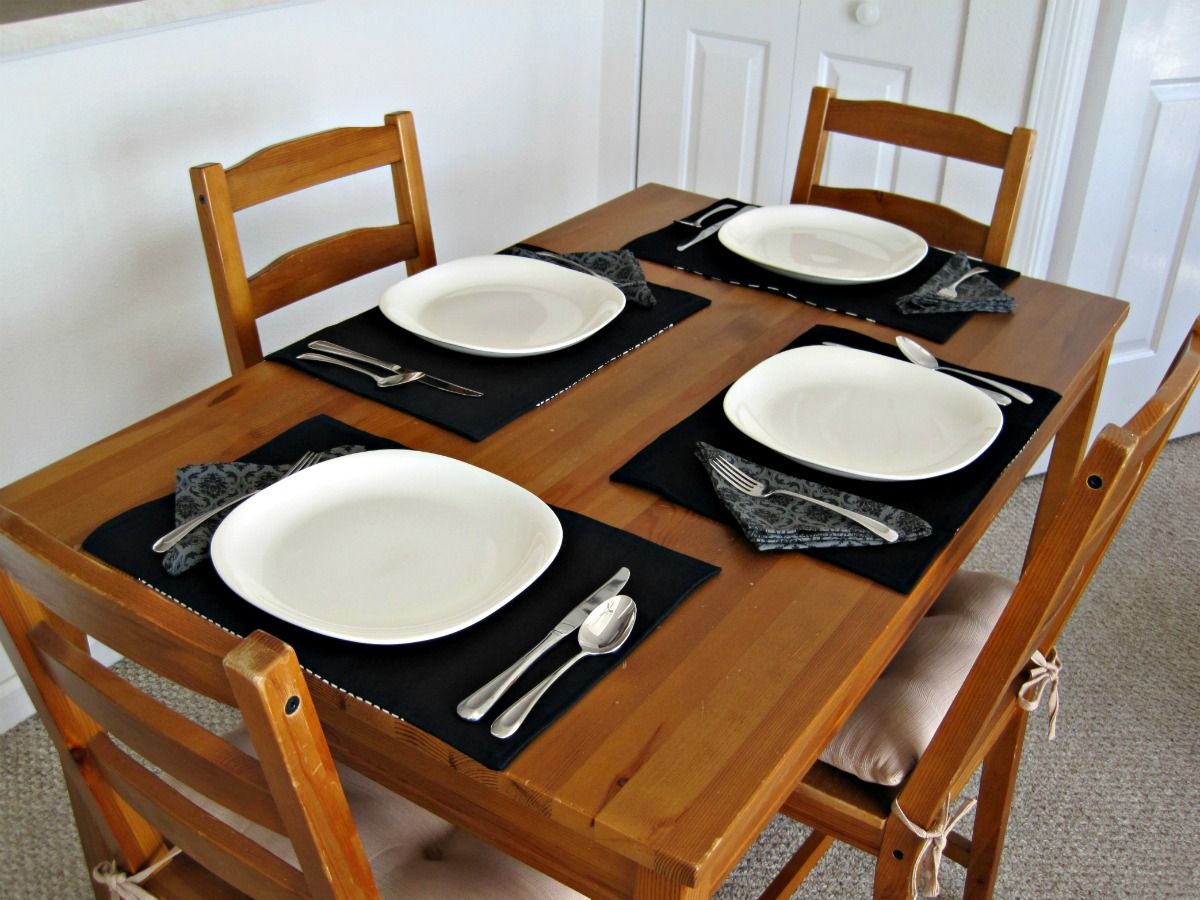
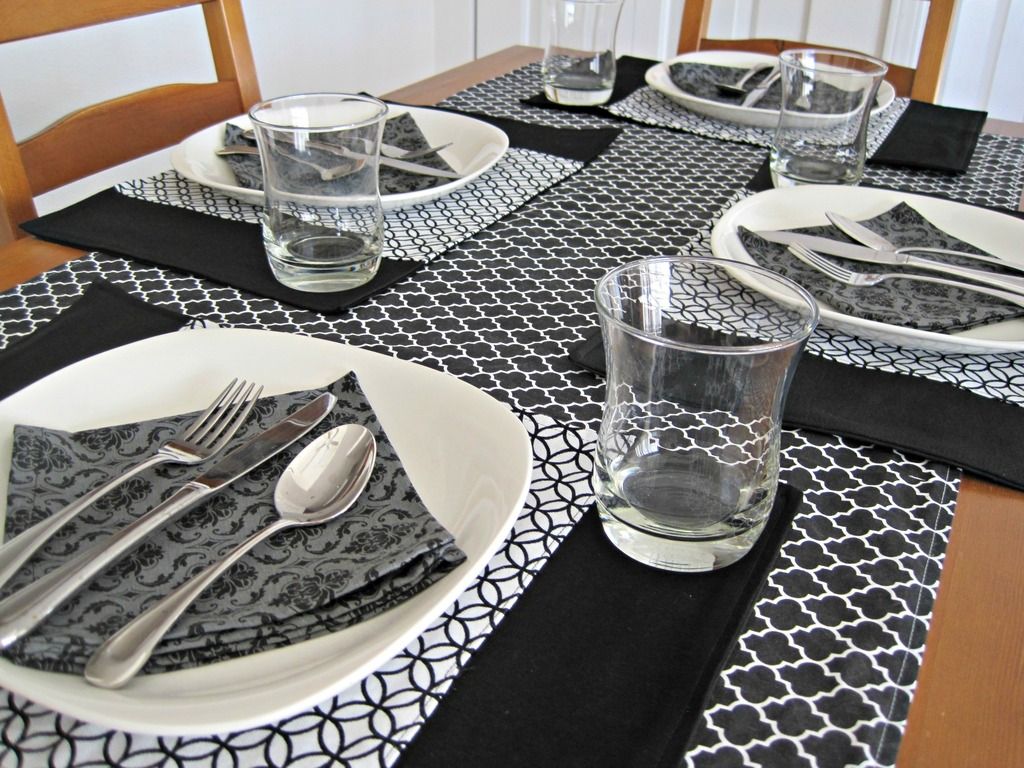
I'm loving the versatility of this set. I can use either side of the placemats depending on my mood, and use them with or without the table runner depending on how formal or casual I'm feeling. I also like that the reverse side of my table runner matches my other set of placemats as well as the pillows on my couch.
I hope you found this tutorial helpful. If you made something from this tutorial, I'd love to see pictures! Tag me in social media (links in sidebar) so I can see your awesome work. It really makes my day :).
Happy Sewing!

No comments:
Post a Comment