
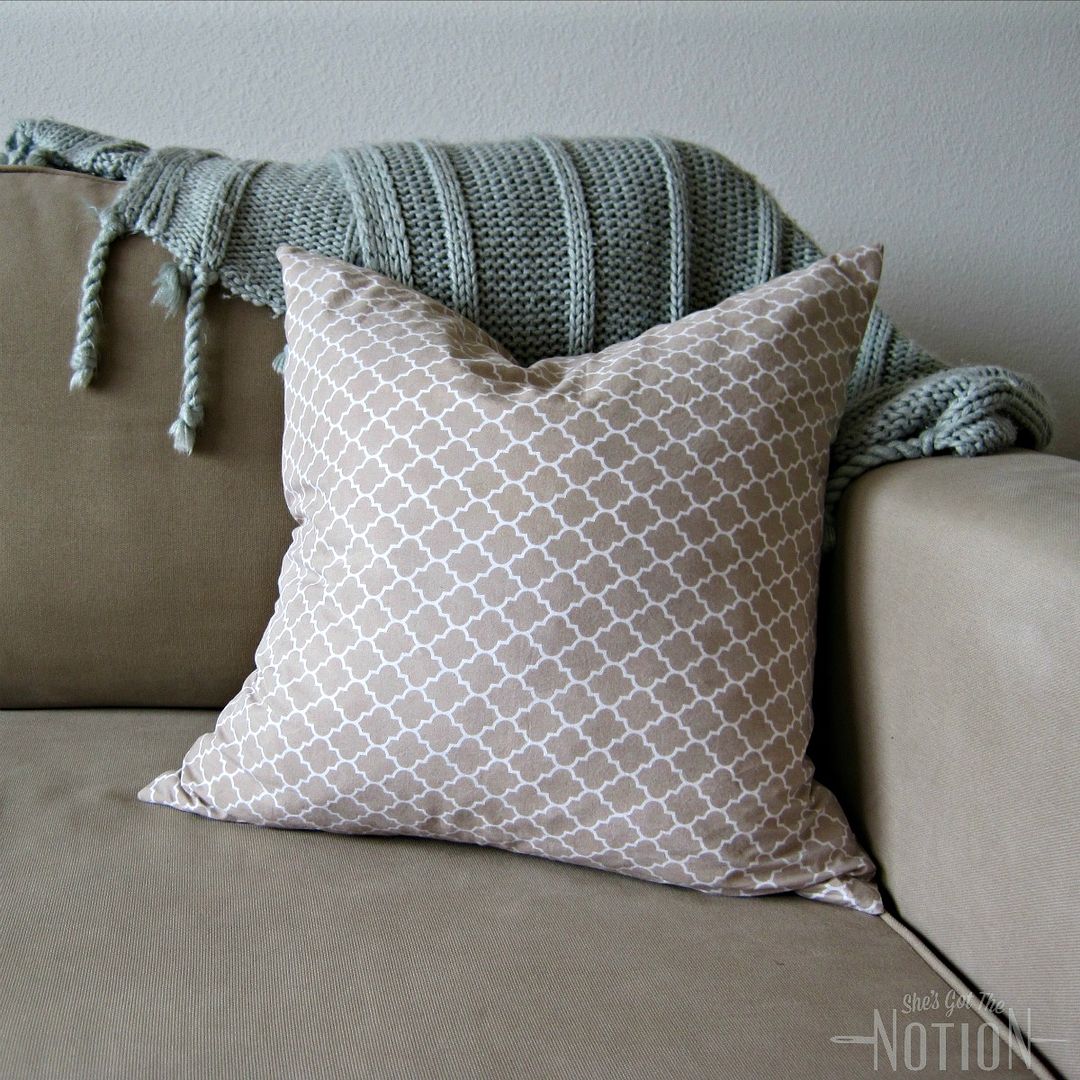
I have a pretty easy tutorial for you today. I know I've had several posts about making pillows before, but they're one of my favorite easy projects. It's a great way to update the look of your home when you want a change. This particular pillow cover tutorial is super easy and quick and probably the most basic zippered cover you can make. Even if you haven't sew a zipper on before (it's not as scary as it seems!) you will still be able to make these. It's a fast and beginner-friendly project with just 10 easy steps. You could sew up several of these in under in hour.
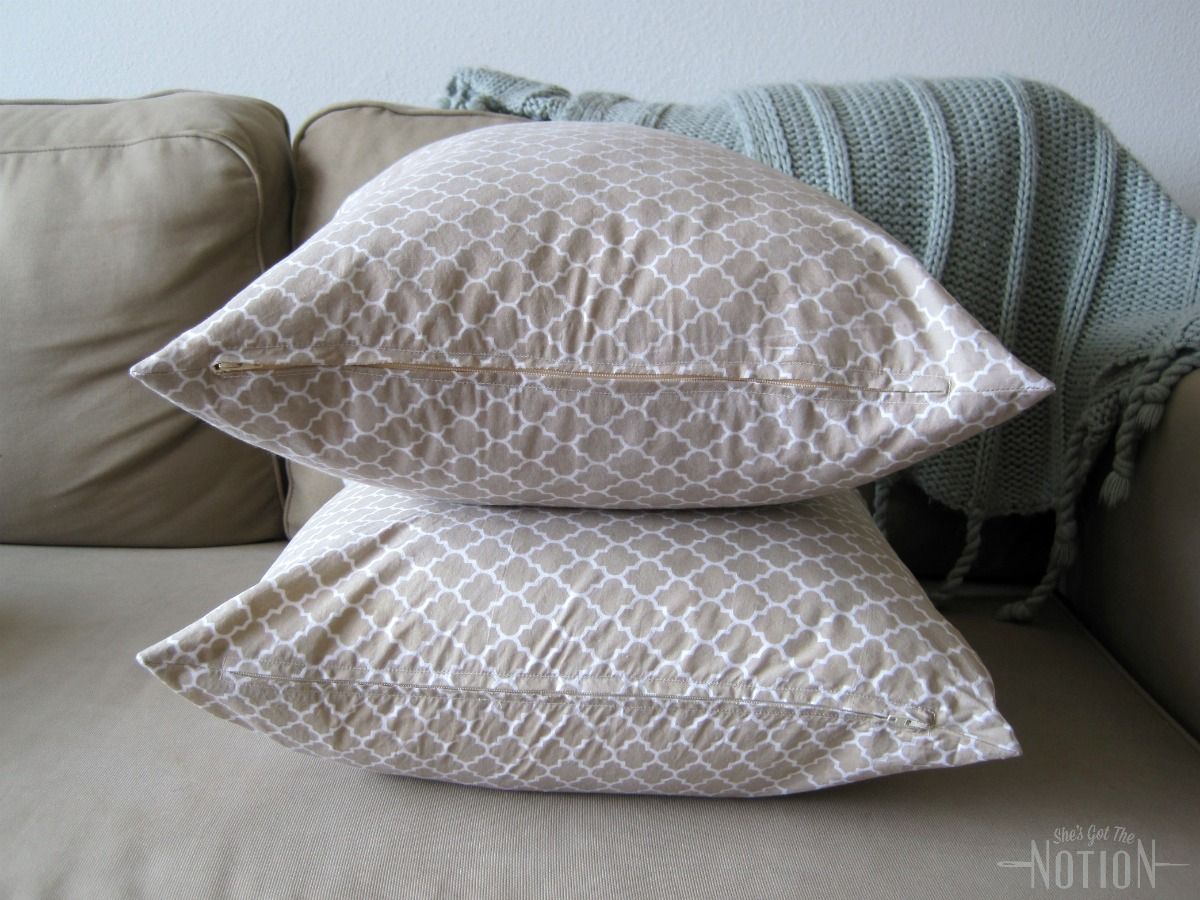
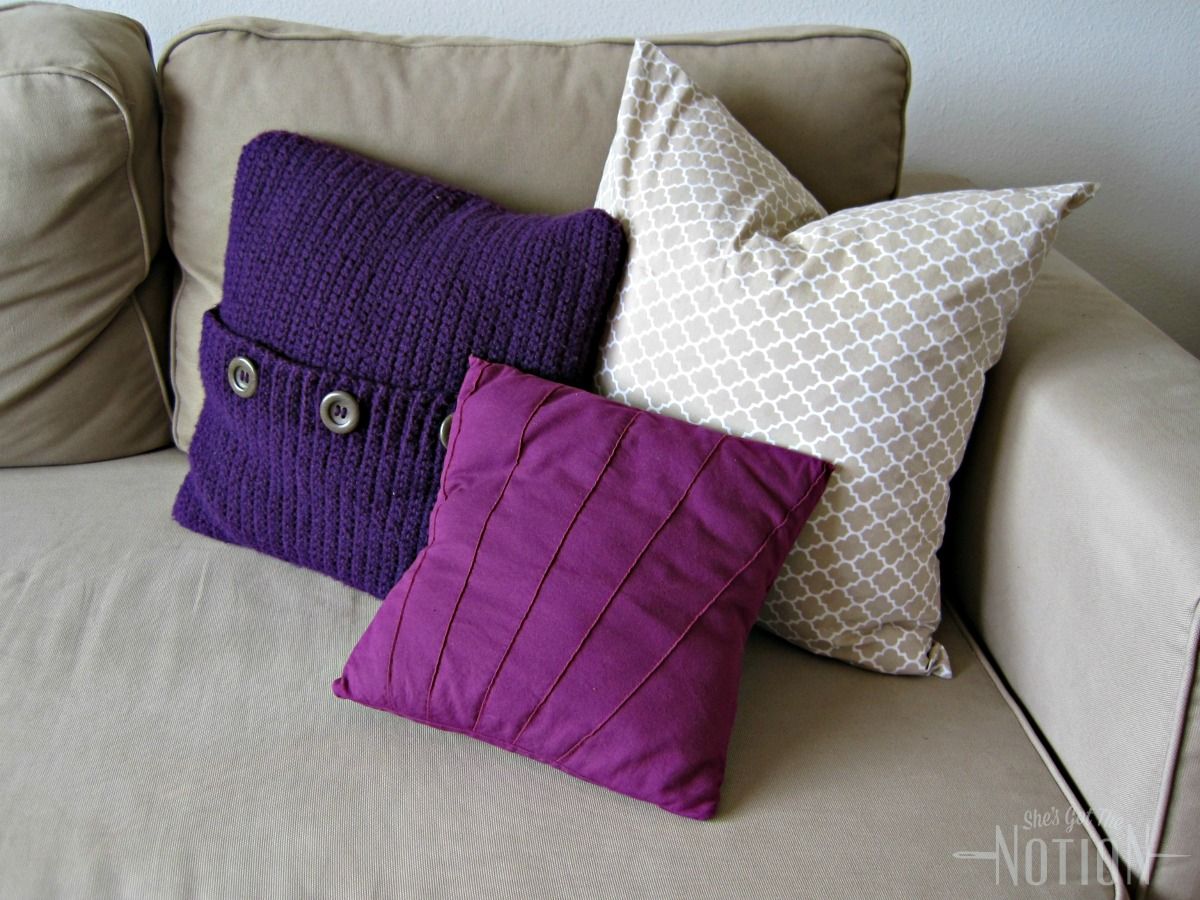
The only things you will need for this pillow cover tutorial are some fabric, a zipper, and a pillow form. If you don't have a pillow form, you can easily make your own using this tutorial. Another great source of pillow forms is a store like TJ Maxx or Marshalls. Be sure to check the clearance section you might find some "ugly" or damaged pillows for cheaper. Then you can simply remove the cover and sew your own with fabric of your choice. The pillow forms I used for this tutorial are feather and from IKEA (another cheap source!). I had them in storage for a long time and the pillow covers were worn and badly piling so I decided to re-cover them.
Check out some of my other pillow posts:
Materials Needed
Now let's get started...
- Cut your fabric. You will need to cut 2 pieces of fabric that are the same size as your pillow form. My pillow form is 18" x 18", so I cut two squares of fabric 18" x 18". The reason we are not adding seam allowance is that the snugger fit of the cover makes the pillow appear fuller. If desired, finish the edges of your fabric by serging, overcasting, or using a zigzag stitch. This is optional but highly recommended if your fabric frays easily or if you're planning on washing it in the washing machine.
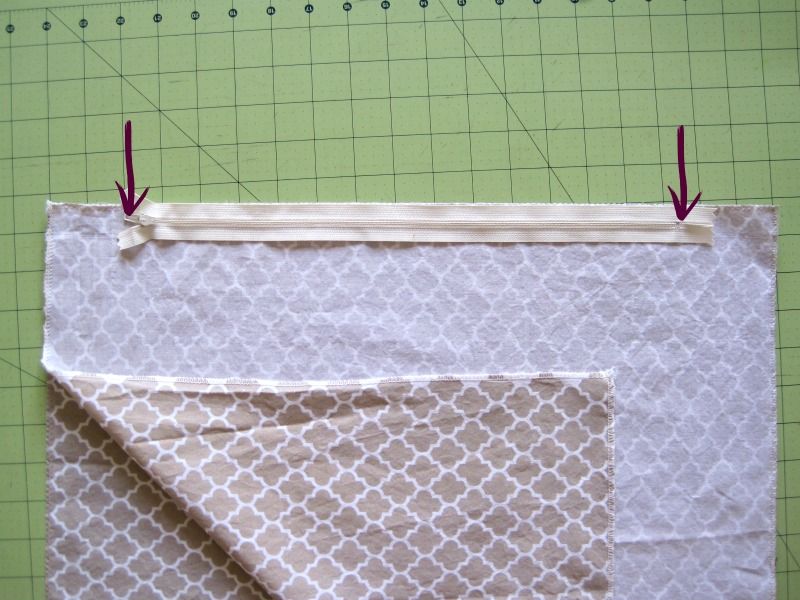
- Mark your zipper. Place your two pieces of fabric right sides together. Center and line up your zipper along the top edge and mark where the zipper pull starts and where the zipper end is. If your zipper is longer than the length of your pillow form minus 4", you will need to whipstitch where you want the zipper end and cut off the excess.
- Sew your fabric. To sew the side you just marked, start at one end with a normal stitch length and a 1/2" seam allowance. When you get to the mark where your zipper starts, backstitch to secure, then baste (lengthen your stitch length and loosen your tension) stitch until you reach the second mark where your zipper ends. Switch your stitch length and tension back to normal, backstitch, then sew to the end.
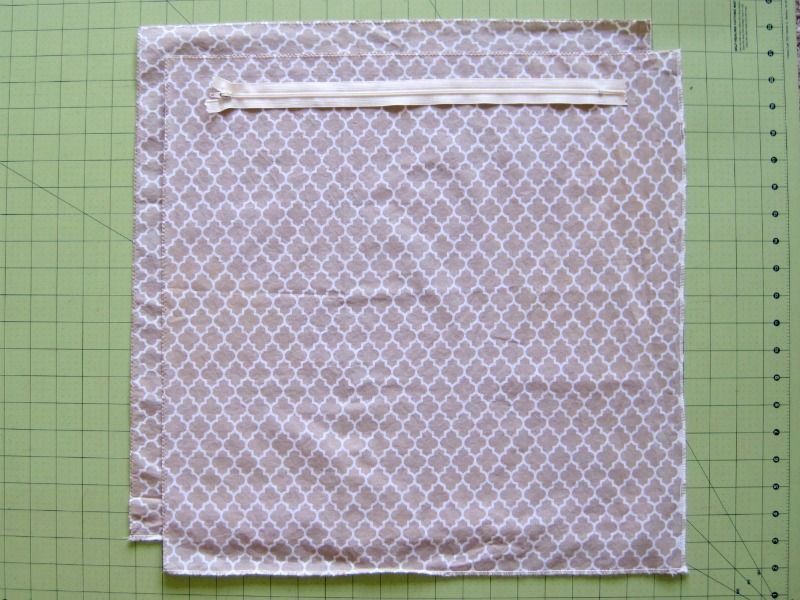
- Press open the seam. Place the zipper facedown along the seam, aligning it with the marks you made in step 2.
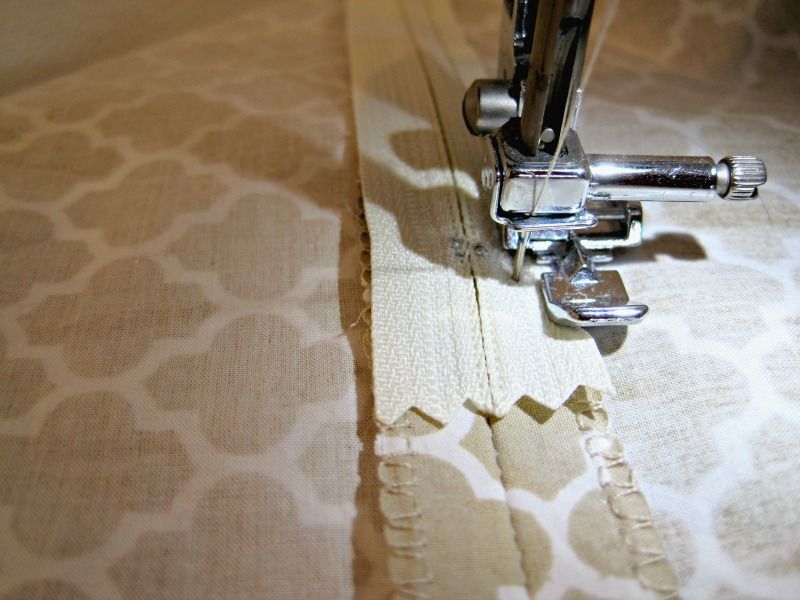
- Sew on the zipper. Put the zipper foot onto your sewing machine and sew along one side of the zipper. When you get to the zipper end, with the needle down, pivot your fabric and sew along the end of the zipper. Pivot again and sew up the other side of the zipper. Pivot once more to sew other end of the zipper to where first stitches begin (you're basically sewing a rectangle around your zipper). Be careful not to sew too close to the zipper teeth.
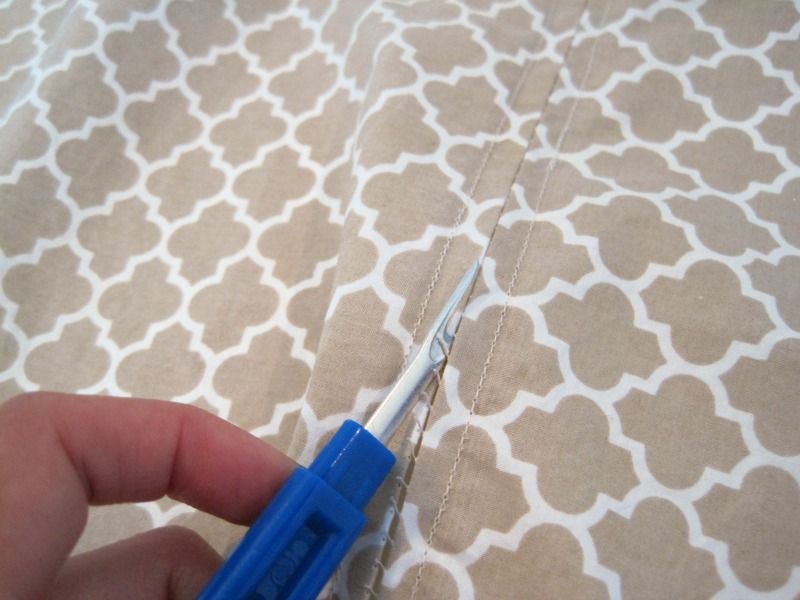
- Remove the basting stitches. Turn the pillow cover to the right side. Using a seam ripper, carefully rip out only the basting stitches. Test your zipper to make sure it can open and close, and leave it halfway open.
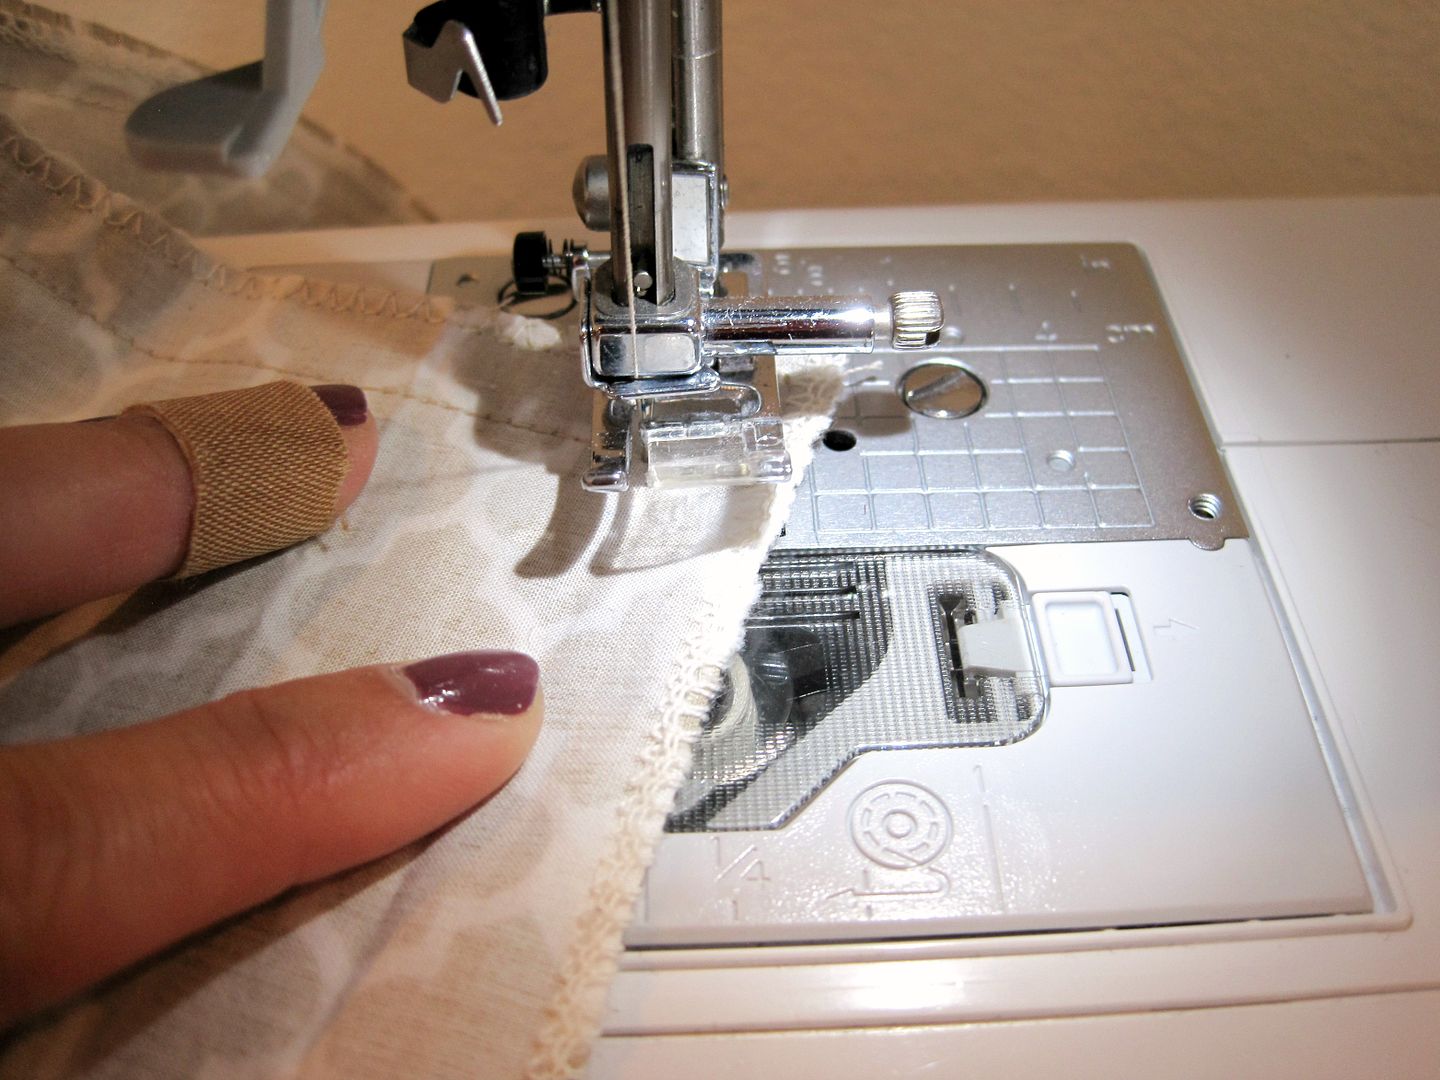
- Sew up the other sides. Fold your pillow cover right sides together and sew up the remaining 3 sides with a 1/2" seam allowance, pivoting the fabric at each corner. Press.
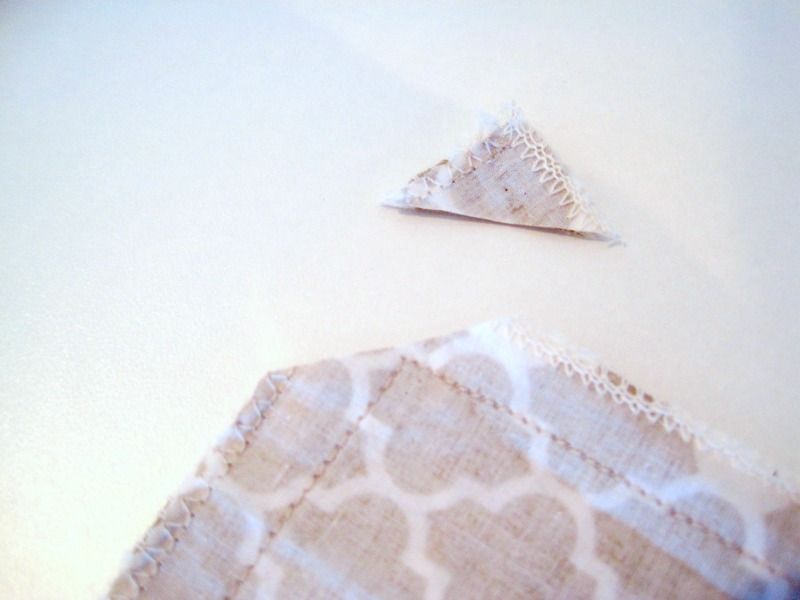
- Clip the corners. This will make the points sharper when you turn it. Be careful not to cut the stitches.
- Turn your pillow cover right side out. Poke out the corners with something pointy (I keep chopsticks with my sewing stuff specifically for this). Give it a good press, especially focusing on the corners.
- Insert your pillow form. And repeat with as many pillows as you want to make!
Please excuse my bandage; I cut my finger on the serrated blade on a box of plastic wrap :(.
I hope you enjoyed this tutorial. If you make something from one of my tutorials, I'd love to see pictures! You can tag me in social media (links in sidebar). And make sure to follow my blog to keep up to date with my latest posts.
Happy Sewing!

No comments:
Post a Comment