
As you can probably tell, I'm on a bit of a crocheting kick right now. Last week, I showed you my finished crochet peaked hat, and I was excited to keep making things to wear for fall. Or rather, when the weather finally cools down here. California didn't get the memo that it is now fall and the temperatures have been in the 90s all week.
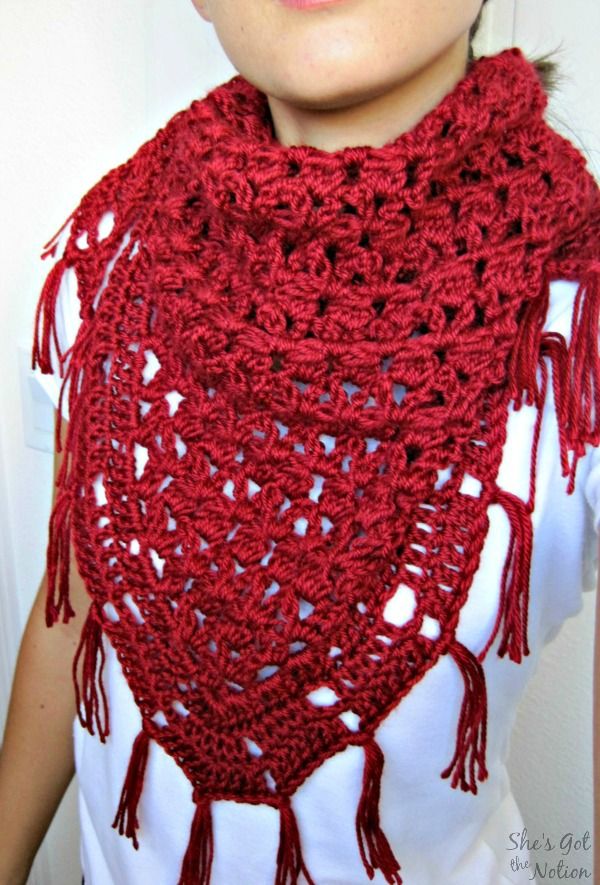
For my next project, I wanted to make the CloudBurst Shawl. I loved the fringe and how it looked worn bandanna style. I've had my eye on the pattern for awhile. In fact, I attempted it last year, but got confused and frustrated so I frogged it and gave up. Most reviewers said it was a quick and easy project, but I definitely got confused in the first couple rows.
Time makes you forgot a lot of frustrations and failures, however, so I decided to try it again. The pattern is both written and charted, which definitely helped me figure it out this time (not without starting over a couple times before I got the hang the pattern). It may be just me, though. Luckily I figured it out this time.
For this project, I used Caron Simply Soft Yarn in Autumn Red.
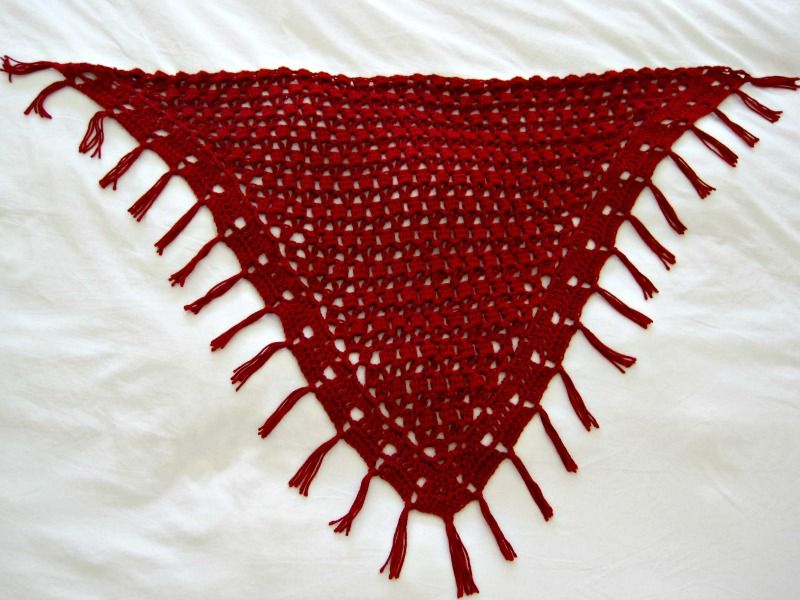
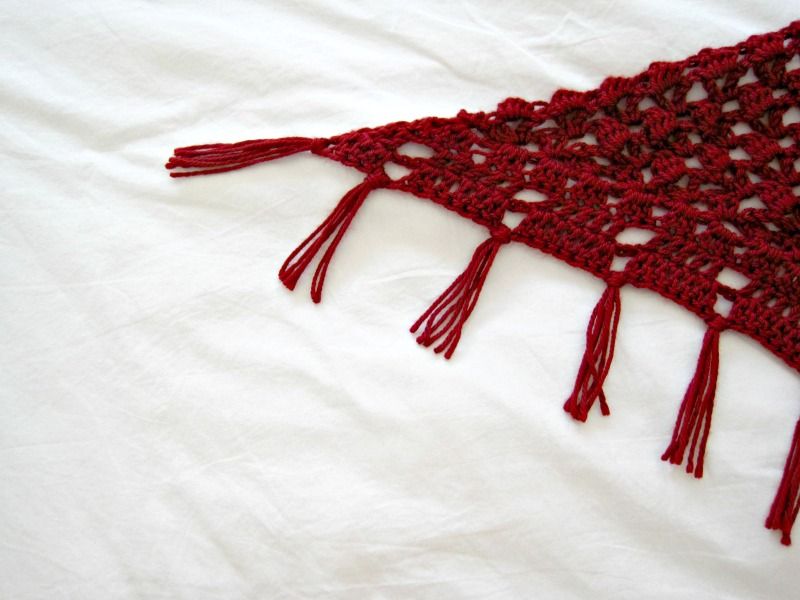
I made an extra 4-row pattern repeat in the shawl itself to make the wingspan longer, since I wanted to be able to loosely drape it around my neck (I hate anything too tight on my neck!). This made me have to fudge the border a bit, and if you notice the fringe on the top two corners are closer together. If you do decided to make this pattern longer, I recommended doing an extra two 4-row pattern repeats instead of just one. That will keep the border the same pattern repeat as the original. This was my first time doing fringe, but It was so easy. I just wrapped the yarn around the width of a little notepad 3 times (4 for the corners), cut it, and looped and pulled it into the tassel holes. I debated whether of not to even bother with the fringe, but I think I like it better with it.
This was also my first time steam blocking acrylic yarn. I wish I'd taken a before picture to show the difference, but it definitely made a difference. The pattern sits more open weave and flat after blocking, and I was able to add a couple more inches to the wingspan. If you've never steam blocked acrylic yarn before, I would recommend watching this video as I found it very helpful.
I would definitely recommend this pattern. Total it took more 4-5 hours (I'm a slow crocheter), but it was easy enough to do in front of the TV once I got the hang of the pattern. I'd say it's advanced beginner if you're good at reading patterns and charts, or an intermediate pattern.
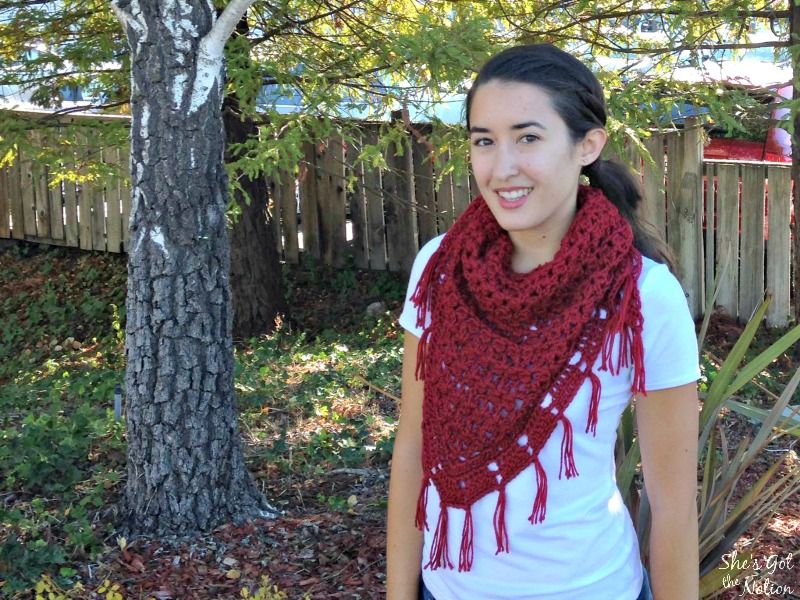
Let me know what you think! I can't wait to start wearing mine with jeans and boots once the weather will allow it. If you decide to make your own, I'd love to see the final product :)

* This post contains Amazon Associate links. Please see my disclosure policy *
No comments:
Post a Comment