

Last week I showed you how I made a Felt and Fleece Laptop Sleeve. The sleeve was perfect for storing and transporting my laptop around, but it didn't have space to add my charger. I decided to use the extra felt to make a zipper bag to hold all in.
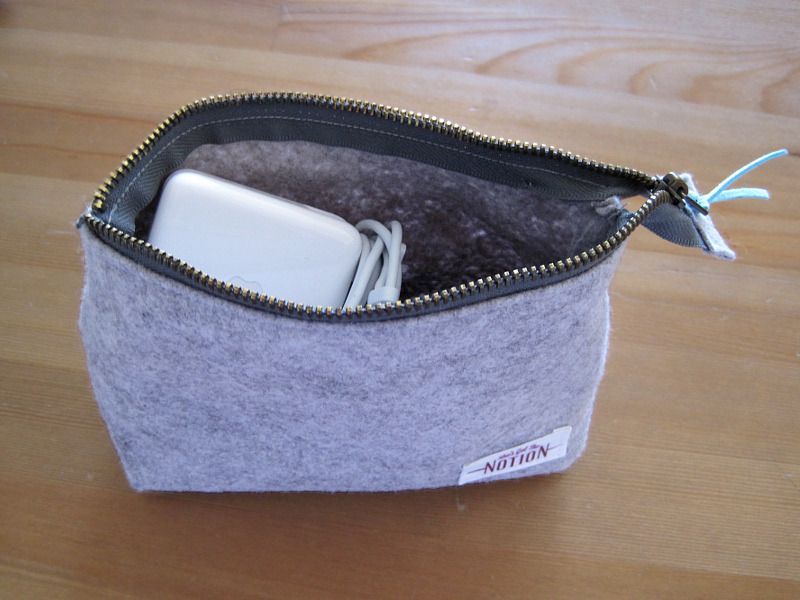
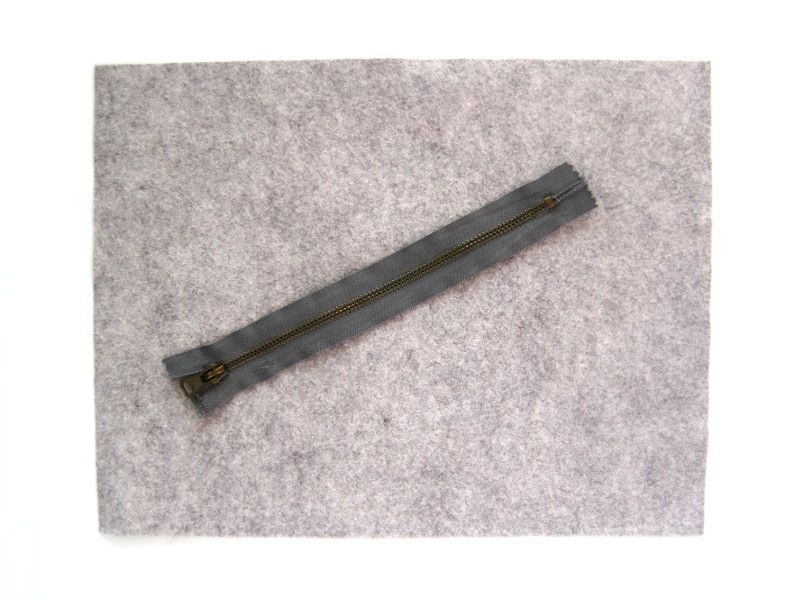
I was left with just a rectangle of felt after sewing the laptop sleeve. I decided to pair that with a salvaged 8.5" zipper I had in my stash and make a simple bag. This pouch is unlined and unfinished inside, which is fine since fleece doesn't fray. I also wanted to box the bottom so that chargers and other accessories fit better inside. However, I wanted a straight line on the sides and not angled out when zipped like boxing typically does (You can see what I mean on Makeup Bag Tutorial. The zipper sticks out when closed). So I angled my felt so that the top opening is narrower than the bottom. Since this meant the opening would be smaller, I incorporated the same zipper installation as the makeup bag so that I could make full use of the opening.
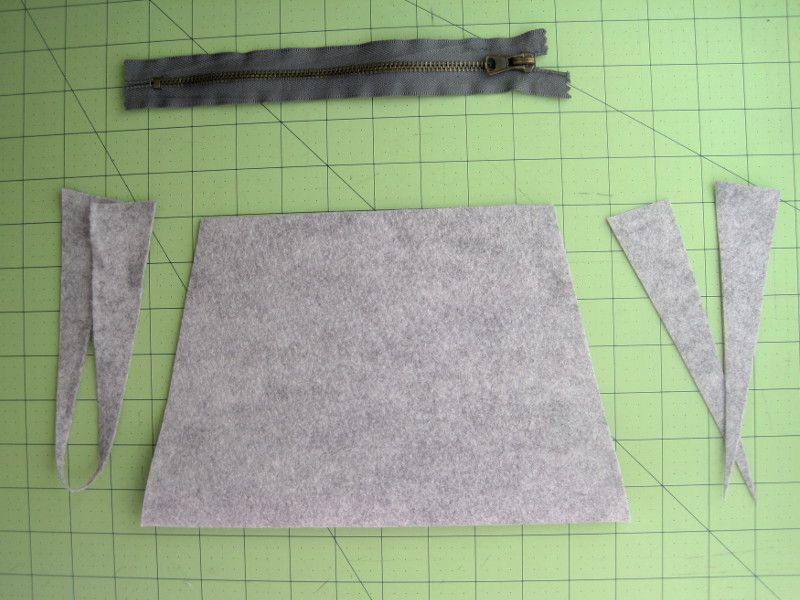
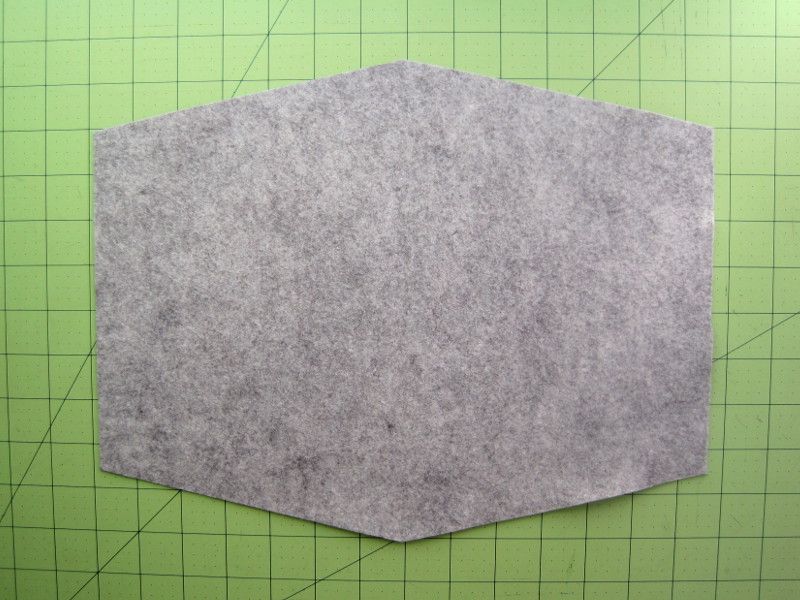
You need to do a little math first. The width of my rectangle is 10 1/4", and my zipper is 8.5". I want to figure out how big my opening should be.
8 1/2" - 1 1/2" + 1/2" = 7 1/2"
So I folded my felt in half from top to bottom. I marked 7 1/2" in the center top of my fabric. Then I used a ruler and rotary cutter to cut a straight line from the mark out to the bottom edge. Ta-da! Unfold it and you have a hexagon.
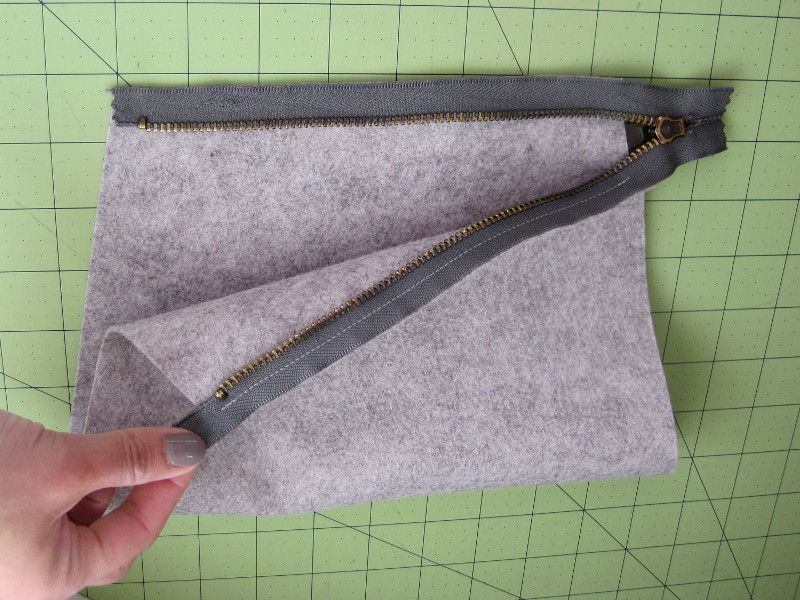
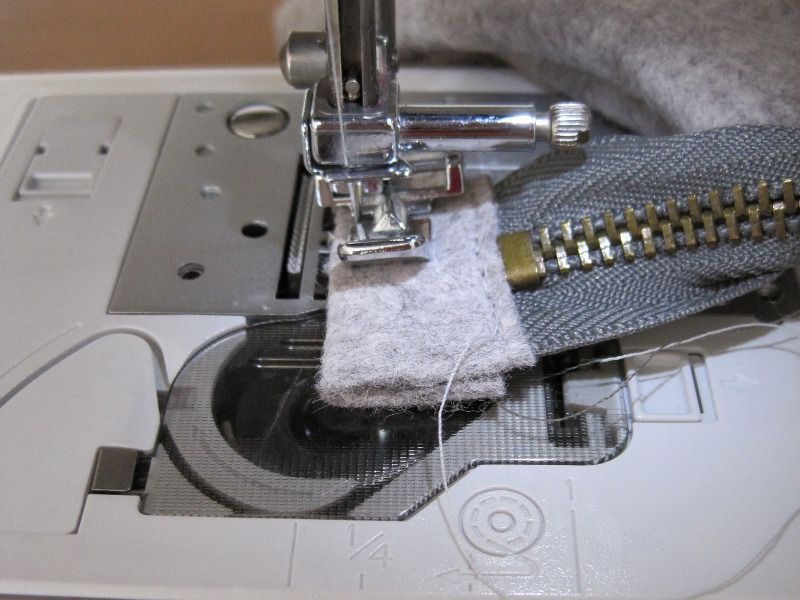
Align your zipper along the edge the top of felt, right sides together. The start of the zipper should be 3/8" away from the edge of the felt. The zipper end will hang off the edge. Start and stop sewing 1/4" away from the sides the felt. Repeat with the other side of the the zipper.
Press back felt.
Zip your zipper halfway. Pin the end of your zipper down to the right side of you fabric.
Pin the sides of your pouch right sides together. Sew up the sides with a 1/4" seam allowance. Take care not to sew the end of the zipper.
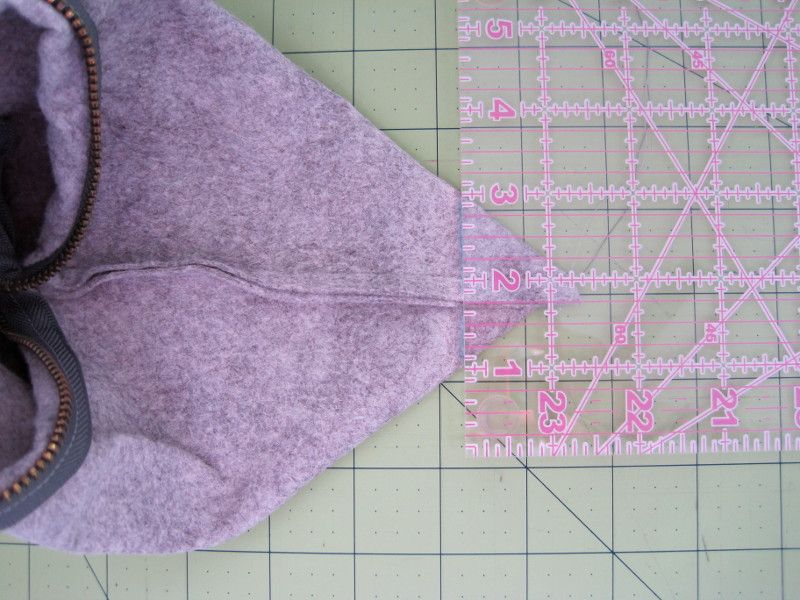
Mark off the triangles on the bottom of your pouch as shown. My zipper opening is ~3" smaller than my bottom, so I made my triangles 1 1/2" on each side.
Sew along the line. Trim off excess fabric.
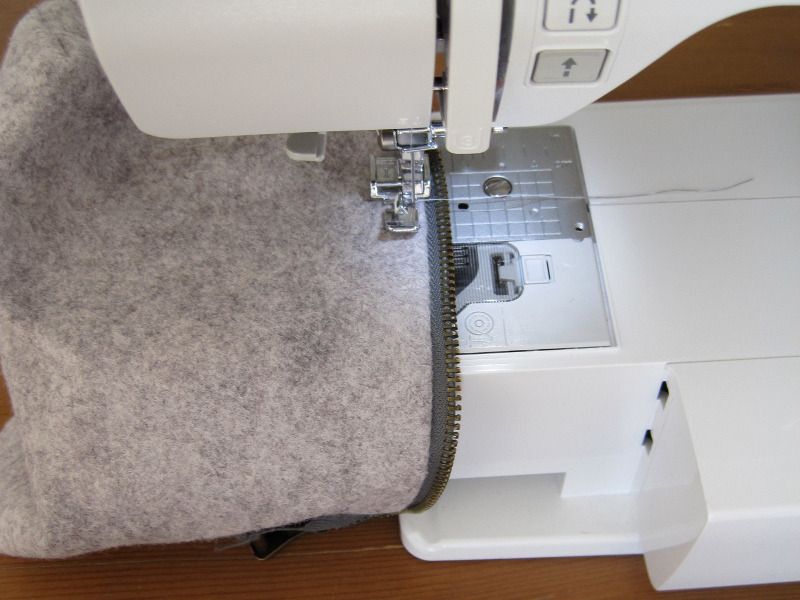
Turn your zipper pouch right side out and poke out the corners. Topstitch around the zipper opening.
To make the zipper end, fold a piece of felt over the end of your zipper and sew on. I also used a piece of suede cording to make a zipper pull.
Now you have a little felt pouch to store your charger cables in. If you make this pouch, snap a photo and tag me on social media because I'd love to see it!

Sew the matching Felt & Fleece Laptop Sleeve to complete the set!
Happy Sewing!

Great Idea! I would ask my mom to make me one of these (I don't know how to sew :D)! Could you please tell that how you got a custom tag on it?
ReplyDeletexoxo,
Amna
http://crafty4.blogspot.com
Hi Amna!
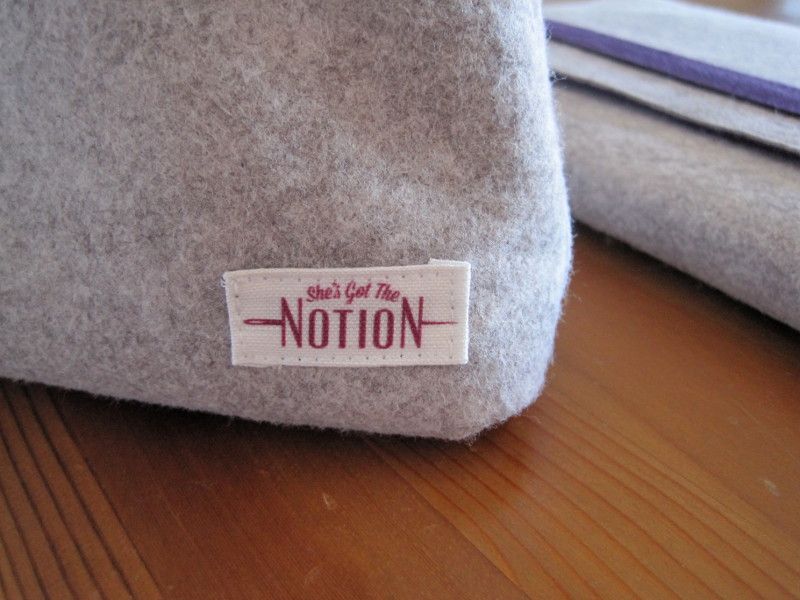
DeleteGlad you like the pouch I made! I made my custom labels using Spoonflower. I followed the tutorial at this blog: http://seekatesew.com/300-clothing-labels-for-20/.
<3 Nicole
I've been making something similar but putting cord in as a draw string. I make paper beads and knot them on the ends. Great for scraps. Made one for each of the ladies at our family reunion! They were a BIG hit and only took 10 minutes to make!!!
ReplyDelete