
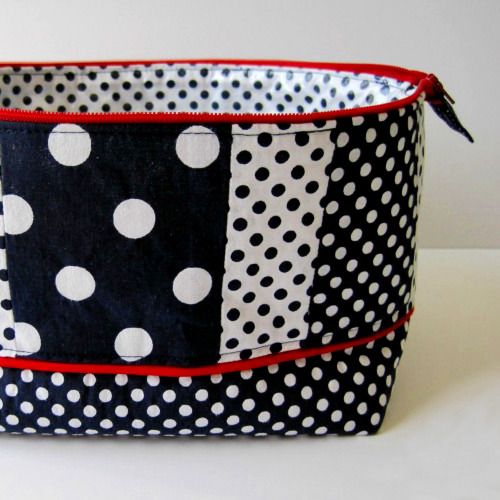
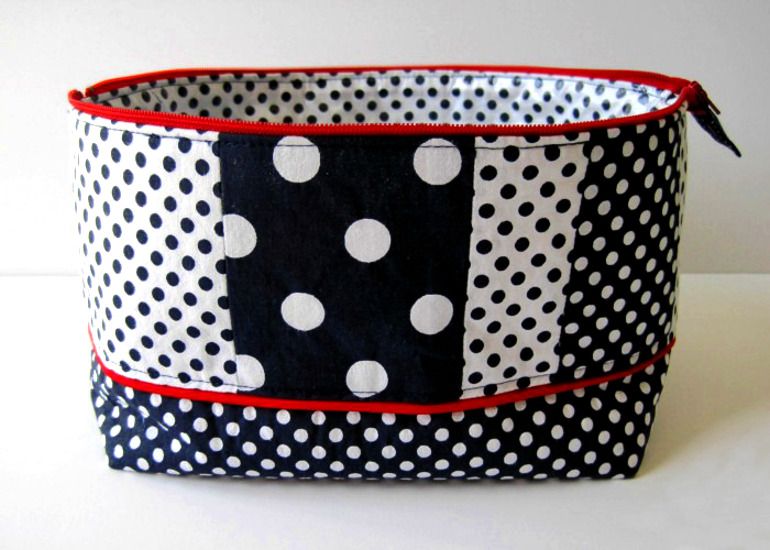
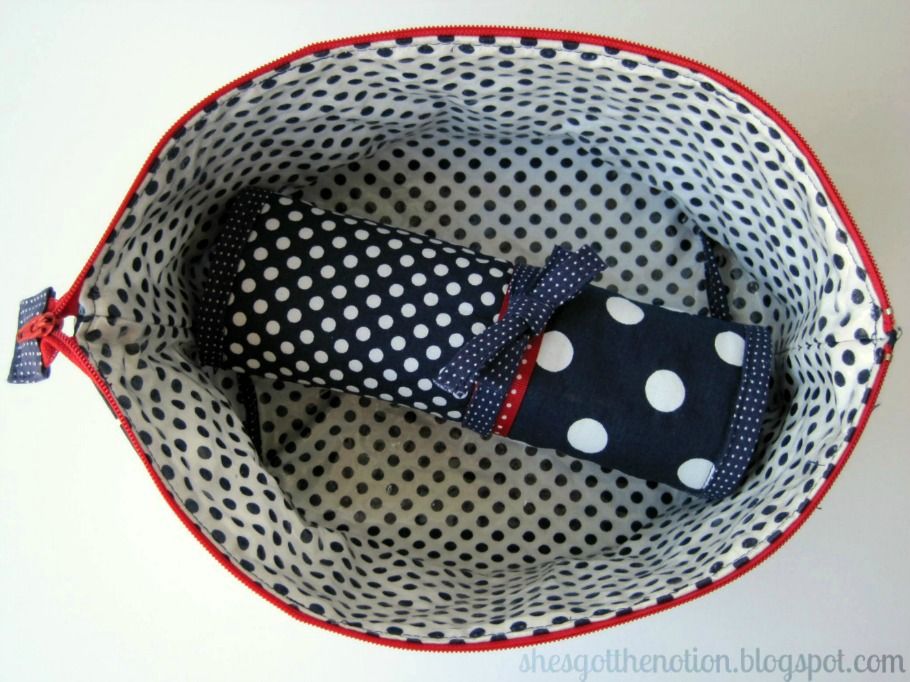
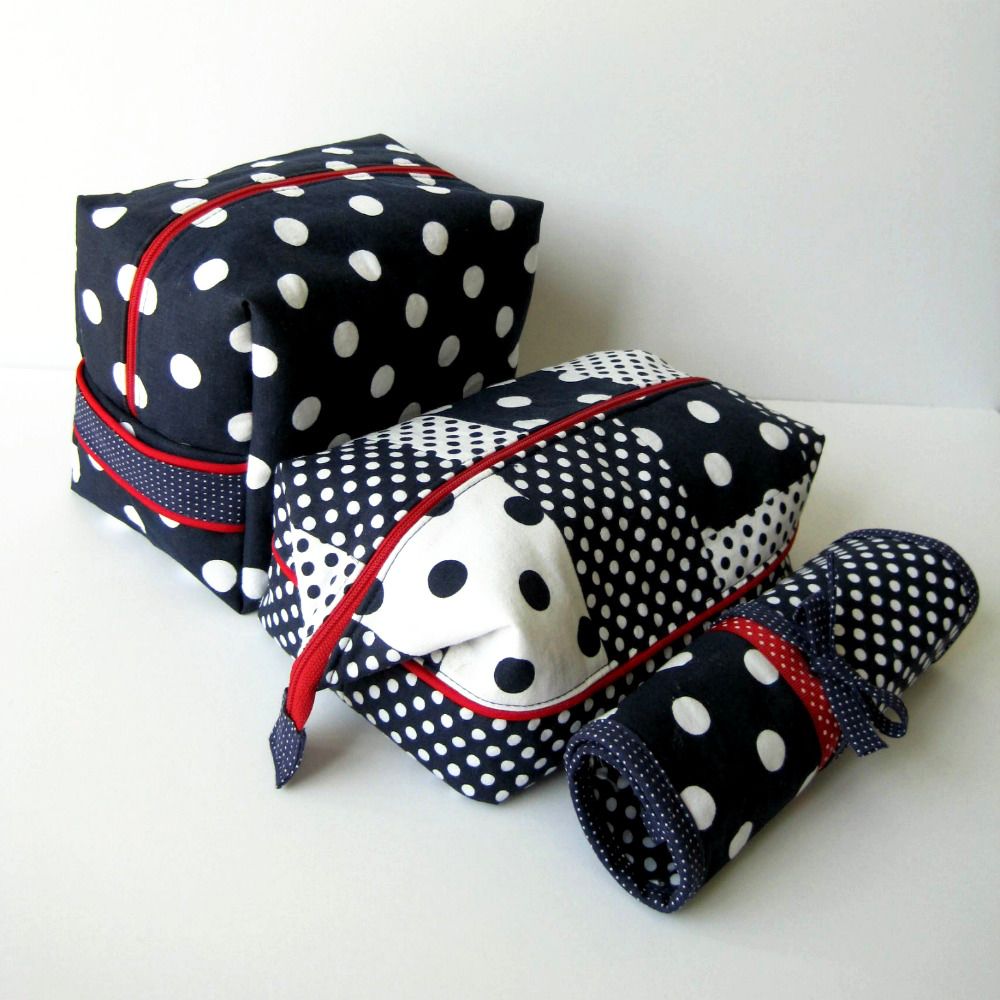
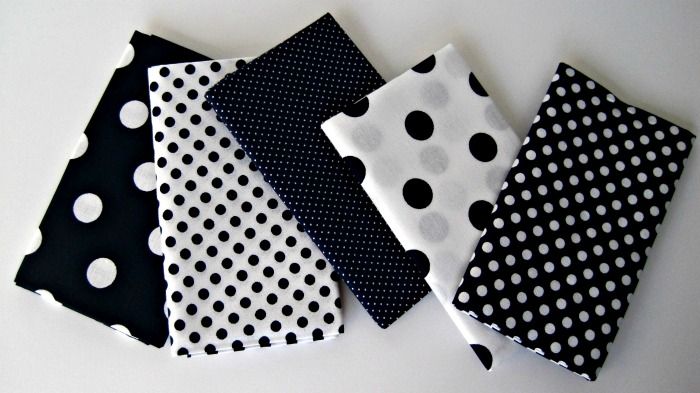
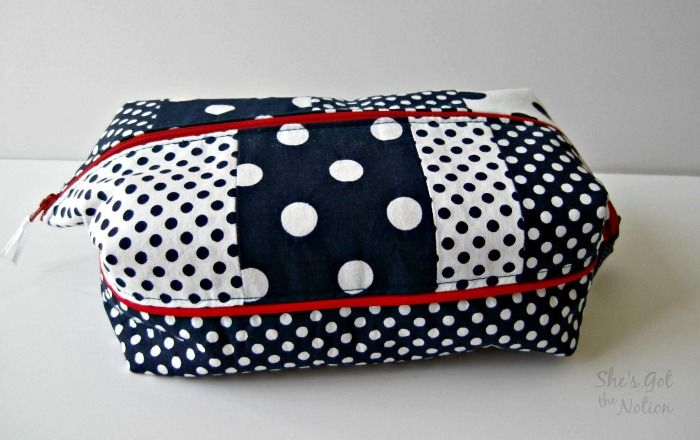
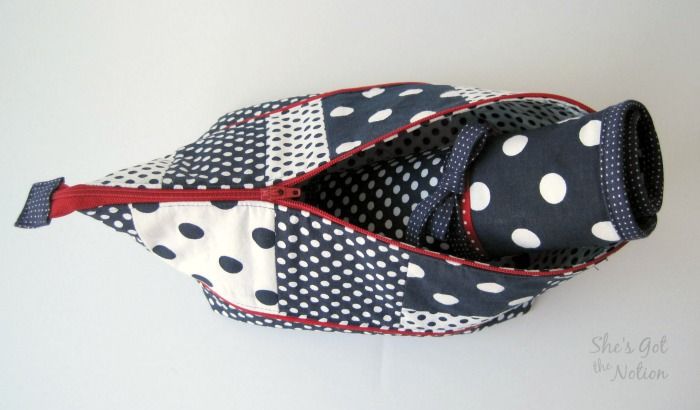
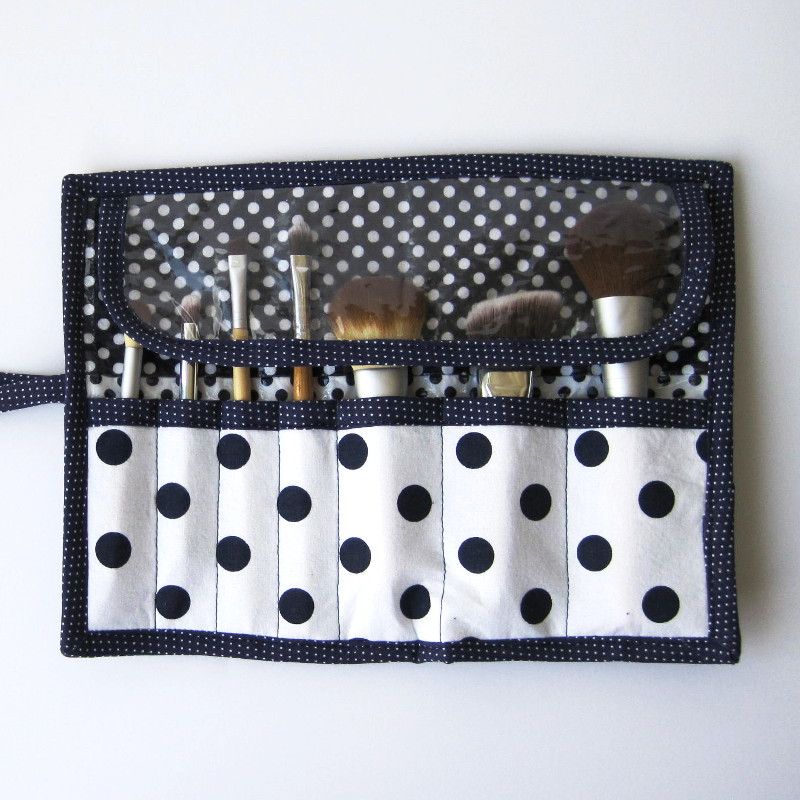
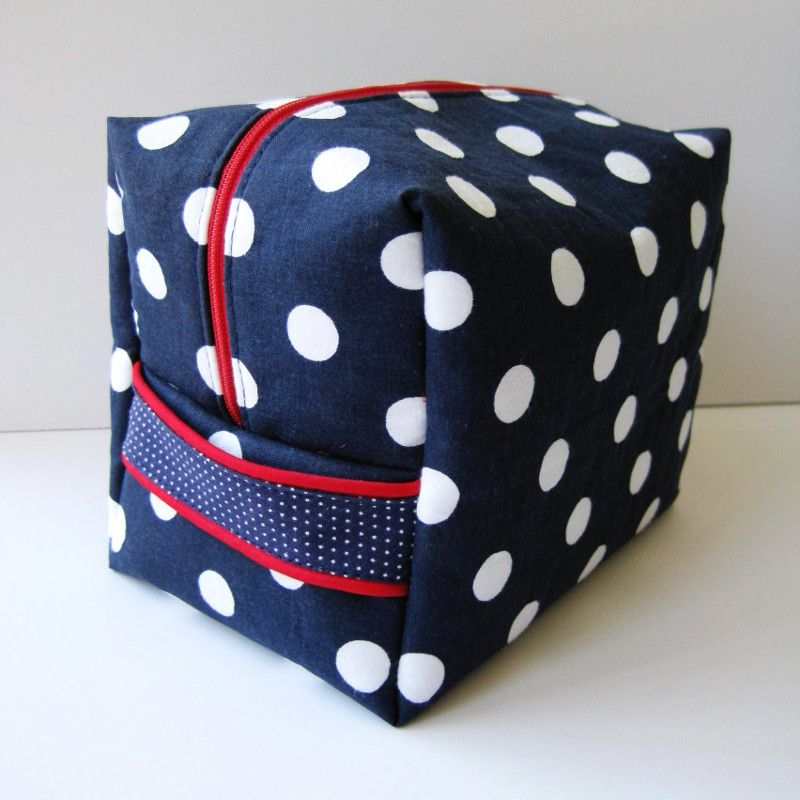
So far, out of 5 fat quarters, we've made a toiletry bag and a makeup brush roll. Are you ready for the next project? This makeup bag is the perfect size for your cosmetics, and the brush roll from last week will fit perfectly inside. I love how the bag opens wide to be able to see all the contents. Perfect for a makeup bag! No more digging through trying to find your eyeliner or lipstick.
Now onto the tutorial...
Please note that this is not an original bag idea, I used as inspiration and for the zipper installation technique the open wide zipper pouch tutorial from Noodlehead. I changed the size to fit the fabric left from the fat quarters, as well as the seam finishing because I used fusible vinyl for the inside of the pouch. If you are skipping the vinyl, I highly recommend using that tutorial to sew and finish the pieces for your bag.
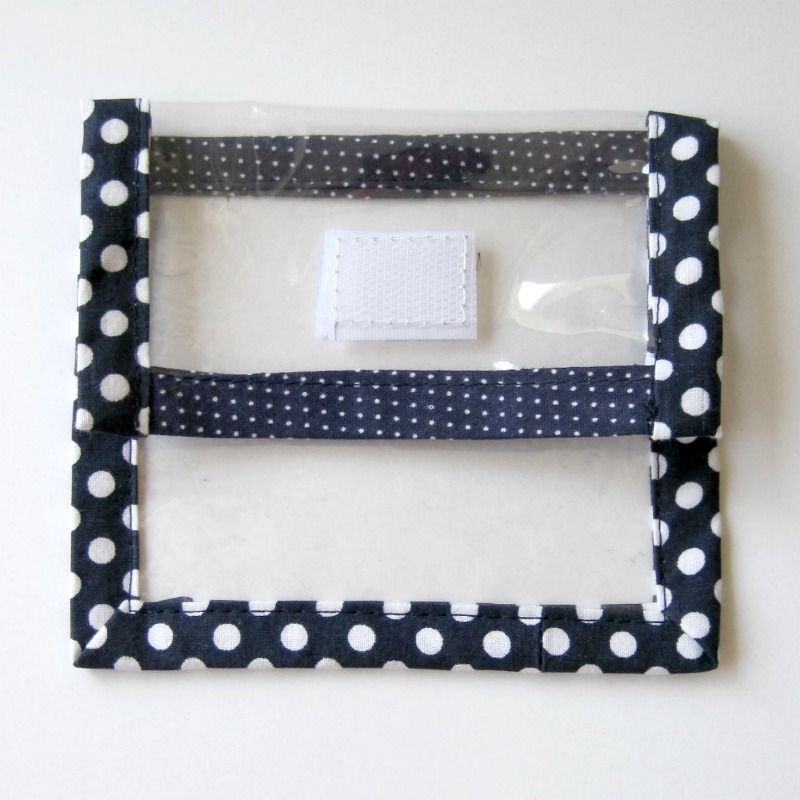
Materials needed
Cutting the interior fabric
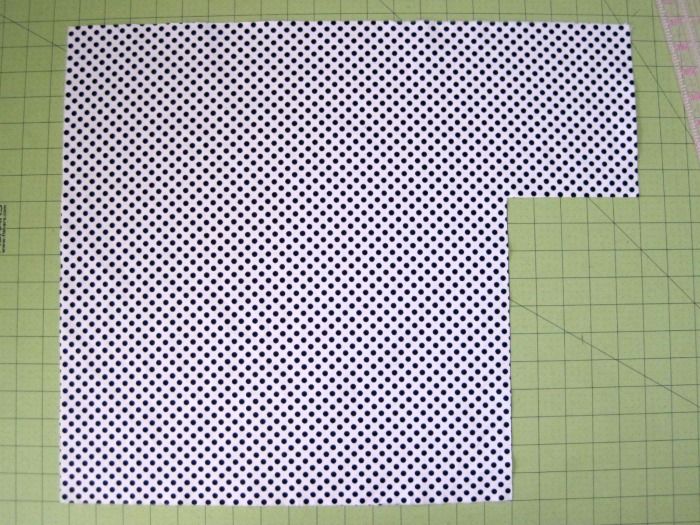
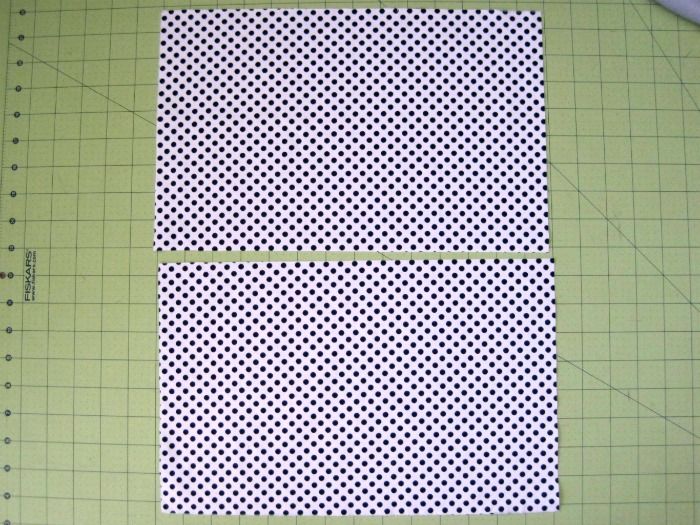
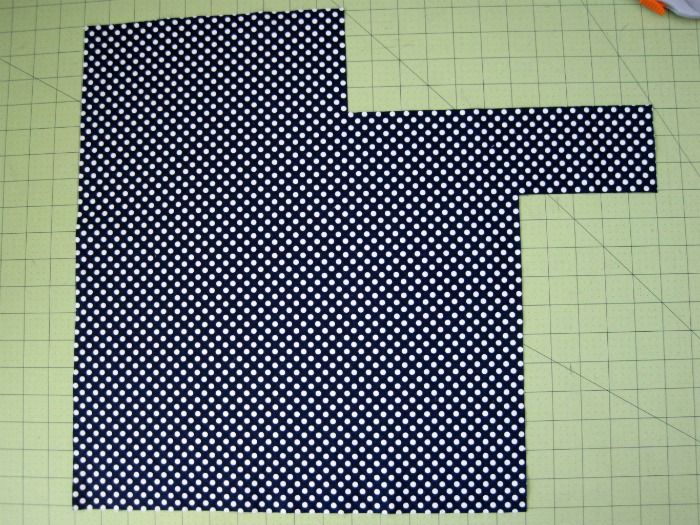
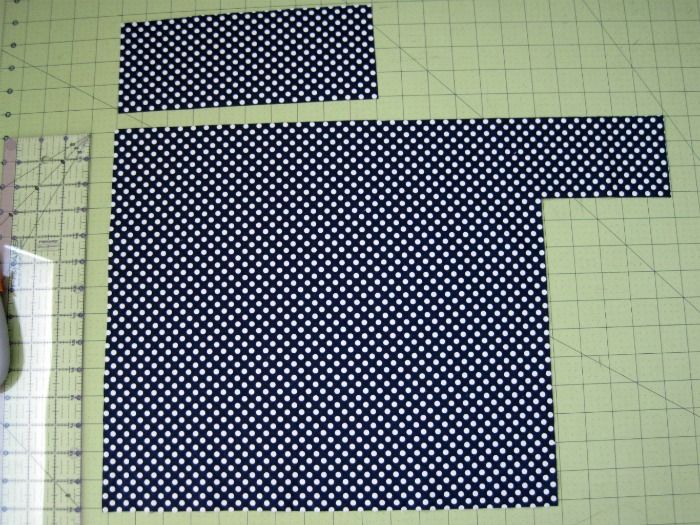
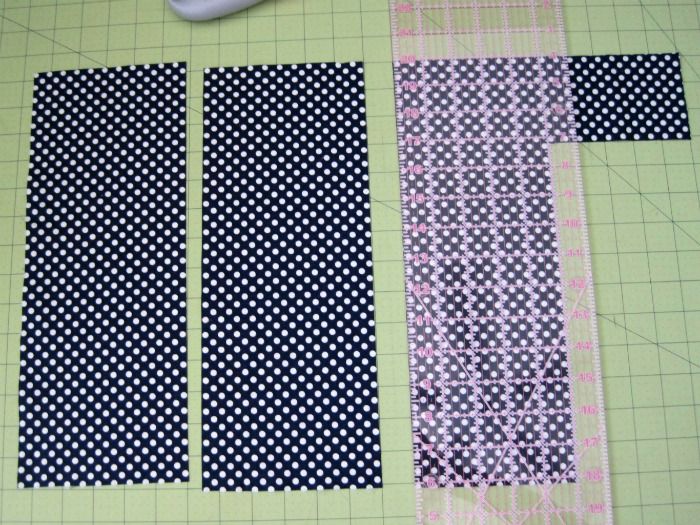
Take your fabric for the interior of the bag (white with small navy dots in sample) and cut a piece of fabric that is 14" x 18" as pictured. Then cut that piece in half, make two 14" x 9" pieces. Set aside.
Cutting the exterior fabric
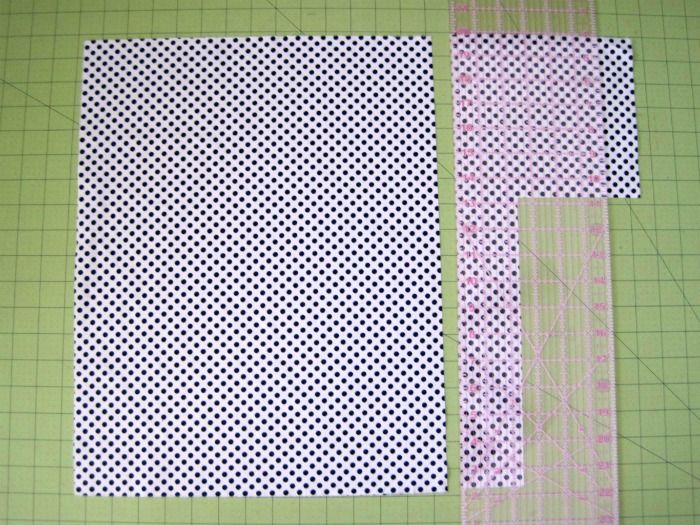
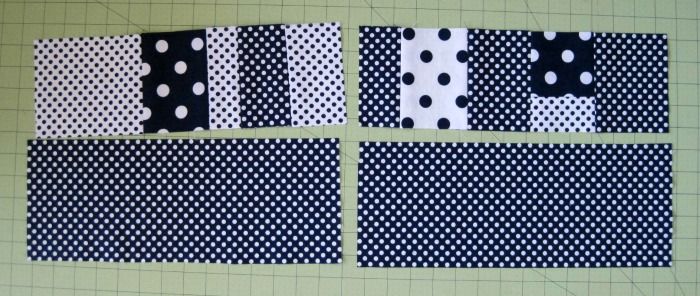
Take your fabric for the bottom band of the exterior (navy with small dots in sample). Cut two 14" x 5.5" pieces. Set aside.
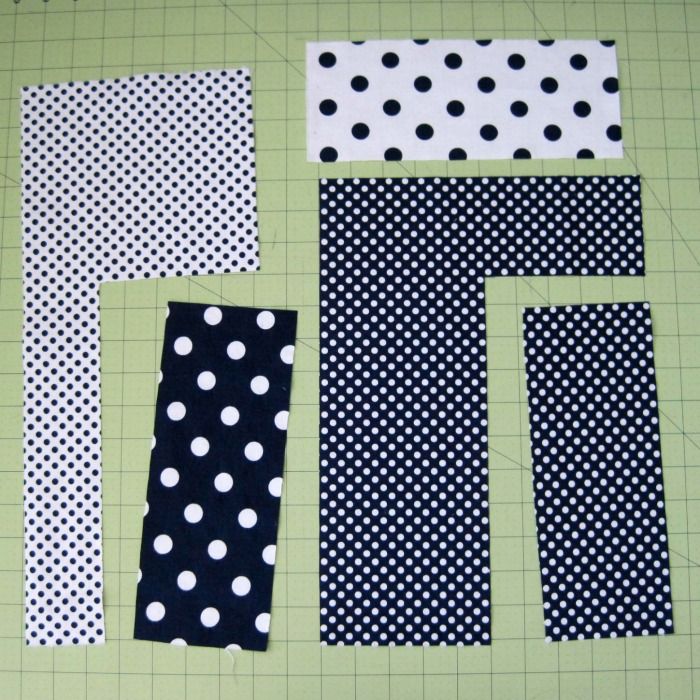
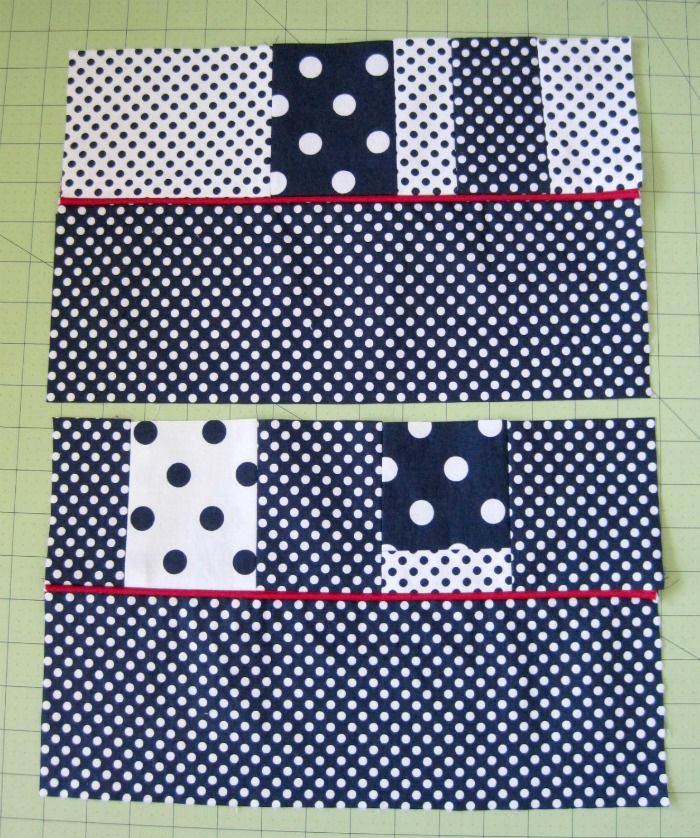
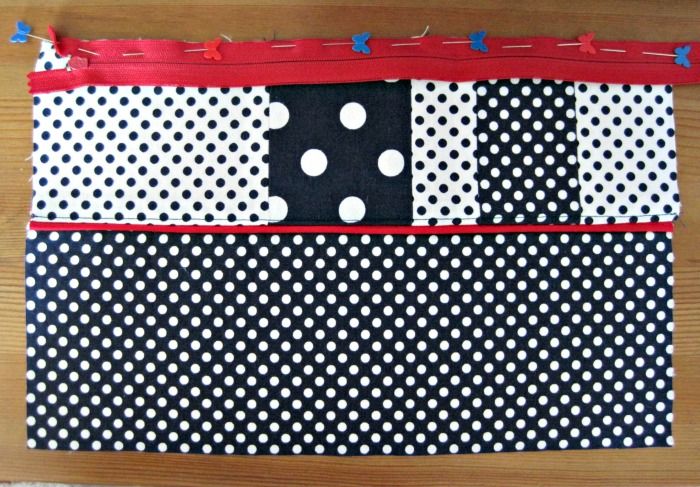
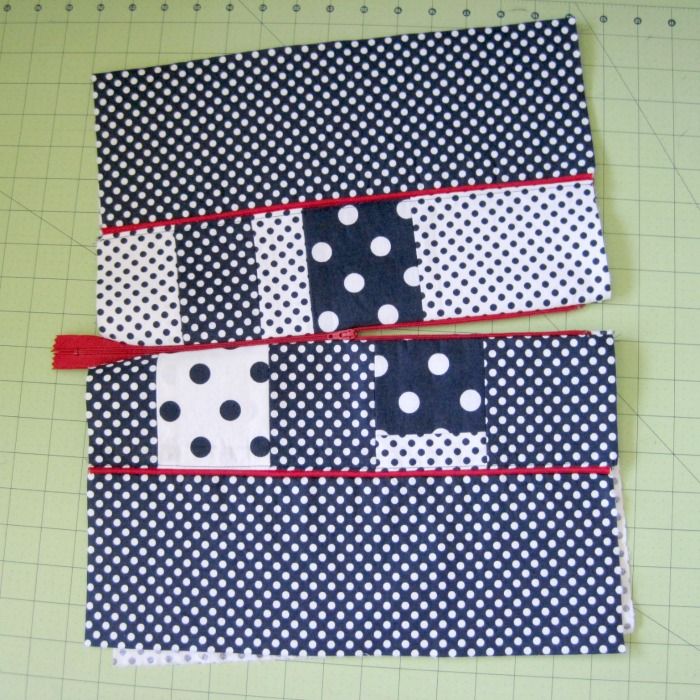
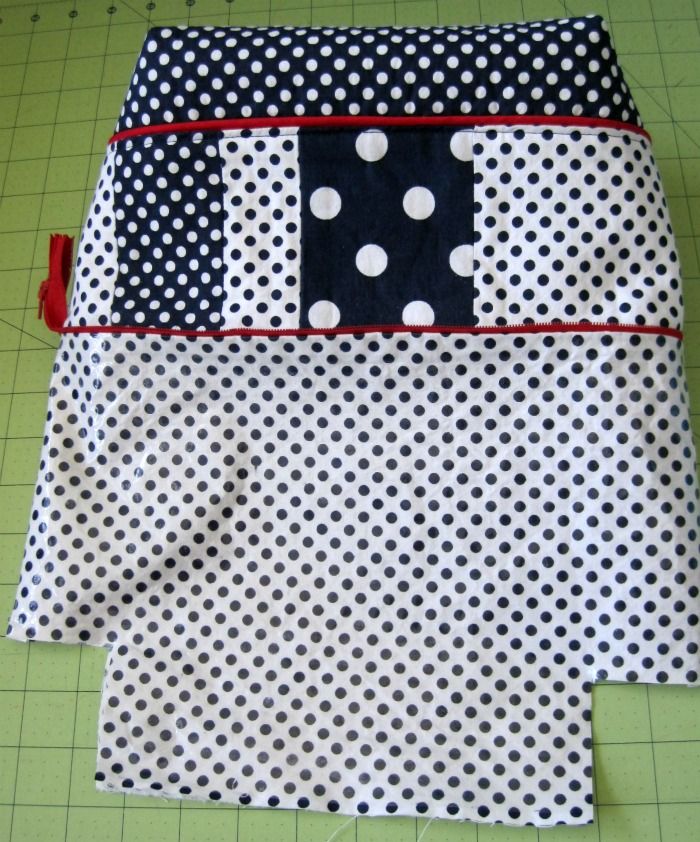
Now it's time to create the patchwork for the top band of the exterior. This is what fabric is left from the four fat quarters. Cut random pieces of fabric measuring 4.5" tall.
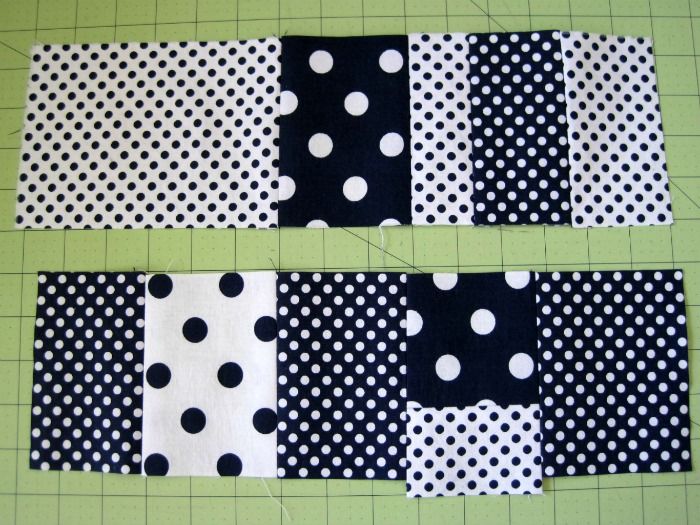
Arrange the pieces how you like them. The final width will need to be 14", so make it a few inches wider to account for seam allowances.
Sew together the fabric pieces with a 1/4" seam allowance.
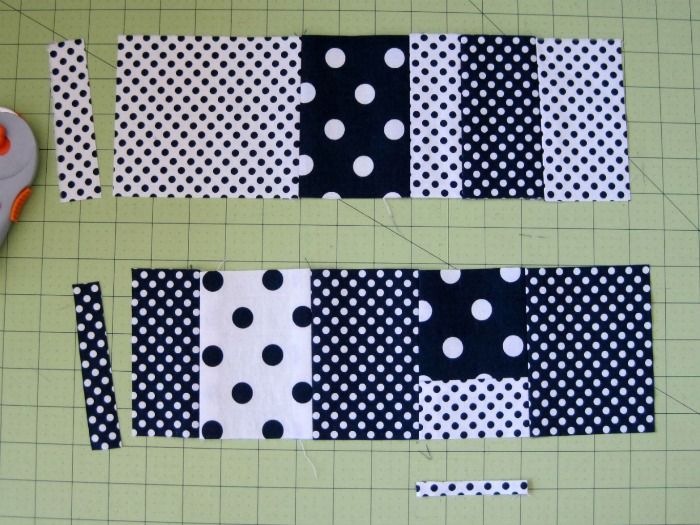
Press seams open. Cut off any excess fabric so that each piece measures 14" x 4.5".
Sewing the exterior
Find your fabric for the exterior bottom. If using piping, mark a line a 1/2" inch down from the top edge of the fabric.
Align the corded part of the piping just below the 1/2" line and pin into place. Baste the piping in place above the 1/2" line (inside the seam allowance). Repeat for the other exterior bottom piece.
Place the exterior top and bottom right sides together. Pin.
With your zipper foot, sew with a 1/2" seam allowance, close to the piping cord. Repeat with the other two exterior fabric pieces.
Press seams up.
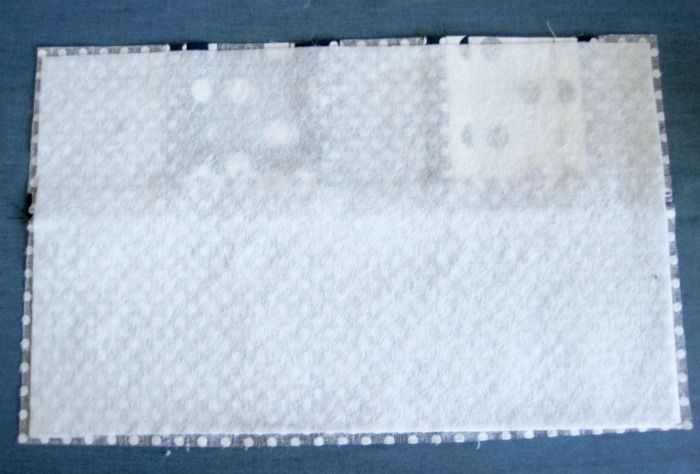
One the wrong side of your exterior fabric, fuse fusible fleece following manufacturer's directions. Repeat with the other exterior piece.
Note: I like to trim my fusible fleece so that it's slightly smaller than my fabric to reduce bulk in the seam allowances.
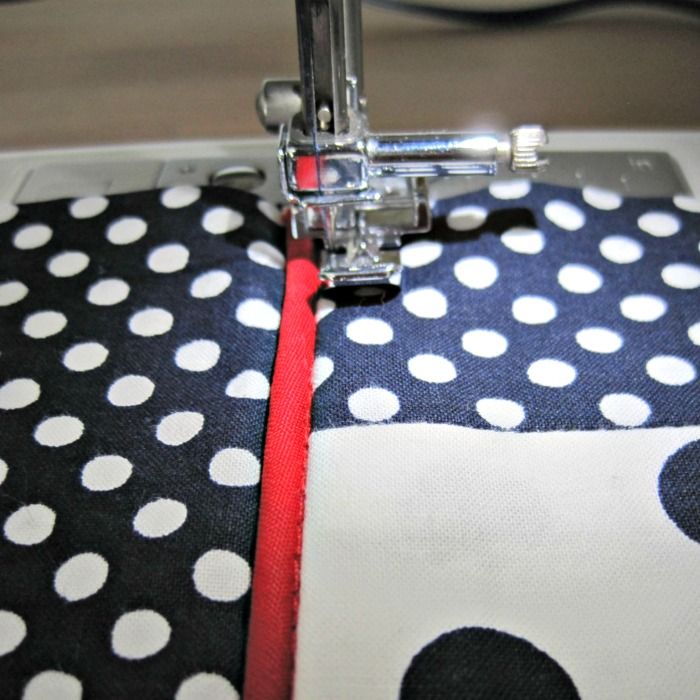
Topstitch along piping using your zipper foot, if desired.
Prepare the lining fabric
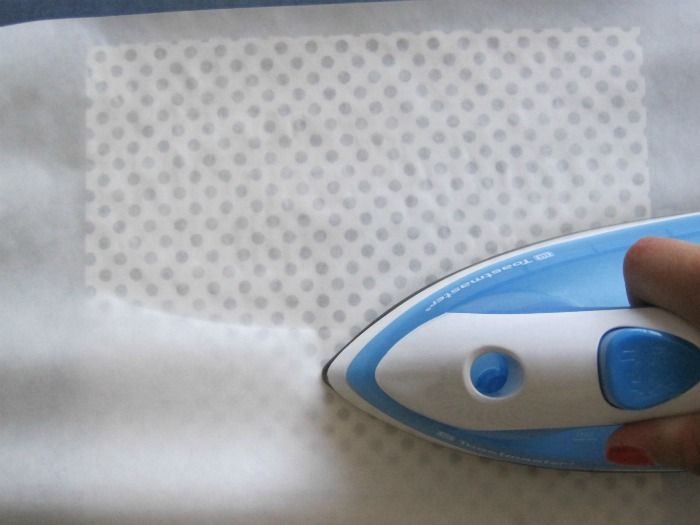
Find the fabric for the interior (white with navy dots in sample). Fuse fusible vinyl to the right side of the fabric following manufacturer's directions. Repeat with the other interior piece.
Install the zipper
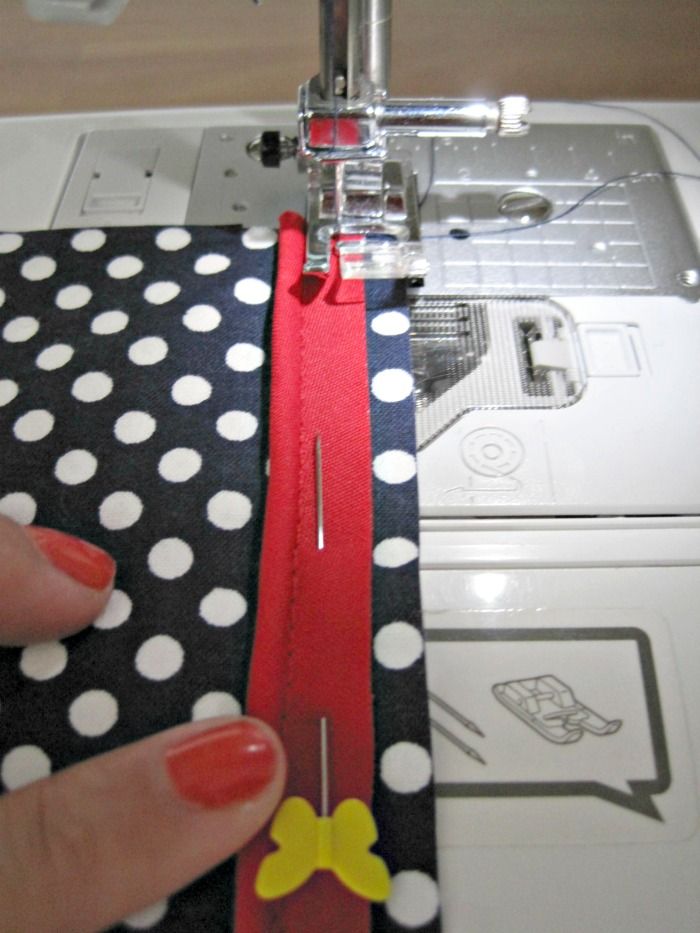
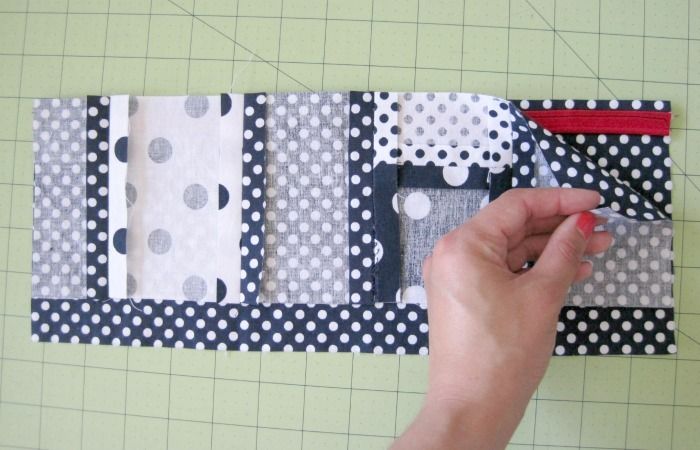
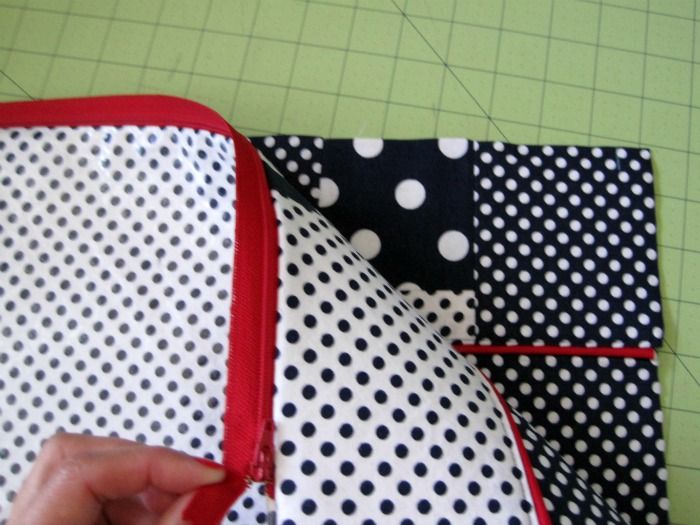
Lay an exterior piece right side up on your work surface. Align the zipper wrong side up as shown, with the zipper pull to the left, 3/4" away from the edge. Finger press or pin the excess zipper tape up. Baste in place, stopping 1" from the end of the exterior fabric.
Note: Oops, it's looks like I basted all the way to the end instead of stopping 1" away. I had to unpick the basting stitches here. Make sure you stop 1" away!
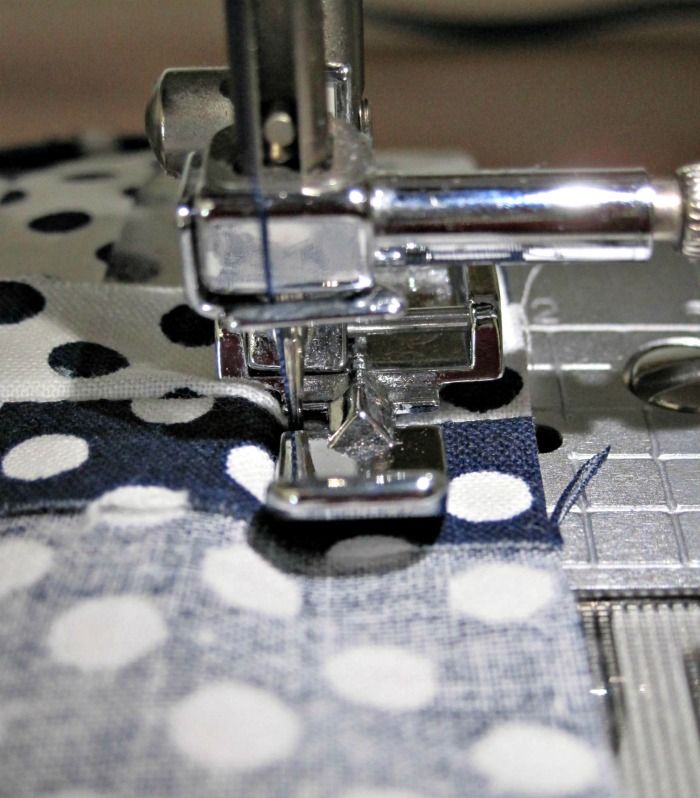
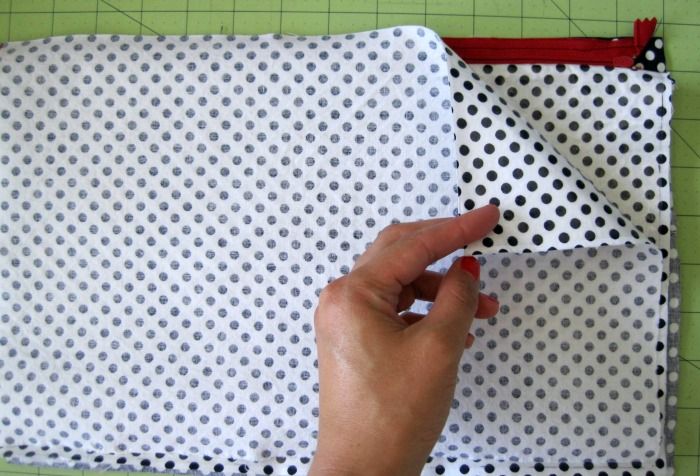
Lay an interior piece wrong side up on top of the zipper. Using your zipper foot, sew in place with a 1/4" seam allowance, starting at the zipper pull end and stopping 1" from the end of the fabric. Be sure to backstitch to lock your stitches.
Press exterior fabric and interior fabric away from zipper teeth. Remember to use a lower iron setting and paper when ironing the vinyl side. Do not topstitch yet, that will be done later.
Lay the other exterior piece right side up on your work surface. Align the other side of the zipper tape with the top edge. Make sure to pin or finger press the excess zipper tape up on the zipper pull side.
Baste into place, starting at the zipper pull end and stopping 1" from the end .
Lay the other interior piece wrong side up on top, aligned with the edge of the zipper tape. Using your zipper foot, start at the zipper pull end and sew with a 1/4" seam allowance. Start at the zipper pull end and stop 1" from the end of the fabric. Backstitch.
Press the exterior and interior fabric away from the zipper teeth. Take care when ironing the vinyl side.
Do not topstitch yet..we'll get to that in a little bit. Unzip your zipper halfway.
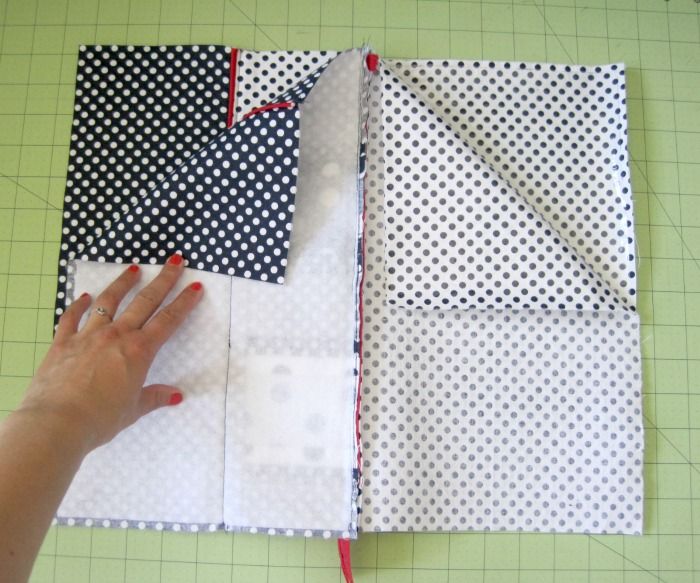
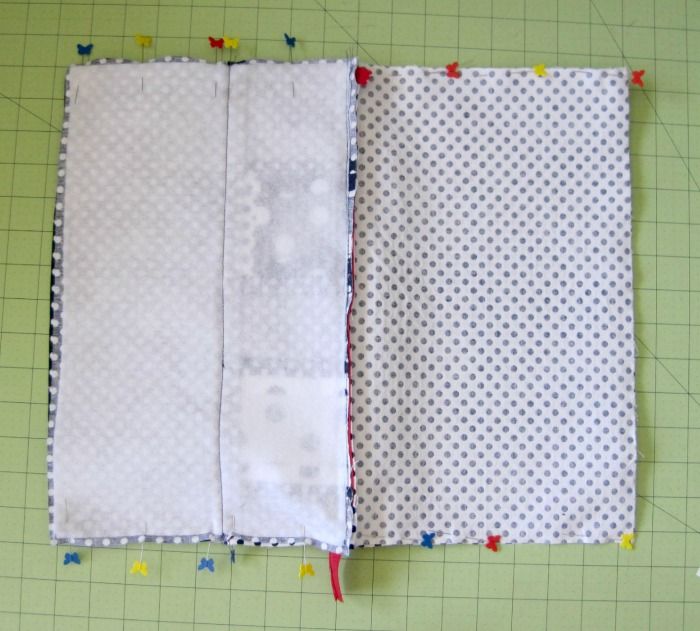
Fold your exterior pieces right sides together. Fold your interior pieces right sides together. Pin the sides only.
Sew in place with a 1/2" seam allowance. When you get to the zipper end, tuck it to the inside, taking care not to sew it.
Finishing the exterior

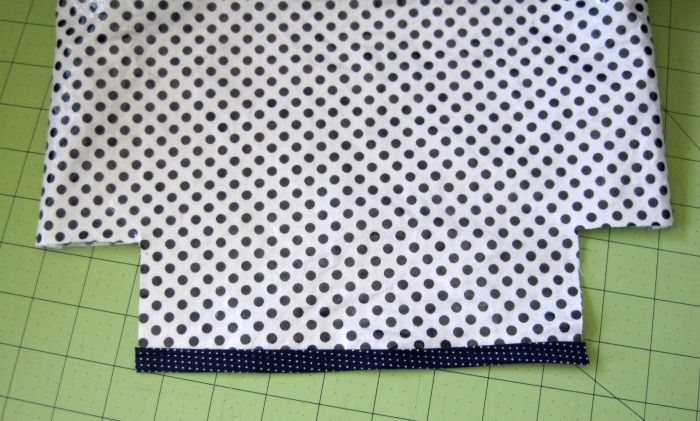
Pin and sew the bottom edge of the exterior with a 1/2" seam allowance.
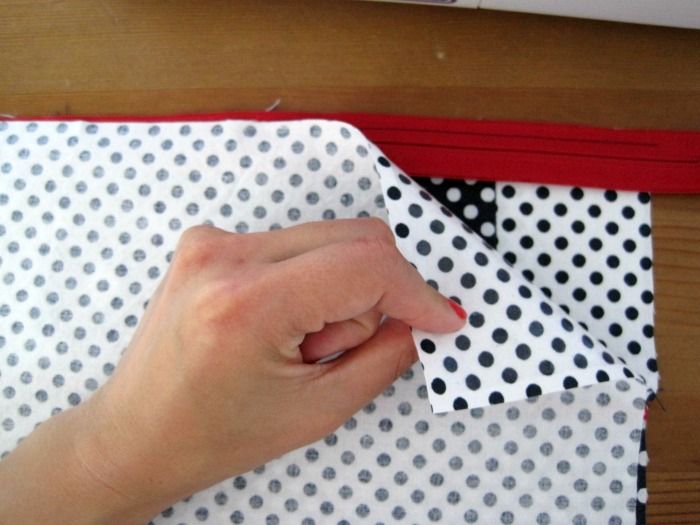
We are now going to box the exterior to give it its shape. Draw square boxes that are 2.5" tall and 2.5" wide on each corner of the exterior. Cut.
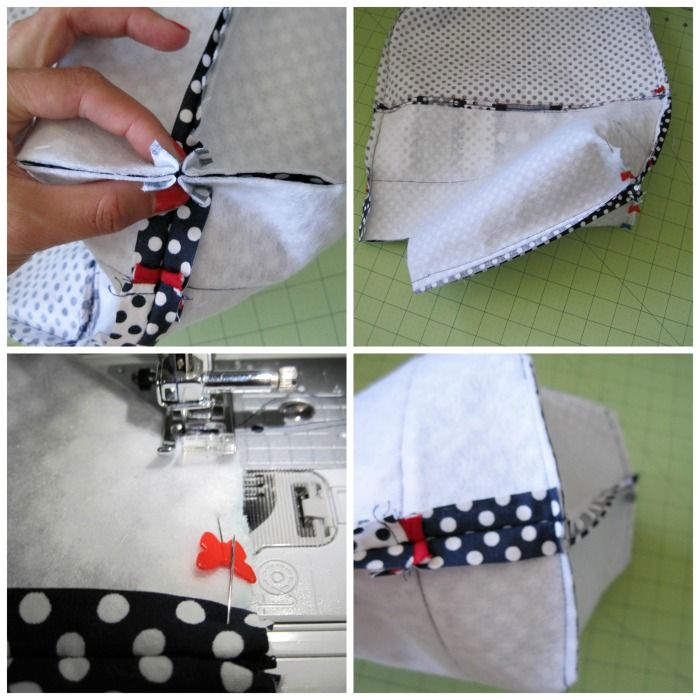
Pinch the corners together as shown. Pin and sew with a 1/2" seam allowance. Trim the seam to reduce bulk.
Repeat with the other corner.
Turn your bag so that the exterior is right side out. Push out the corners using a dull point, such as a chopstick or knitting needle.
Finishing the interior
Note: To help the lining sit smoothly inside the bag, I recommend trimming the bottom edge of the lining by about 1/2" before boxing the corners. I forgot to photograph this step.
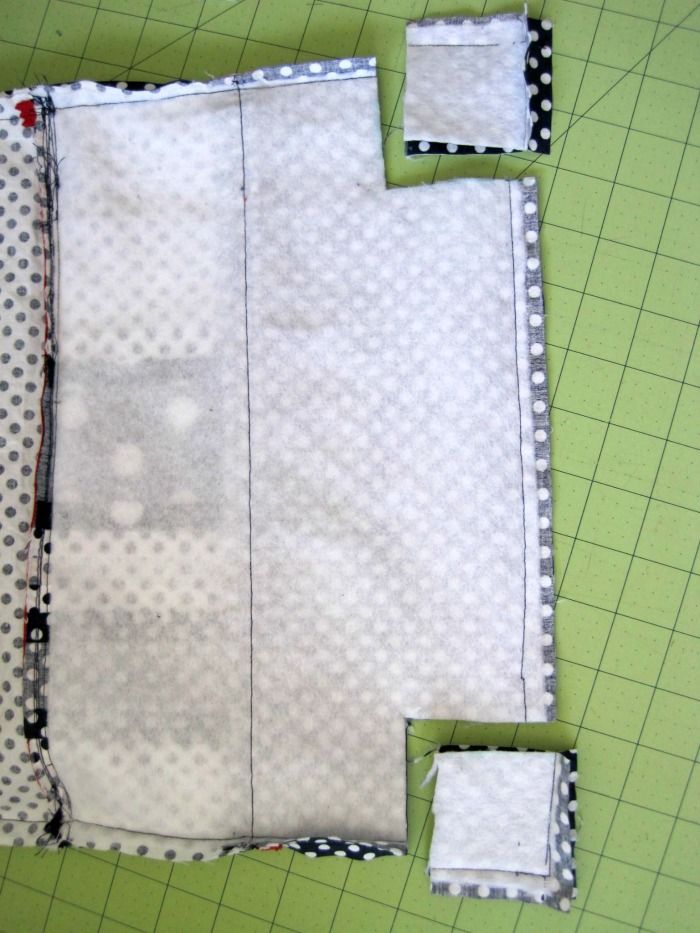
Box the interior fabric by cutting out a 2.5" square from each corner.
Enclose the bottom edge of the interior with bias tape, and sew into place. I recommended taping the metal to the left of the presser foot to reduce the vinyl sticking while sewing, like I did for the toiletry bag tutorial.
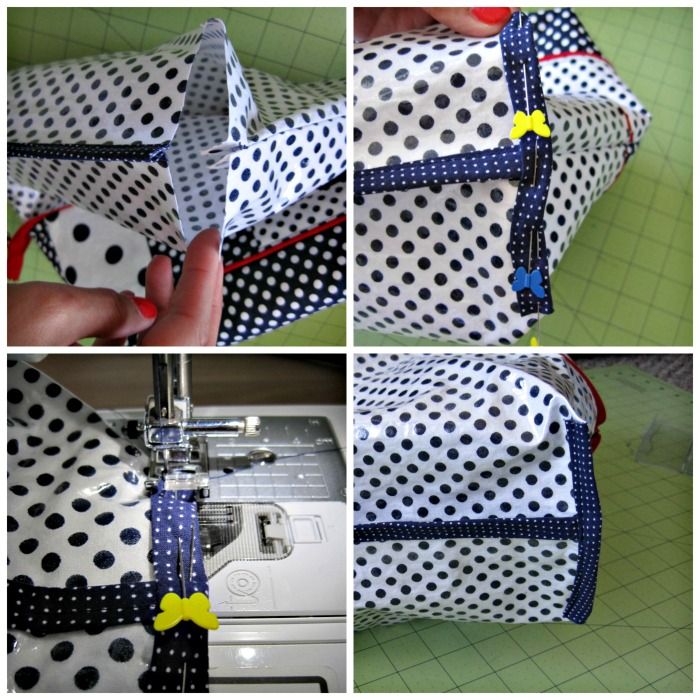
Pinch together the corners of the interior. Encase the edges with bias tape and pin into place. Sew in place.
Repeat with the other corner of the interior, making sure that the bias tape on the bottom seam is pointing the same way.
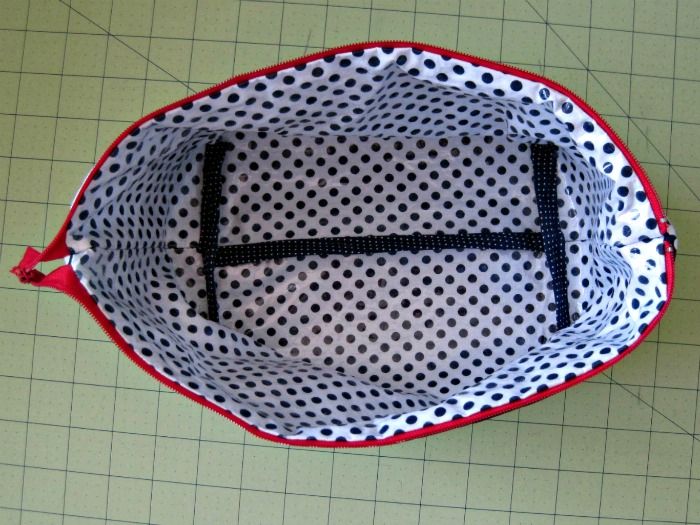
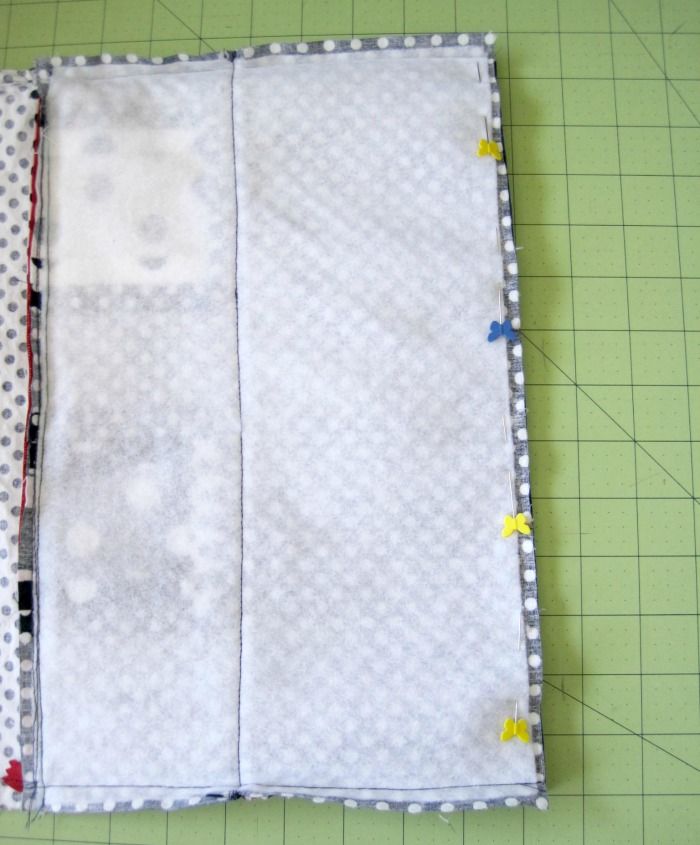
Push the interior lining to the inside of the bag.
We're almost done...
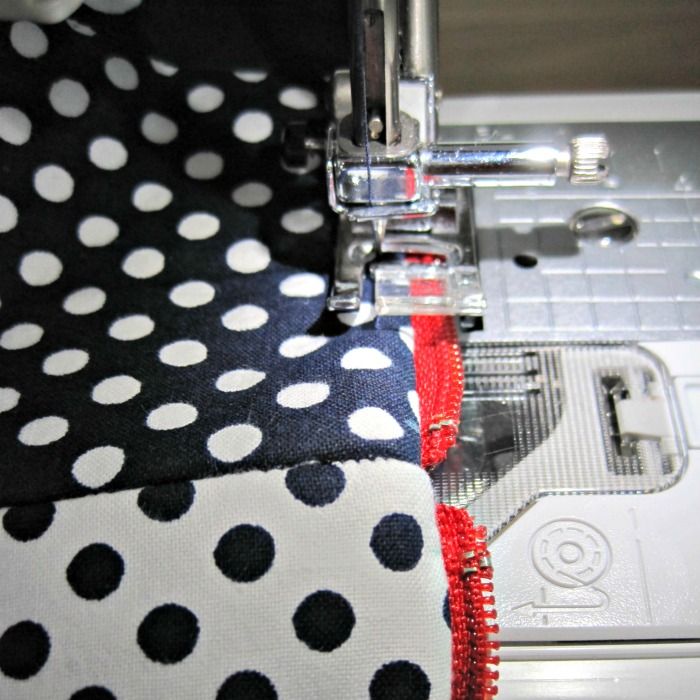
Topstitch below the zipper all the way around the bag. This is important so that the vinyl does not get caught in the zipper teeth. Go slow and take your time, the vinyl has a tendency to stick a little, even with the tape in place.
Making the zipper end tab
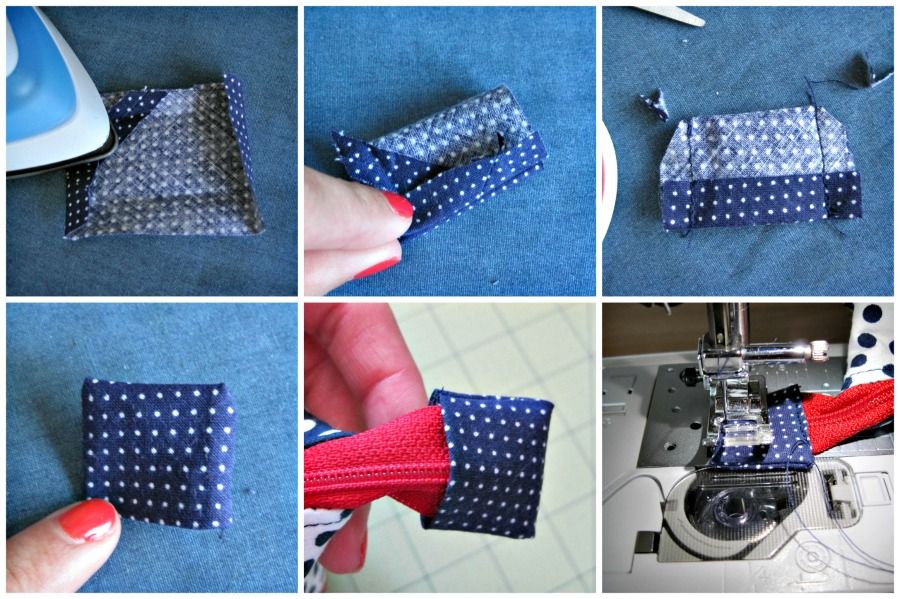
Cut off a 3" piece of bias tape and unfold it. Fold in the ends by a 1/2" and iron. Fold in half lengthwise, wrong side out, and sew up the sides along the original crease of the bias tape. Snip the corners.
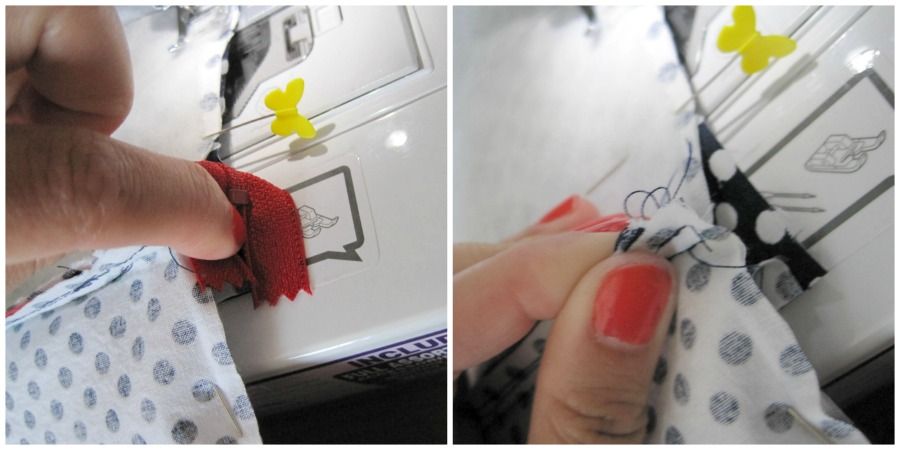
Turn right side out and press. Trim any excess zipper, so that the zipper extends out about an 1.5". Slip the fabric cover over the zipper end. Sew in place along the edges, taking care not to sew over the metal stop of the zipper.
And you're done!
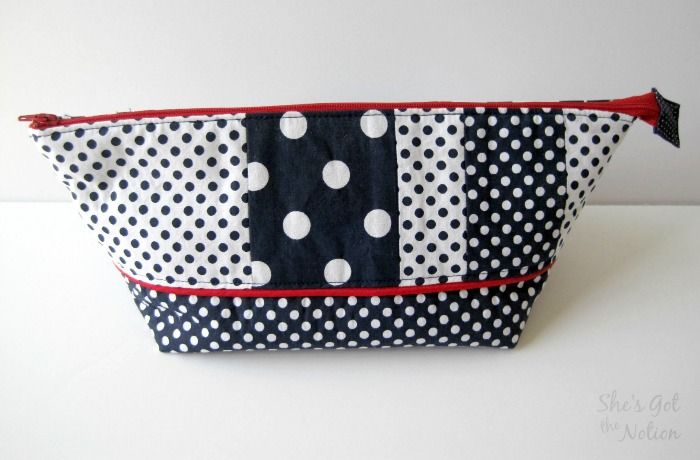
Fill it up with your makeup, slip in your makeup brush roll, and you're ready to go!
If you make a makeup bag using this tutorial, I'd love to see it! Post a link in the comments, or post it to my facebook or twitter.

Other posts in the Fat Quarter Series:
These are lovely! You have done a beautiful job.
ReplyDelete